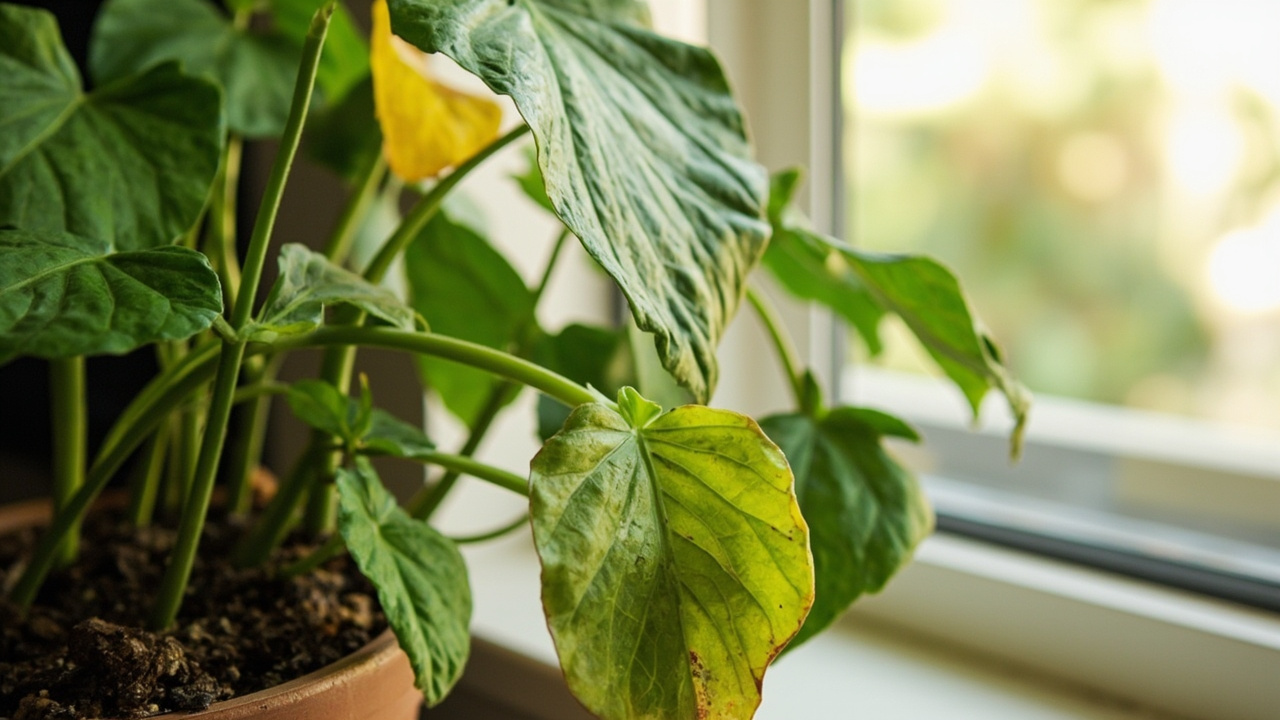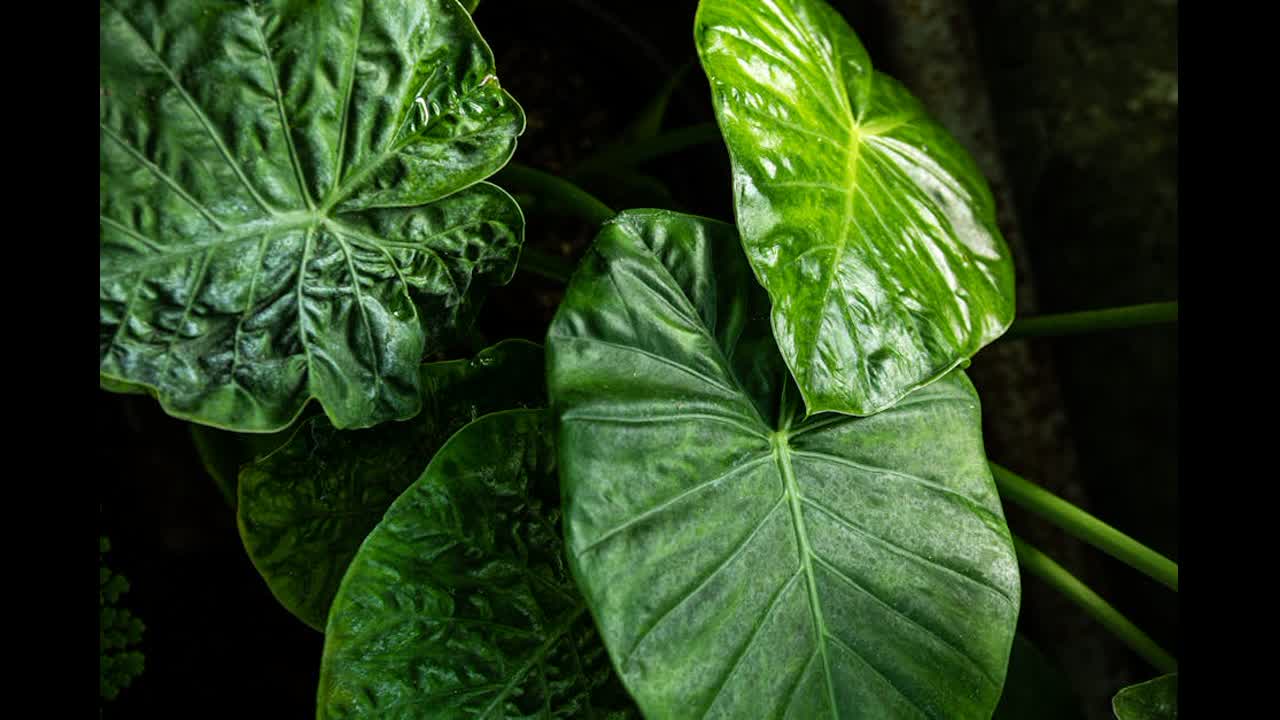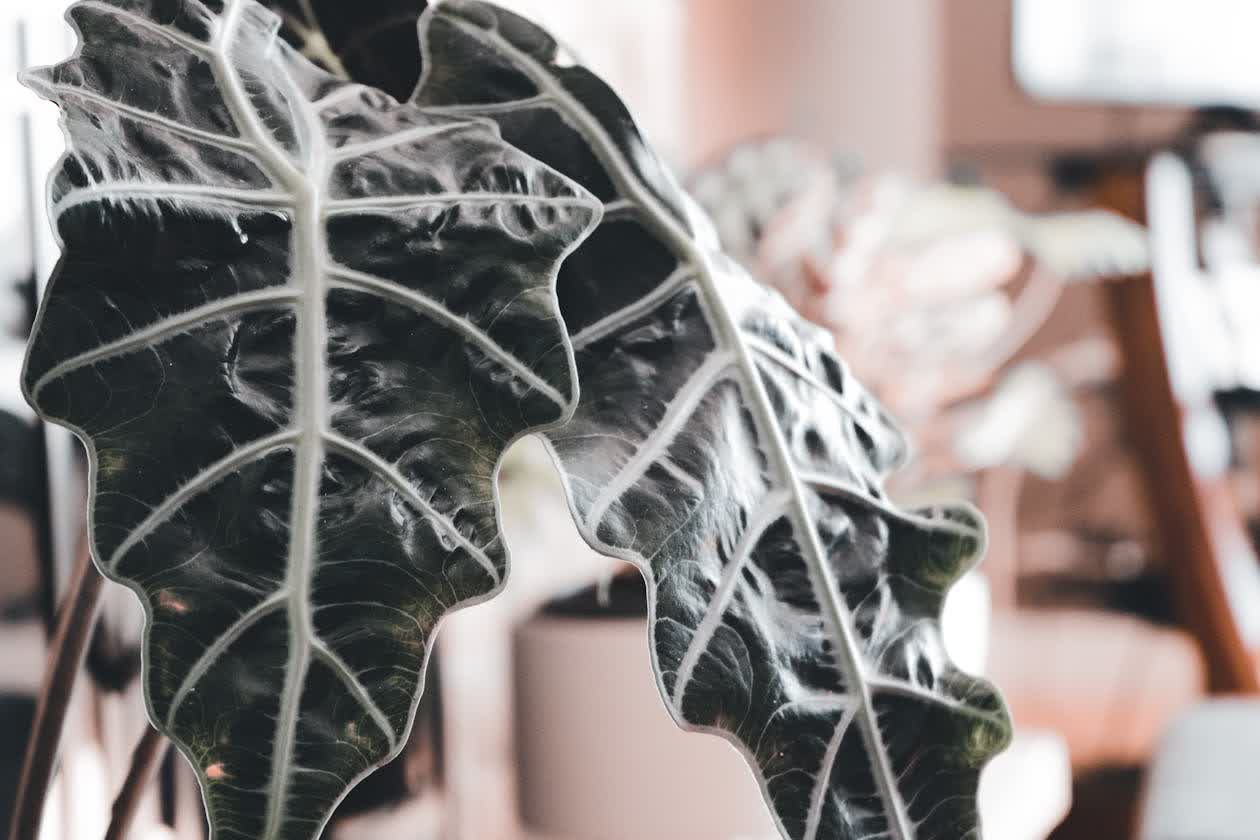

You bought your Alocasia looking stunning — dramatic arrow-shaped leaves, perfect variegation, everything you wanted. Three weeks later the newest leaf has turned yellow, the soil is still damp from your last watering, and you’re starting to suspect you’re overwatering. You are. And there’s a good chance root rot has already started.
Alocasia plants are notoriously sensitive to overwatering, and root rot is by far the most common cause of death for Alocasia in indoor conditions. Unlike succulents, which show obvious wilting when they need water, or ZZ plants, which store enough water to weather inconsistent care, Alocasia are immediately punished for watering mistakes. The margin between “perfect” and “too wet” is razor-thin, and most people cross it without realizing until the damage is done.
Why Alocasia Are Especially Vulnerable to Root Rot
Alocasia are native to tropical forest floors in Southeast Asia, where they grow in humus-rich soil that drains fast because of the sandy, loose forest debris around them. Their roots are adapted to being moist but never waterlogged — a specific condition that standard potting soil creates inconsistently at best.
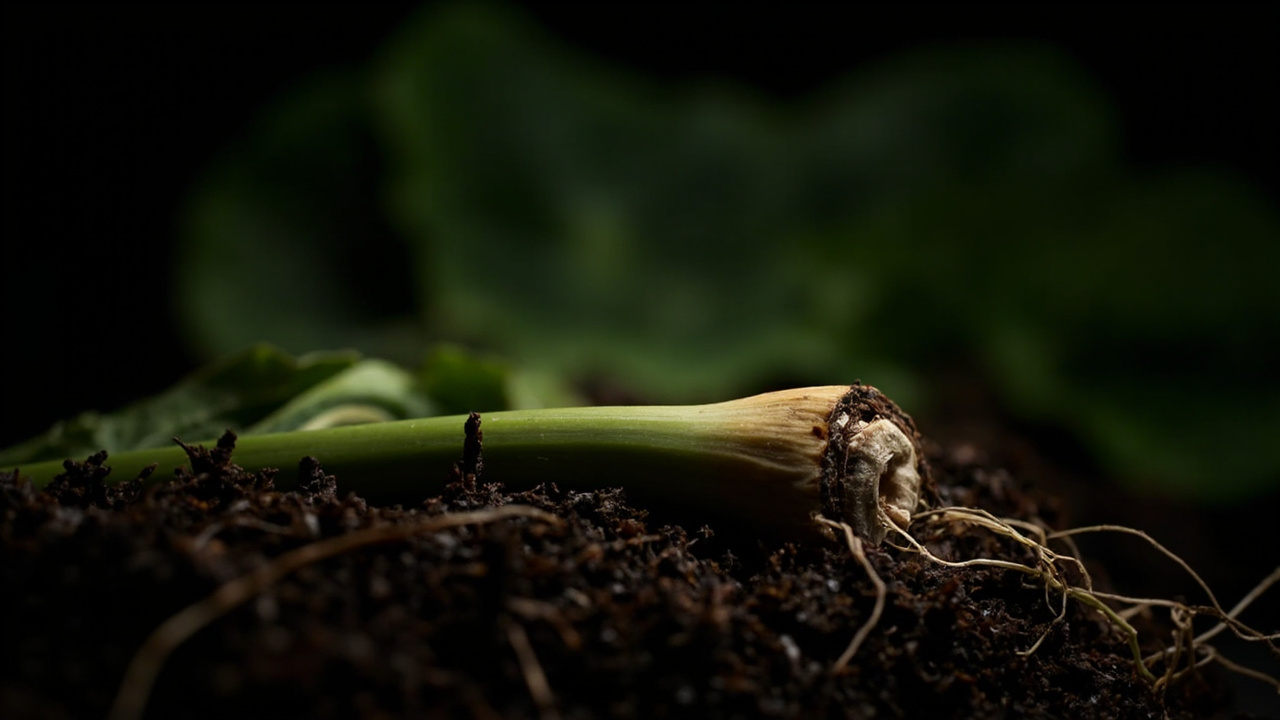
The second factor is the corms. Alocasia grow from corms — underground storage organs similar to bulbs — that store water and nutrients. When soil stays saturated, the corms begin to rot before the fine feeder roots show obvious damage. By the time the plant shows symptoms above the soil, the corms are often already severely damaged. For the full Alocasia care guide, the alocasia care guide has the complete baseline.
This is why an Alocasia can look wilted and like it needs water while actually sitting in soil that is too wet — the corms are damaged and can’t absorb water, so the plant shows the same symptoms as drought. Watering it in response accelerates the rot.
The Soil Drainage Problem
Alocasia need a soil mix that drains within 24-48 hours of watering. Standard potting soil, even the “good” varieties, often stays damp for much longer. The trade-off with improving drainage is that fast-draining soil also dries out faster in warm conditions — meaning you might need to water more frequently in summer. This trade-off is non-negotiable for Alocasia.
How to Identify Root Rot in Alocasia
Early Warning Signs
The first sign that should trigger concern is soil that stays damp for more than 10 days after watering. This is the earliest possible signal — before any leaf symptoms appear. If you’re watering every week and the soil is still damp two weeks later, reduce frequency immediately regardless of how the plant looks.
The next signal is yellowing leaves, starting with the newest leaf at the top or the lowest leaf at the base. A single yellow leaf can be normal. Multiple yellow leaves at once, particularly if they’re the most recent growth, is a warning. If the newest leaf emerges yellowed or develops a yellow edge immediately upon unfurling, the corms are almost certainly damaged.
The Corm Inspection
If you’ve reached the point of concern, the only reliable diagnostic is inspecting the corms directly. Tip the plant out of its pot and look at the corms. Healthy Alocasia corms are cream-colored to pale tan, firm, and substantial. They should feel like a firm potato — not soft, not mushy, not shriveled.
Rotting corms are dark brown to black, soft when pressed, and may have a distinctly unpleasant smell. If only the outer roots and the smallest corms are affected, the plant may still be recoverable. If the main corm is soft throughout, the prognosis is poor.
Don’t be too quick to give up. Even a plant that has lost most of its corms can sometimes be saved if you remove all the rotted tissue, air dry the remaining corms, and repot in fast-draining soil. It takes patience — sometimes months — but it’s possible.
How to Treat Root Rot in Alocasia
Step 1: Remove From Pot and Inspect
Gently tip the plant out of its pot. Shake off as much soil as possible without damaging the corms. Rinse the corms with clean water so you can see exactly what you’re dealing with.
Step 2: Cut Away All Damaged Tissue
With a sharp, clean knife, cut away every soft, dark, or mushy section of every corm. Work until all the remaining tissue is firm, pale-colored, and healthy-looking. This is not the time for hesitation — any remaining rot will spread to the healthy tissue you leave behind.
After cutting, set the corms on a dry surface and let them air dry for 24-48 hours. This is essential. The cut surfaces need to callous over before you introduce them to soil again.
Step 3: Repot in Fast-Draining Mix
Prepare a fresh fast-draining mix: roughly 50% potting soil, 30% perlite, and 20% coco coir or bark chips. The perlite is non-negotiable — it’s what ensures the mix drains fast enough to prevent a recurrence. Use a clean pot with large drainage holes.
Place the corms at the same depth they were before, just below the soil surface. Water lightly once — just enough to dampen the soil — then leave the plant completely dry for at least 2-3 weeks.
Step 4: Post-Treatment Care
After the initial drying period, water lightly and only when the top 2 inches of soil are completely dry. Alocasia in recovery should be kept in bright indirect light — not direct sun, which adds stress. Do not fertilize until the plant shows signs of new growth.
Signs of recovery: new leaf growth emerging from the center. This can take 4-8 weeks in the best case. Don’t assume the plant is dead if it takes longer — Alocasia can be slow to recover from root rot if the corm was significantly damaged.
Preventing Root Rot in Alocasia
The prevention is entirely in the soil and watering habits. Use a fast-draining mix with at least 30% perlite or bark. Water only when the top 2 inches of soil are completely dry.
The saucer under the pot must be emptied within 30 minutes of watering. Never let the plant sit in standing water.
If you’re growing Alocasia in a humid bathroom, monitor the soil drying time carefully — high humidity slows evaporation and the soil stays wet longer between waterings.
The best single habit for preventing Alocasia root rot: invest in a moisture meter. For a plant this sensitive to overwatering, removing the guesswork is worth the small cost. Water only when the meter reads dry at root level, not just the surface.
Turn That PDF Into a Spreadsheet in Minutes
You've seen how to do it manually — now let the tool handle the heavy lifting. Upload your bank statement and get Excel, CSV, or QBO in a few clicks.
Try It Free