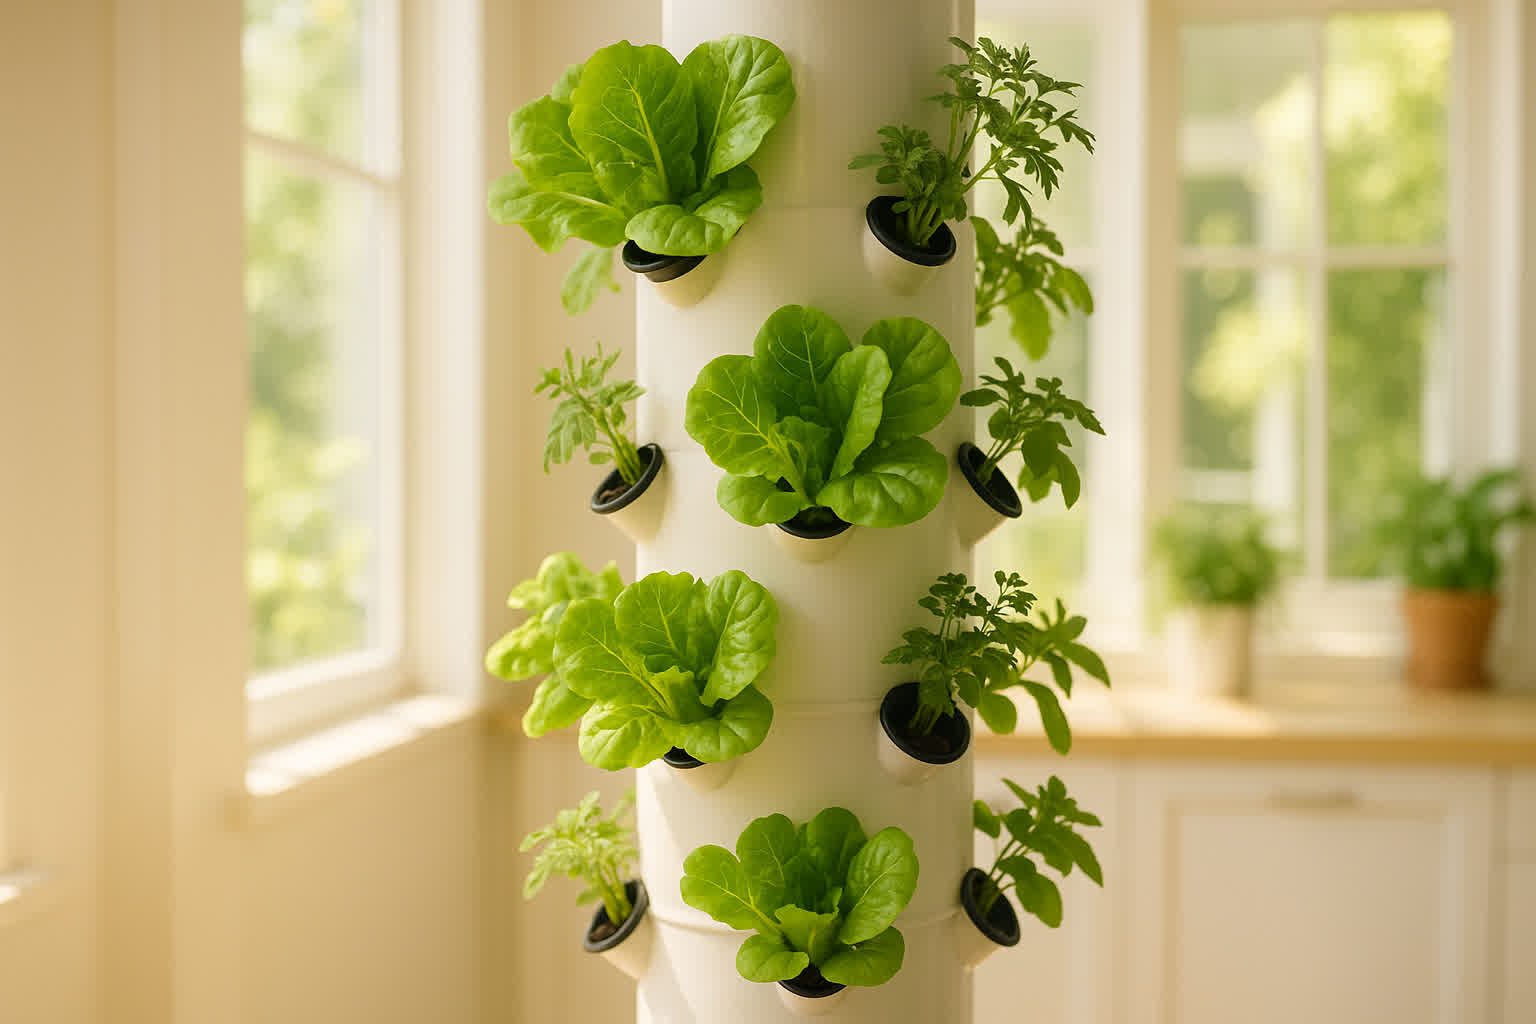
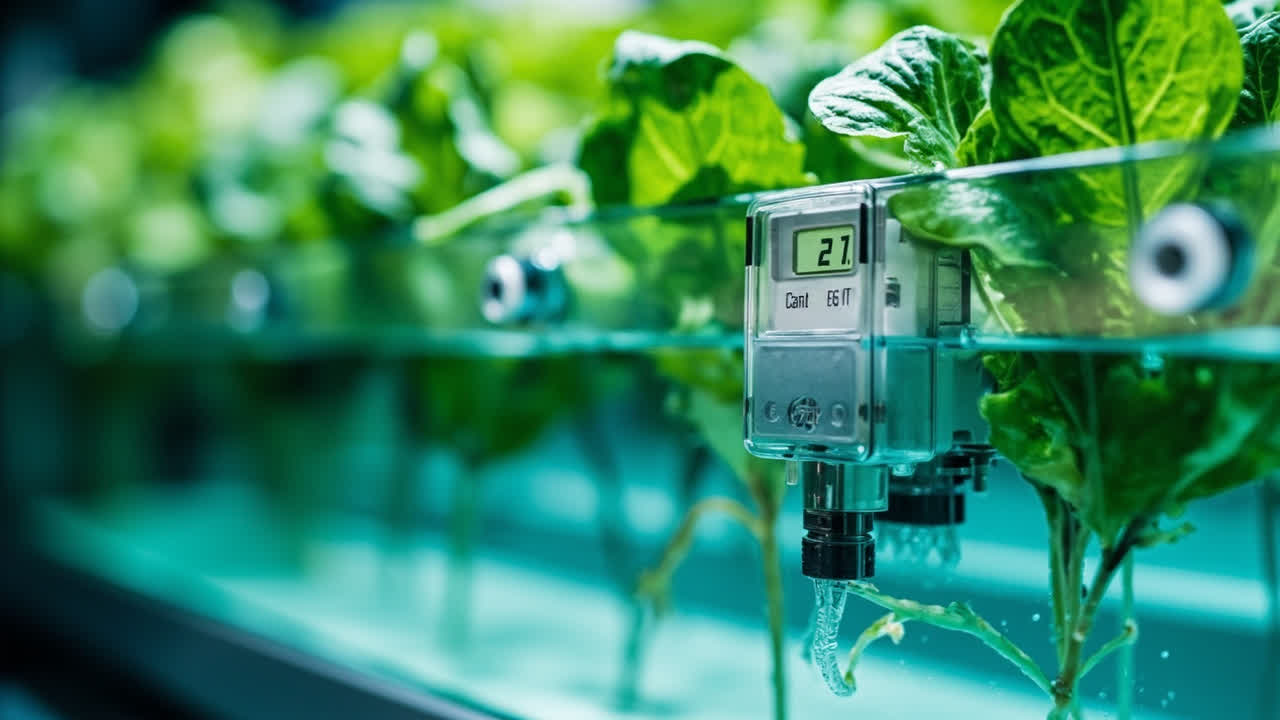
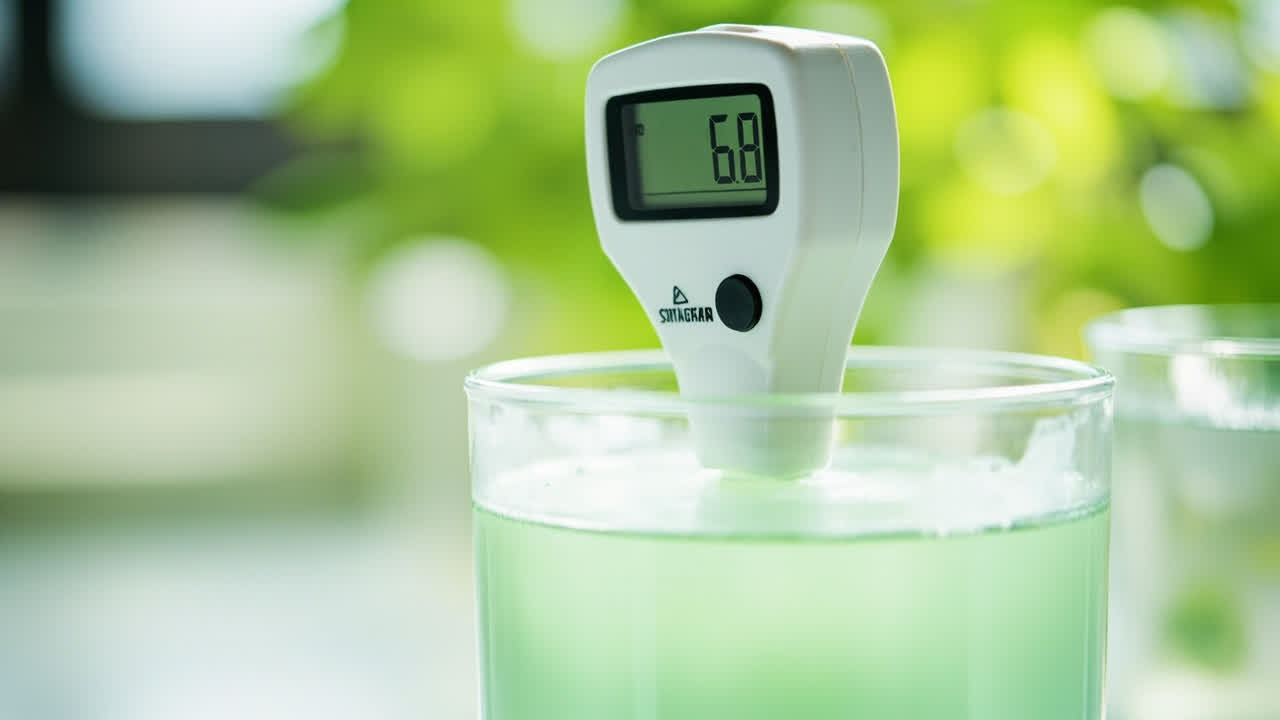
Hydroponic systems for beginners don’t have to be complicated or expensive. The core idea is simple: grow plants in nutrient-enriched water instead of soil, delivering food directly to the roots — see our primer on what hydroponic farming actually involves. The real challenge isn’t the equipment — it’s matching the right system to your space, budget, and the crops you actually want to grow.
Most new hydroponic growers buy an expensive all-in-one kit before understanding which system fits their situation, then watch their plants die. A $300 NFT tower is useless on a shaded apartment balcony where a simple mason jar setup would have worked better. Every hydroponic system delivers the same three things — water, oxygen, and nutrients — but the delivery method changes everything about how you maintain it and what grows well.
This guide compares the five main hydroponic system types, explains how each one works at the mechanical level, and helps you pick the one that matches your actual growing conditions. If you want a deeper look at how different setups compare, check out this hydroponics system guide that breaks down each type in detail.
How Hydroponic Systems Actually Work (The Mechanics)
Every hydroponic system does the same three things: delivers water, oxygen, and nutrients to the root zone. The difference between systems is how the roots contact the nutrient solution.
In soil, roots spread out and hunt for what they need. In hydroponics, the food comes to them. The nutrient solution is water mixed with mineral salts that provide everything the plant would normally pull from soil — nitrogen, phosphorus, potassium, calcium, magnesium, and trace minerals. Your hydroponic nutrient solution replaces the soil entirely.
Oxygen is the part most beginners forget about. Roots that sit in stagnant water will drown within hours. Every functional system has a built-in way to get air to the roots — either through air stones, draining cycles, or exposed root zones. No oxygen at the roots means dead plants, period.
The third variable is delivery method. Some systems submerge the roots completely (Deep Water Culture), some run a thin film of solution past them (NFT), and others flood and drain on a timer (Ebb and Flow). Each approach changes how you maintain pH, how often you check nutrient levels, and what crops will thrive.
The 5 Main Hydroponic Systems Compared
There are five core hydroponic system designs that cover 99% of what home growers use. Each has distinct strengths and weaknesses that matter depending on your situation.
| System | Cost Range | Difficulty | Best For | Electricity Needed |
|---|---|---|---|---|
| DWC (Deep Water Culture) | $20–$80 | Easy | Lettuce, herbs, leafy greens | Yes (air pump) |
| NFT (Nutrient Film Technique) | $80–$250 | Medium | Small leafy greens, herbs | Yes (water pump, timer) |
| Ebb and Flow | $60–$200 | Medium | Larger plants, tomatoes, peppers | Yes (water pump, timer) |
| Drip System | $50–$180 | Medium | Tomatoes, peppers, larger plants | Yes (water pump, timer) |
| Wick System | $10–$40 | Very Easy | Small herbs, microgreens | No |
Deep Water Culture (DWC) suspends plant roots directly in oxygenated nutrient water. An air stone runs continuously, keeping dissolved oxygen levels high. It’s simple, forgiving, and one of the fastest-growing systems for leafy greens. The main downside is that larger plants can tip over if the net pots aren’t secured properly.
Nutrient Film Technique (NFT) runs a shallow, continuous stream of nutrient solution down angled channels. Roots dangle into the film and absorb what they need. This system is efficient with water and nutrients, but pump failures can kill plants fast — there’s no reservoir backup at the root level.
Ebb and Flow (also called flood and drain) fills a grow tray with nutrient solution on a timer, then drains it back into a reservoir. This cycle gives roots both nutrients and fresh oxygen with each drain. It’s versatile enough for larger plants like tomatoes and peppers, and the drain cycle provides a natural buffer if the pump fails.
Drip systems deliver nutrient solution through tubes directly to each plant’s root zone. A timer controls the drip frequency. Recovery systems recirculate the runoff, while non-recovery systems waste the excess. Drip systems work well for larger plants but clogging is a recurring headache.
Wick systems are the simplest design possible — a wick (usually nylon rope or felt) draws nutrient solution from a reservoir up to the growing medium by capillary action. No pumps, no timers, no electricity. The trade-off is that wicking speed limits oxygen delivery, so these only work well for small, low-demand plants.
Which System Matches Your Space and Budget
Your growing space narrows your options more than anything else. Here’s a practical breakdown by scenario:
- Apartment windowsill (under 2 sq ft): Wick system or Kratky method (a passive DWC variant). Budget: $10–$25 DIY. Grows basil, cilantro, small lettuce, microgreens. No electricity required.
- Small balcony or spare room (2–10 sq ft): Single-bucket DWC. Budget: $30–$50 DIY. Grows lettuce, spinach, herbs, and small fruiting plants like cherry tomatoes. Needs one air pump.
- Garage, basement, or dedicated grow space (10+ sq ft): Ebb and Flow or multi-bucket DWC. Budget: $80–$200 DIY. Handles larger plants — tomatoes, peppers, cucumbers. Needs water pump + timer + air pump.
- No time for DIY: Pre-built kits exist for all types. Expect to pay 2–4x the DIY cost. A decent DWC starter kit runs $60–$120. A full NFT system can hit $250–$400.
If you’re not sure which crops to start with, this list of the best plants for hydroponics will help you pick varieties that match your system type.
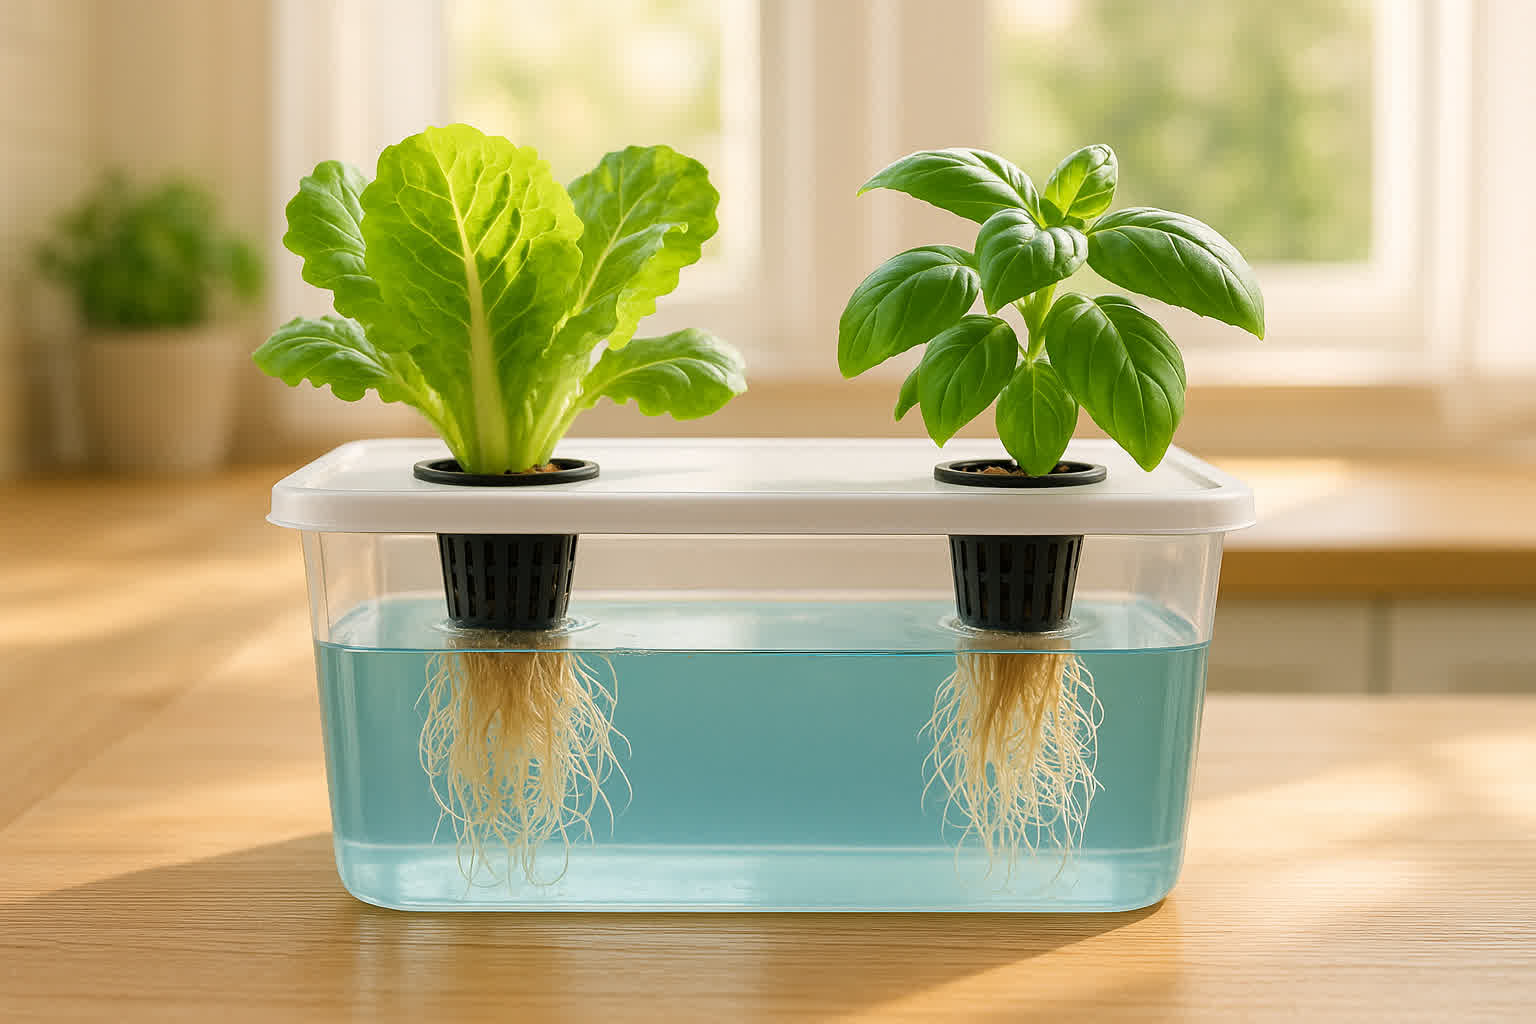
The cheapest path is always a DIY build. A single 5-gallon DWC bucket costs about $25 in parts and takes 20 minutes to assemble. A Wick system costs even less — under $15 if you repurpose containers you already have.
Building a Simple DWC System for Under $50
Deep Water Culture is the best starting point for most beginners. It’s cheap, reliable, and forgiving of small mistakes. Here’s exactly how to build one:
Parts List
- 1× 5-gallon food-grade bucket with lid ($6–$8)
- 1× 4-inch or 6-inch net pot ($2–$3)
- 1× air pump (at least 1 L/min output) ($10–$15)
- 1× air stone (4–6 inch) ($2)
- 3 feet of air tubing ($1)
- Hydroton (expanded clay pebbles) or rockwool grow medium ($8–$12)
- Hydroponic nutrients (starter pack) ($10–$15)
- pH test kit or digital pH meter ($8–$15)
- pH adjusters (pH Up / pH Down) ($5)
Tools Needed
- Drill or hole saw (to cut the net pot hole in the lid)
- Scissors or utility knife
- Measuring cup for nutrients
Assembly Steps
- Drill a hole in the center of the bucket lid to fit your net pot snugly. A 4-inch net pot needs roughly a 4-inch hole. Don’t make it too loose or light will leak in.
- Drill a small hole (¼ inch) near the top rim of the bucket for the air tubing to pass through.
- Connect the air stone to the tubing, then connect the tubing to the air pump. Drop the air stone into the empty bucket and run the tubing out through the small hole.
- Fill the bucket with water to about 1 inch below the bottom of the net pot when it sits in the lid. This keeps the bottom of the grow medium moist without submerging the entire root zone immediately.
- Place your seedling (started in rockwool or a starter plug) into the net pot and surround it with hydroton pebbles. The pebbles hold the plant upright and wick moisture to the upper roots.
- Plug in the air pump. Bubbles should rise continuously through the water. If the stone isn’t bubbling evenly, check for kinks in the tubing.
Common Mistakes to Avoid
- Light leaks: Any light reaching the water will cause algae blooms. Paint the bucket black, wrap it in a trash bag, or keep it in a dark container. Algae won’t kill your plants directly, but it competes for nutrients and clogs air stones.
- No air stone: Skipping the air pump to save money is the number one reason DWC setups fail. Roots need dissolved oxygen. Still water kills them.
- Wrong container size: A 5-gallon bucket supports 1–2 plants comfortably. Don’t cram more in — root competition stunts growth.
- Overfilling: Nutrient water should NOT touch the net pot bottom at full level. Let the roots grow down into the water naturally. If the medium stays soaked, the upper roots can’t get oxygen.
What Nobody Tells You About Running a Hydroponic System
Hydroponics sounds effortless — “just add water and nutrients.” The reality is more involved, and most guides gloss over the ongoing maintenance.
Electricity cost is real but small. A single air pump draws 2–5 watts. Running 24/7, that’s roughly $1.50–$3.00 per month. A water pump adds another $1–$2. You’re not running a mining rig, but it’s not free either. If you’re running multiple systems, budget $5–$15/month depending on scale.
Noise is a factor. Air pumps hum. It’s not loud — comparable to a small aquarium filter — but it’s noticeable in a quiet room. Water pumps add a gurgling sound on flood/drain cycles. If your system lives in a bedroom, this matters. Some growers put pumps on foam pads to dampen vibration.
Algae management is ongoing. Even with light-proofed reservoirs, some algae will appear. Scrape it off reservoir walls weekly. If it’s thick enough to coat your air stone, you waited too long. Keeping the system in a dark space solves 90% of algae problems.
Nutrient solution doesn’t last forever. In a DWC bucket, replace the full solution every 1–2 weeks. Plants deplete specific minerals at different rates, so the balance drifts over time. Topping off with plain water helps between changes, but a full replacement prevents toxic buildup of unused salts.
pH drift is constant. Your target range is 5.5–6.5. Test daily for the first week, then every 2–3 days once you know the pattern. pH will drift as plants absorb nutrients, and a swing outside the usable range locks out specific minerals even if they’re present in the solution. Plants showing nutrient deficiency symptoms often have a pH problem, not a nutrient problem.
Minimum weekly maintenance: 15–30 minutes. That includes checking pH, topping off water, inspecting roots, and cleaning the air stone. Some weeks will take 5 minutes. Others — like full reservoir changes — take 30–45 minutes. Budget the time upfront so it doesn’t surprise you.
For growers looking to cut ongoing costs, making your own DIY hydroponic fertilizer is an option worth exploring once you understand the basics of NPK ratios and micronutrient delivery.
Getting Your First Hydroponic System Running
Here’s exactly what to do from day one, in order:
- Fill the reservoir. Use distilled water or tap water that has sat out for 24 hours (this lets chlorine evaporate). Fill to your system’s target level — for DWC, about 1 inch below the net pot bottom.
- Mix nutrients. Add your nutrient solution according to the label’s “seedling” or “early vegetative” strength. For most beginner nutrients, that’s about ¼ to ½ of the full-strength dose. Mix each part separately before combining — some two-part nutrients will precipitate (form solid chunks) if mixed together at full concentration.
- Check and adjust pH. Test the solution with your pH meter or kit. Target 5.5–6.5. Add pH Down if it’s above 6.5, pH Up if it’s below 5.5. Add adjusters sparingly — a few drops at a time, stir, wait 15 minutes, and retest. Most tap water starts around 7.5–8.0, so you’ll almost certainly need pH Down.
- Add your plants. Seedlings should have at least 2–3 true leaves before going into the system. If they’re in rockwool or starter plugs, place the whole plug into the net pot and surround with hydroton. Don’t wash soil off roots — soil contains bacteria that can cause problems in hydroponic reservoirs.
- Start the pump and observe. The first 48 hours are critical. Check that bubbles are flowing, the water level is stable, and the plants look upright. Some wilting is normal for the first 6–12 hours as roots adjust to the new environment.
What to Watch For in the First Week
- Yellowing lower leaves: Usually a nitrogen deficiency or pH lockout. Check pH first.
- Slime on roots: Brown or green slime means pathogen growth. Check that your reservoir isn’t too warm (ideal range: 65–72°F / 18–22°C) and that no light is reaching the water.
- Slow growth or no growth: Common in the first 3–5 days as roots develop. As long as the plant isn’t wilting severely, give it time. Roots should reach the water within 5–7 days.
- pH swings of more than 0.5 in 24 hours: Your reservoir may be too small for the plant size, or you need a fresh nutrient mix. Nutrient lockout causes aggressive pH instability.
Choosing the Right Hydroponic System for Your First Grow
Picking the right system comes down to three questions: how much space do you have, what do you want to grow, and how much do you want to spend?
If you have a small windowsill and want fresh herbs, build a Wick system for under $15. No electricity, no noise, nearly zero maintenance. You’ll have fresh basil and cilantro in 3–4 weeks.
If you have a spare corner and want to grow lettuce, spinach, or kale, build a single-bucket DWC for $30–$50. You’ll need an outlet for the air pump, but the growth rate is noticeably faster than soil. Most DWC lettuce is harvest-ready in 30–35 days from transplant.
If you want tomatoes, peppers, or cucumbers, skip the simple systems and go straight to Ebb and Flow. These larger plants need the flood-and-drain cycle for proper root oxygenation. Budget $80–$150 for a basic 2×4 foot tray setup.
The best hydroponic system for beginners is the one you’ll actually maintain. A simple system you check every other day beats a complex one you neglect for a week. Start small, learn the rhythm of pH management and nutrient changes, then scale up once you’ve harvested your first successful crop.
Turn any PDF statement into a clean sheet
Skip the typos and the hours of copying. Our converter handles any bank statement format and outputs Excel, CSV, or QBO for QuickBooks. No file retention, free to try.
Convert your statement