The first move with a dying Hoya is the one most owners skip: diagnosis. Adding water to a plant with root rot accelerates the death; repotting a thirsty plant into a larger pot with fresh mix delays its recovery. The same yellow leaves can mean three completely different things.
The 30-second triage: pull the Hoya out of its pot and look at the roots. White and tan roots with firm texture are healthy. Black, brown, or mushy roots that smell sour are root rot – the most common killer, accounting for an estimated 60-70% of cases.
Three branches from here: root rot, severe underwatering, and cold damage. The Royal Horticultural Society and University of Florida IFAS extension both emphasize triage before any corrective action. For a more general overview of what a healthy Hoya looks like, our hoya plant care guide covers the baseline.
Diagnosis First: The Three Killers of an Indoor Hoya
Three failure modes account for roughly 90% of indoor Hoya deaths. The symptoms overlap, but the signatures differ enough to make the call with the plant in hand. Root rot is the most common killer, accounting for an estimated 60-70% of cases, and it is the one most often misdiagnosed as underwatering because the leaves look thirsty.
The Royal Horticultural Society and University of Florida IFAS extension both flag root rot as the leading killer of indoor Hoyas. Root rot signature: lower leaves yellow and drop first, stems become soft or mushy at the soil line, the soil stays wet for more than 7 days between waterings, and a gentle squeeze on the lower stem produces a soft give rather than firm resistance. The cause is anaerobic conditions in the substrate – typically overpotting, water-retentive mix, or watering on a schedule rather than to substrate moisture.
Severe underwatering signature: leaves shrivel and wrinkle, lower leaves go crispy-brown rather than yellow, the substrate pulls away from the pot wall, and stems become limp but stay firm – no mush. The cause is missed waterings, low humidity, or a pot that dried out faster than expected during a heat wave. This is the easiest recovery if caught in time.
Cold damage signature: leaves go translucent or dark-watery within 24-48 hours of a cold event (below 50°F/10°C), stems collapse to the soil line but the upper growth stays green, and the plant stops producing new leaves for 4-8 weeks. Cold damage is recoverable if there is any green stem tissue above the damaged zone; it is not recoverable if every stem is black and mushy.
The 30-Second Triage: Pull the Plant and Read the Roots
The diagnostic unpot takes 30 seconds and saves hours of wrong-direction care. Tip the pot sideways, support the vine with one hand, and tap the rim.
If the root ball does not slide out, run a butter knife around the inside edge. Do not pull on the vines.
Once the root ball is out, do three checks in order. First, smell the substrate.
Healthy mix smells earthy; rot smells sour, like a wet towel left in a gym bag. Second, look at the roots.
Healthy Hoya roots are white to tan, firm, and may have fine root hairs visible. Rot is black or dark brown, mushy, and the outer root sheath pulls off with a gentle tug leaving a thin string inside.
Third, squeeze the lower stem at and just above the soil line. Firm is recoverable; soft is past the point of stem-saving.
If you see at least 30% healthy white roots, the plant is recoverable. If you see less than 30% healthy roots and the lower stem is soft, the recovery path shifts to stem cuttings rather than whole-plant rehab – the full procedure is in our hoya propagation guide, but the short version is to cut above the rot, root the healthy stem in water or damp sphagnum, and start a new plant from the top growth.
Root Rot Recovery: Cut, Repot, Hold Water
A peer-reviewed study on Orchidaceae substrate (Pon et al. 2018) and Missouri Botanical Garden’s Hoya carnosa profile both confirm: root rot is the most common killer and the most recoverable when caught early. The procedure takes 30 minutes for a plant under 18 inches and follows the same logic whether the rot is mild (a few black roots at the bottom) or severe (most of the root mass gone).
Step 1: Tease the roots apart. Pull the outer roots away from the central mass.
Healthy roots are tough and do not need gentle handling. Black, brown, or mushy roots should be cut back to firm tissue with sterilized pruners – wipe the blades with rubbing alcohol between cuts to avoid spreading the rot pathogen. Cut until you see white or tan tissue at every cut end.
Step 2: Cut back damaged stems. Any stem that is soft or discolored at the soil line needs to be cut back to firm green tissue above the damage.
If the rot extends more than 2 inches up the stem, take stem cuttings from the top growth and root them as new plants. The full cutting procedure is in the propagation guide.
Step 3: Repot in fresh mix. Discard the old substrate entirely – it is contaminated.
Wash the pot with a 1:10 bleach-to-water solution and rinse thoroughly. Repot in a fresh bark-based mix at the same pot size or one size down if you had to remove more than 30% of the roots. The mix recipe and ratios are detailed in our hoya potting mix guide, but the key property is that it drains in 4-6 seconds and dries to the touch within 5-7 days.
Step 4: Hold off watering. Wait 7-10 days before the first post-repot watering.
The disturbed roots need time to callus over, and watering too soon invites rot back into the fresh cuts. Mist the leaves lightly every 2-3 days to reduce transpiration stress without wetting the substrate.
Step 5: Resume normal care at week 4. New root growth becomes visible if you gently lift the plant at week 3 – white root tips pushing into the bark.
By week 4-6 the Hoya has re-established, and you can resume the normal watering and fertilizing rhythm. The full post-repot care timeline is in our hoya potting guide , but the recovery window is 4-6 weeks for a moderately damaged plant and 8-12 weeks for a severely damaged one.
Severe Underwatering: Soak, Recover, and the Shriveled-Leaf Cue
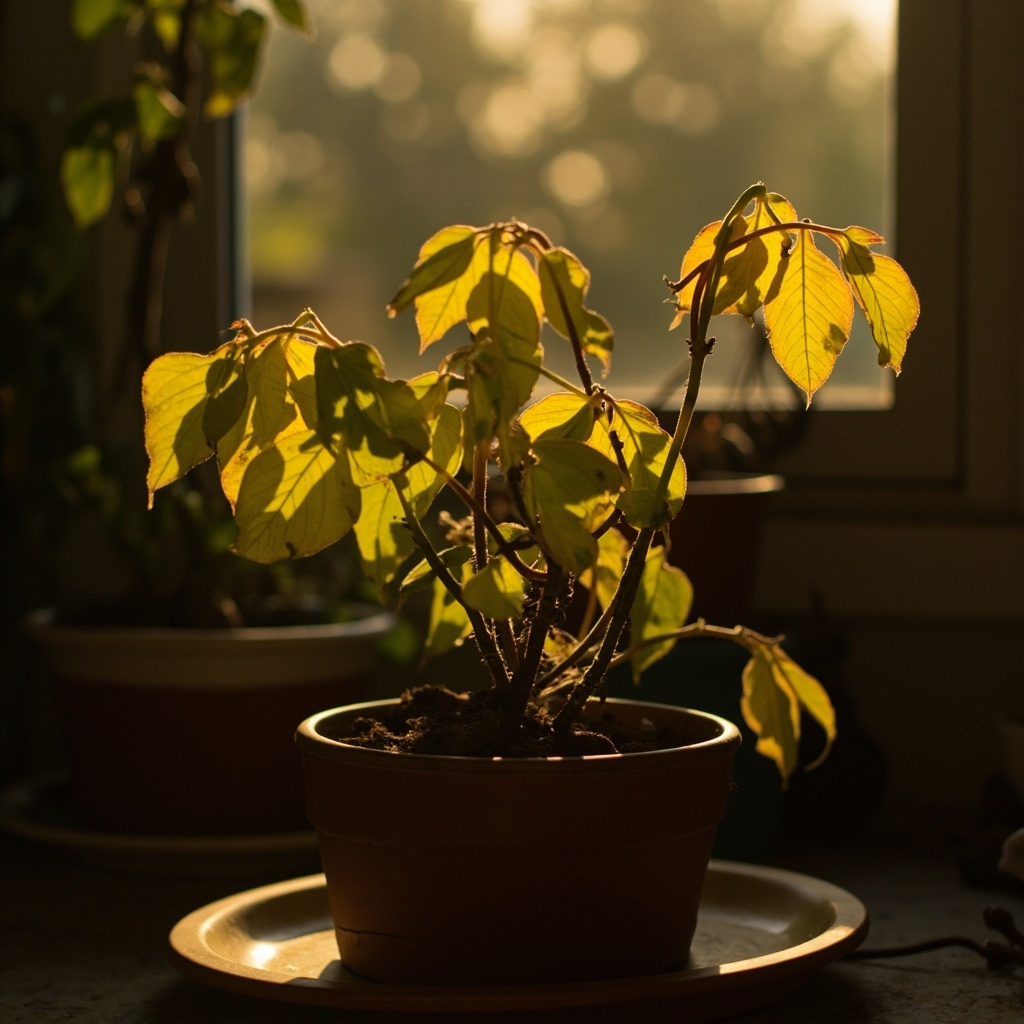
Severe underwatering is the easiest recovery. The leaves tell you: shriveled, wrinkled, and crispy-brown rather than yellow and mushy.
The substrate is bone-dry and may have pulled away from the pot wall. The stems stay firm because the plant is dehydrated, not rotted.
The recovery procedure is the opposite of root rot: soak the plant. Bottom-water by placing the pot in a basin of room-temperature water for 30-45 minutes, until the substrate is fully saturated and the top of the mix feels damp.
The pot may float at first – that is normal. After the soak, lift the pot, let it drain for 10 minutes, and return it to its spot. The leaves will plump back up within 24-48 hours; the crispy-brown ones will not recover and can be removed once new growth appears.
The trade-off worth naming: a severely underwatered Hoya is one bad week away from being a root-rotted Hoya if you compensate by watering too heavily. After the initial soak, return to the normal rhythm of watering only when the top 1-2 inches of mix are dry. The full rhythm lives in our hoya watering guide, but the cue after recovery is the same as before – dry to the touch, then soak through.
Cold Damage and Stem Softness: When to Save and When to Compost
Cold damage is the case where diagnosis is everything and honesty matters most. The plant looks terrible – leaves have gone translucent or dark-watery, stems have collapsed – but the question is whether there is any green tissue left above the damaged zone. If yes, recovery is possible; if no, the plant is dead and composting it is the right call.
Check the stems above the damaged zone. Scrape the outer layer gently with a fingernail: green underneath means live tissue, brown or black underneath means dead.
Live stems will resume growth in 4-8 weeks if the plant is held at 65-75°F (18-24°C) with bright indirect light. The full temperature tolerance and recovery range is in our hoya humidity temperature guide.
Cut back any mushy stem tissue to firm green wood, even if it means removing the bottom 4-6 inches of vine. The top growth can be propagated as cuttings if the remaining stem is too short to support the plant alone – the procedure is in our hoya propagation guide. Do not fertilize a cold-damaged Hoya for the first 8-10 weeks; the root system is recovering and cannot process nutrients yet.
The Four-Week Recovery Window: What to Expect and When to Give Up
The honest limit worth stating up front: no Hoya with completely black stems and no green tissue anywhere will recover. Compost it.
The plant has no meristematic tissue left to push new growth from. Trying to save a fully-collapsed plant wastes weeks of attention that could go to a replacement.
For a Hoya with at least 30% healthy roots or any green stem tissue, the recovery window is 4-12 weeks depending on the damage. The cue to keep going: any new growth at all – a new leaf, a new root tip, a new segment emerging from a node.
The cue to stop: no new growth at 12 weeks AND continued leaf drop. At that point the plant has used up its stored reserves and is not recovering.
The recovery timeline, in plain terms: new root growth at 4-6 weeks; first new leaf at 6-10 weeks; full foliage recovery at 8-12 weeks for a moderately damaged plant; peduncle return at 4-6 months after full recovery. Patience, not watering or fertilizer, is what gets a damaged Hoya back. If the cause was pest-related – check for mealybugs, scale, or spider mites before declaring recovery, because the same yellow leaves can also be a pest symptom – our hoya pest identification guide covers the diagnostic for that case.
Turn any PDF statement into a clean sheet
Skip the typos and the hours of copying. Our converter handles any bank statement format and outputs Excel, CSV, or QBO for QuickBooks. No file retention, free to try.
Convert your statement