Philodendrons grow fast, and even a well-maintained specimen will eventually need repotting. Knowing when to repot, what to put the plant into, and how to handle the root ball without damaging the plant are the three skills that matter most — and none of them are difficult.
When to Repot a Philodendron
Spring and early summer are the ideal time — the plant is entering its active growing season and will recover from the stress of repotting within two to three weeks. That said, if the plant is showing clear signs that it needs more room, repotting can be done any time of year, just with slightly slower recovery.
Signs it needs repotting:
- Roots visible at the soil surface or pushing through drainage holes
- Water running straight through the pot without being absorbed — the root ball has compressed the soil and reduced it to mostly roots
- Growth has slowed significantly despite good care in the growing season
- The pot is physically unstable — a root-bound Philodendron can tip over easily
Do not repot simply because time has passed. A Philodendron that is growing well, with roots contained in the pot and no drainage issues, does not need disturbing.
Choosing the Right Pot
Go up one size — approximately 2 to 3 cm larger in diameter than the current pot. A pot that is too large holds excess moisture and the roots take longer to reach the edge, leaving the centre of the root ball perpetually wet. For Philodendrons, this is a major root rot risk.
Ensure the pot has at least one large drainage hole. Terra cotta pots are preferable to plastic for Philodendrons in Singapore’s humid climate — the terracotta allows the soil to breathe and dries out slightly faster, reducing overwatering risk.
Soil Mix for Philodendrons
Philodendrons are aroids, related to Pothos and Monsteras, and they need the same fast-draining but moisture-retentive mix:
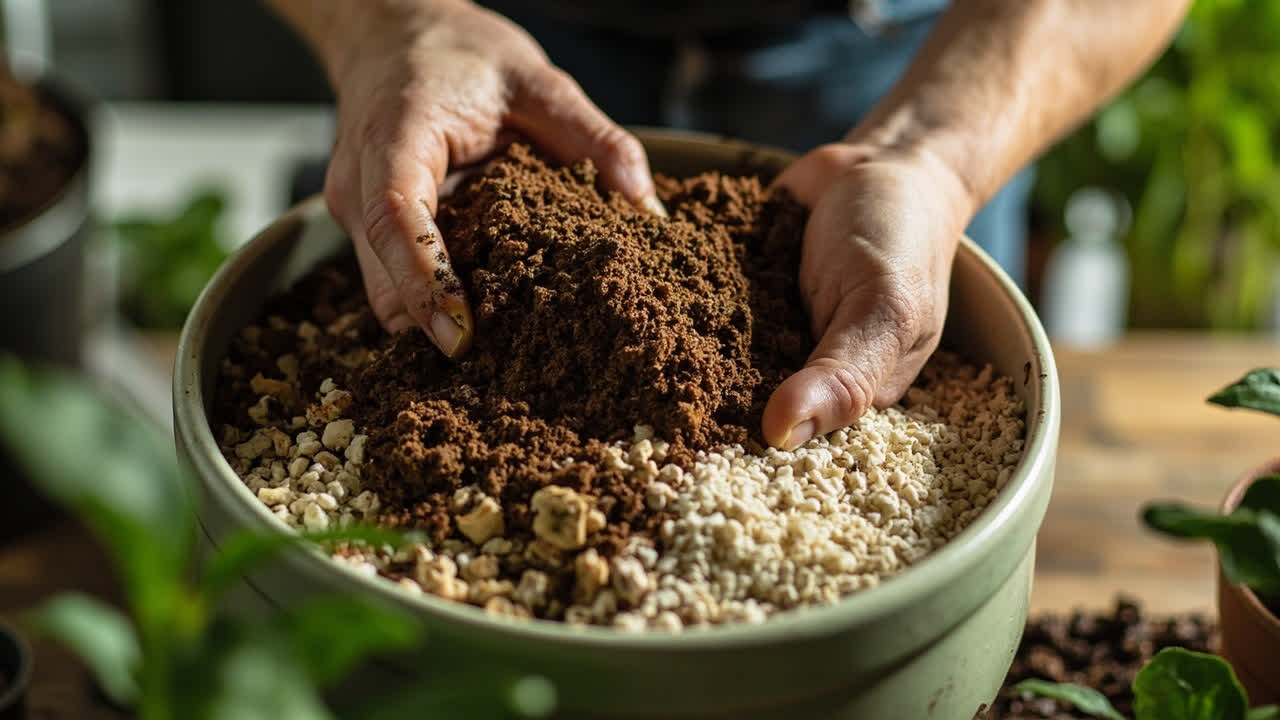
- Two parts quality potting mix
- One part perlite
- One part orchid bark or coarse bark
The perlite and bark keep the mix open and prevent compaction. Over time, the organic components break down and the perlite keeps the structure viable. Replace the top 2 to 3 cm of soil every six months as maintenance, even if you are not repotting.
How to Repot
Water the plant one to two days before. A moist root ball slides out more cleanly than a dry one.
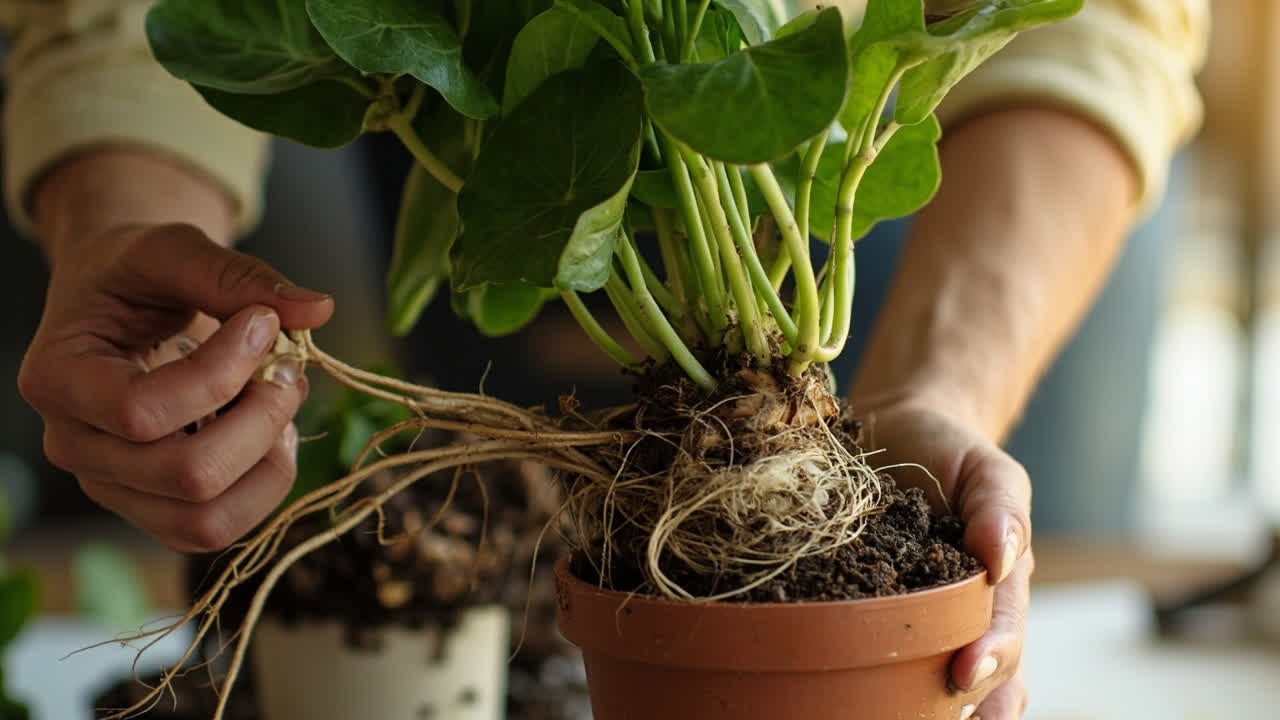
Remove the plant and examine the roots. Tip the pot, support the base of the stem, and slide the root ball out. Healthy Philodendron roots are firm, pale cream to tan, and slightly fleshy. Dark brown, mushy roots indicate root rot — trim those away before repotting.
Loosen the outer root ball. Gently tease the roots at the periphery with your fingers. This encourages them to grow outward into the new soil rather than continuing to circle the old root ball. Do not forcibly separate roots — just loosen the outer inch.
Add base layer and position. Put a layer of fresh mix in the new pot so the root ball sits about 2 cm below the rim. Centre the plant.
Backfill carefully. Pour mix around the sides, pressing gently as you go. The soil should be firm enough that the plant is stable but not so packed that air pockets are eliminated. The roots need oxygen.
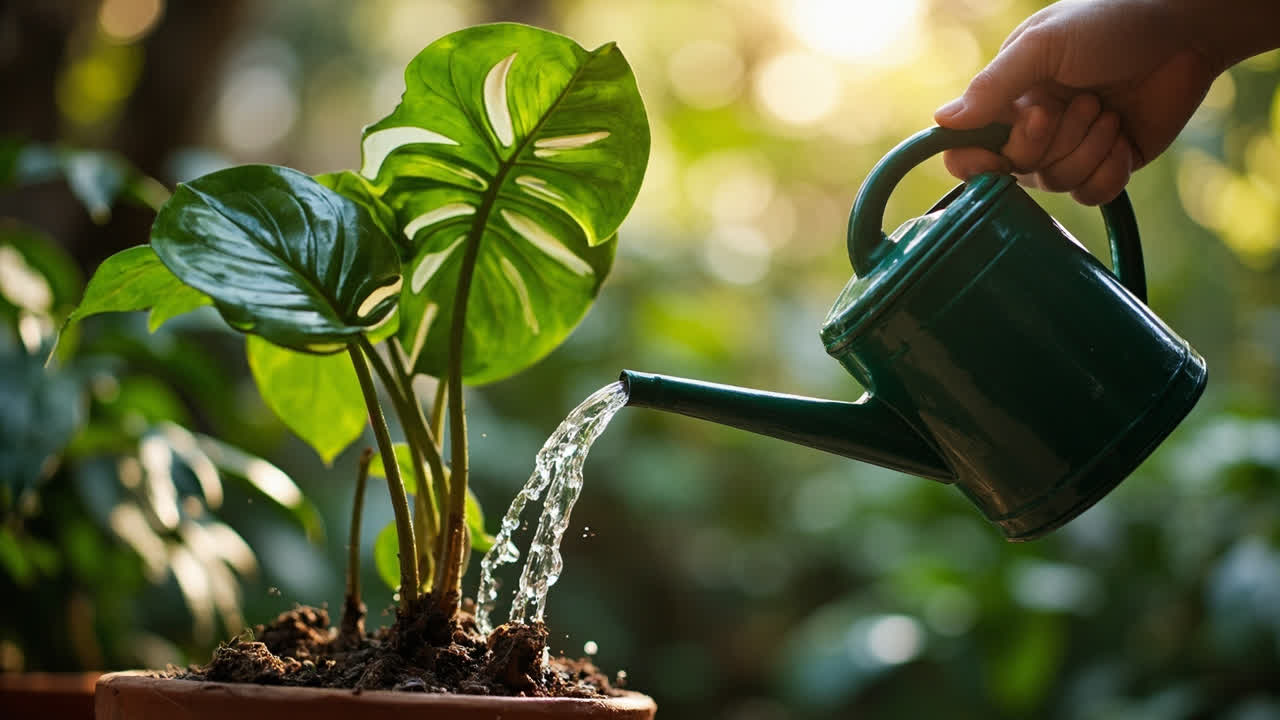
Water thoroughly. Water until it flows from the drainage hole. This settles the soil and makes contact with the root ball. Then leave it alone — do not water again until the top 3 to 5 cm of the new soil is dry.
After Repotting
Expect the plant to look slightly wilted for one to three days as it adjusts to the new root environment. This is normal. Do not increase watering to compensate — keep to the standard check-the-soil routine. New growth within two to three weeks tells you the plant has recovered.
If the plant stays wilted after five days or shows signs of declining rather than recovering, check whether the soil is staying wet — the most common post-repotting problem is overwatering because the owner is trying to “help” a wilting plant recover. Back off and let the soil dry properly.
For general Philodendron care, see Philodendron Care. For propagation, see Philodendron Propagation guide.
From Bank Statement to QuickBooks-Ready File
That manual cleanup you just read about? This tool skips it. Turn your PDF into QBO for QuickBooks without storing your data anywhere.
Start Converting