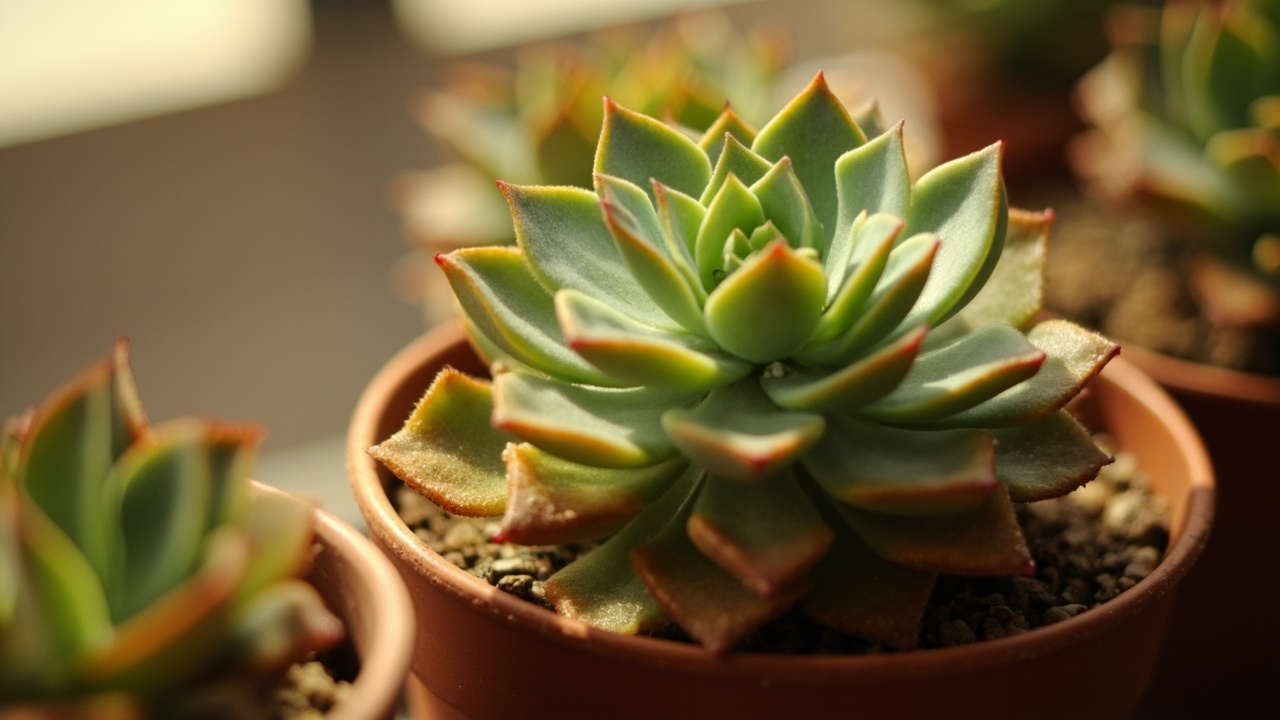
Echeveria leaves turning yellow is not one problem. It is four distinct problems that happen to share a color. The lower leaves slowly yellowing and thinning while the rosette above stays tight and firm means something entirely different from the sudden yellow-patch bleaching that appears on the sun-facing side after a heat wave. Before you reach for the watering can or move the pot, you need to read which pattern you are looking at. The fix depends on getting the diagnosis right.
The most common instinct when an Echeveria leaf turns yellow is to water more. This is usually the wrong move. Echeveria store water in every leaf; their natural response to stress is to pull moisture from the oldest lower leaves first, which causes those leaves to yellow and eventually drop. That process is normal senescence. But when yellowing climbs the rosette, appears as soft translucent patches, or shows up as dry brown-yellow spots on the upper leaves, you are looking at overwatering, sunburn, nutrient deficiency, or pest damage.
This article walks through all four causes in the order you are most likely to encounter them. Start with the pattern-matching section below, then jump to the detailed mechanism for your specific case. If you are unsure, the five-minute triage protocol in the second half will walk you through the diagnostic steps. For foundational care context, see our complete Echeveria care guide.
The Four Yellow-Leaf Patterns and What Each One Means
Echeveria yellowing falls into four recognizable patterns. Pattern one: lower leaves only, yellowing from the base upward, leaves thinning and drying while the upper rosette stays compact and colored. This is normal senescence or mild overwatering. Pattern two: mid-rosette leaves turning yellow and feeling soft or translucent, sometimes with a water-soaked appearance near the stem attachment. This is active overwatering with early root stress.
Pattern three: dry, papery yellow-tan patches on the upper and outer leaves, usually on the side facing the window. This is sunburn or UV bleaching. Pattern four: scattered yellow stippling or tiny pale spots across multiple leaves, sometimes with fine webbing visible on the rosette center. This is pest damage from mealybugs or spider mites.
Nutrient deficiency is a fifth pattern that is less common in Echeveria than in fast-growing houseplants. It shows up as uniform chlorosis — the entire leaf surface yellowing while the leaf stays firm. If the leaf is yellow but still plump and attached firmly, and the plant has been in the same mineral substrate for more than eight months without feeding, nutrient deficiency is the likely cause.
The University of Florida IFAS Extension notes that Crassulaceae in inert substrates show nitrogen deficiency as uniform chlorosis of older leaves first, progressing upward if uncorrected. One pattern that does not belong on this list: yellowing caused by winter dormancy. Echeveria enter partial dormancy from December through February and may pull back some outer-leaf color, but the leaves firm up rather than soften. Reduce watering to once monthly and wait for spring.
Overwatering: The Most Common Cause and the Most Misdiagnosed
Overwatering is responsible for more Echeveria deaths than any other single cause, and yellow leaves are its earliest visible signal. The mechanism is straightforward: Echeveria roots need oxygen between waterings. When the mineral substrate stays wet for more than five to seven days, root cells begin to die from hypoxia. The result is waterlogged soil, dying fibrous roots, and a plant that cannot uptake water or nutrients efficiently.
Damaged roots trigger the plant to pull resources from its oldest leaves first. Those leaves yellow, thin, and eventually drop. The cruel irony is that the yellowing looks like underwatering, so most growers add more water and accelerate the decline. The diagnostic test is touch, not calendar. Press the yellowing leaf gently between thumb and forefinger. If it feels soft, cool, or slightly translucent — like a water balloon — you are overwatering.
If the leaf is firm but uniformly pale yellow and the soil has been dry for more than ten days, the plant is likely drought-stressed and pulling from its reserves. Echeveria in a properly mixed gritty mix — 5:1:1 pumice-to-organic-to-scoria ratio in a terracotta pot with drain holes — should dry fully within four to five days in summer and seven to ten days in winter. If the soil is still damp after seven days in summer, the mix is holding too much water or the pot lacks adequate drainage.
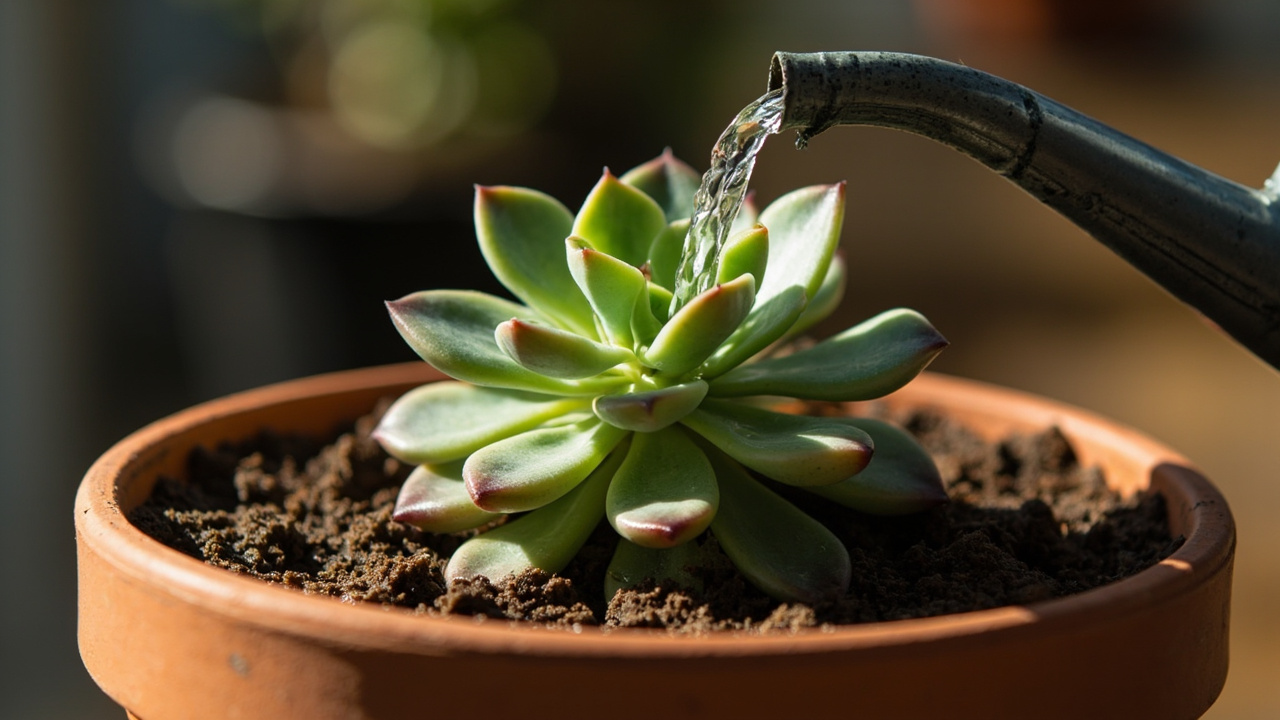
The fix for overwatering yellow is simple but requires patience. Stop watering entirely until the soil is bone dry throughout the pot depth. Remove the plant from its terracotta pot and inspect the roots: healthy Echeveria roots are white or pale tan and fibrous; rotted roots are dark brown, mushy, and detach easily. Trim any rotted roots with sterile scissors, let the root ball air-dry for 24 hours, and repot into a dry mineral mix. Wait five to seven days before the first post-repotting water.
New root growth should appear within two to three weeks, and yellowing should stop progressing within seven to ten days. For a plant that is yellowing but still has firm upper leaves and only mildly damp soil, the intervention is less drastic. Simply extend the dry interval between waterings by three to four days. Switch to the soak-and-dry method: water thoroughly until it runs from the drain holes, then do not water again until the top two inches of soil are completely dry and the lower leaves show the faintest wrinkle.
Sunburn and Light Stress: When Yellow Means Too Much of a Good Thing
Echeveria need bright light, but they are not cacti. Sudden increases in light intensity — moving a plant from a north-facing window to direct southern exposure, or taking an indoor plant outside in late spring — can cause photobleaching before the plant has time to acclimate. The farina, that powdery white coating on Echeveria leaves, acts as a natural UV filter. When light intensity exceeds what the farina can scatter, chlorophyll in the leaf tissue breaks down, producing yellow-tan patches that eventually turn papery brown.
Sunburn yellowing has a distinctive geography. It appears on the side of the rosette facing the light source, primarily on the upper and outer leaves that receive direct exposure. The patches are dry to the touch, not soft or translucent. Unlike overwatering, sunburn does not spread inward or downward once the light stress is removed. The damaged leaves will not recover their original color, but new growth emerging from the rosette center will be normal if the plant is moved to appropriate light within a week of the burn appearing.
The RHS recommends acclimating Echeveria to increased light in stages: start with two hours of direct morning sun for one week, increase to four hours for the second week, then transition to full bright indirect or filtered direct light. Echeveria elegans and Echeveria pulidonis are particularly sensitive to afternoon sun in warm climates; Echeveria laui tolerates more direct light due to its thicker farina coating. If you are growing under grow lights, maintain the light source 8 to 12 inches above the rosette and run it for 12 to 14 hours daily. Our Echeveria light requirements guide covers grow-light distances and seasonal adjustment in detail.
Recovery from sunburn is passive. Move the plant to a location with bright indirect light or filtered morning sun only. Do not remove the burned leaves unless they have fully dried and detached — partially damaged leaves still contribute photosynthates while the plant produces new growth. Expect the rosette to normalize within three to four weeks. If new growth also shows yellow patches, the light is still too intense or the plant has an underlying root issue compounding the stress.
Nutrient Deficiency: Nitrogen, Iron, and Magnesium in Mineral Soil
Echeveria grown in mineral-heavy substrates — the gritty mix of pumice, scoria, and coarse sand that prevents root rot — are inherently low in available nutrients. Organic components break down slowly, and frequent watering flushes what little nitrogen and trace elements remain. After six to eight months in the same pot, an Echeveria may begin showing nutrient deficiency as uniform yellowing of older leaves while the leaf tissue stays firm and the rosette structure remains tight.
Nitrogen deficiency presents as a gradual, even yellowing of the lowest leaves that slowly moves upward. The leaves do not soften or drop quickly; they pale over two to three weeks and then dry. Iron deficiency is different: it shows as interveinal chlorosis, where the leaf blade yellows but the veins stay green, primarily on the newest growth at the rosette center. Magnesium deficiency appears as yellowing along the leaf margins of older leaves, sometimes with a green arrowhead shape remaining in the center.
The fix for nitrogen deficiency is a single dilute feeding with a balanced succulent fertilizer at one-quarter strength, applied to moist soil. Do not feed a dehydrated or recently repotted plant. For iron deficiency, a chelated iron drench at the label-recommended dilution corrects the issue within two to three weeks. The Missouri Botanical Garden notes that Echeveria prefer a soil pH between 6.0 and 7.0; outside this range, iron becomes unavailable even when present in the substrate.
Over-fertilizing causes rapid, weak growth that stretches the rosette into etiolation and makes the plant more susceptible to pest damage. Feed once in early spring and once in midsummer. Skip feeding entirely in fall and winter dormancy. If your Echeveria is yellowing and you have fed it within the last month, the cause is almost certainly not nutrient deficiency. For the right mineral substrate composition, see our Echeveria soil mix guide.
Pest Damage: Mealybugs, Spider Mites, and Suck-Sap Yellowing
Pest-induced yellowing is the pattern most Echeveria owners miss until it is advanced. Mealybugs colonize the tight spaces between leaves at the rosette center, feeding on sap and injecting toxins that cause localized yellow stippling. Spider mites are smaller and prefer the undersides of lower leaves, producing fine webbing and a characteristic pinprick yellow-dot pattern that looks like the leaf has been dusted with turmeric.
Mealybugs leave white, cottony deposits in the leaf axils. If you see yellowing concentrated near the rosette center with no change in watering or light, gently separate the upper leaves and look for the white fluff. Spider mite damage appears on the lower and outer leaves first, where air circulation is lowest and humidity is highest. Hold a white paper under the lower leaves and tap sharply; if tiny moving specks fall onto the paper, you have mites.
The CSSA pest management notes recommend isopropyl alcohol at 70 percent concentration applied with a cotton swab directly to mealybug colonies, repeated every three days for two weeks. For a broader treatment approach that covers both pests, our haworthia pest identification guide covers the same mealybug and mite species that attack Echeveria. For spider mites, increase air circulation around the plant and rinse the rosette gently with lukewarm water, focusing on the undersides of leaves.
Avoid misting Echeveria as a humidity measure — standing water on leaves damages farina and creates the humid microclimate mites prefer. If the infestation is severe, a neem oil spray at half strength applied in the evening provides residual control for seven to ten days. Expect yellow stippling to stop progressing within 48 hours of treatment, but existing yellow spots will not green up. Quarantine any Echeveria showing pest symptoms from your other succulents immediately.
Diagnosis in Five Minutes: A Step-by-Step Triage
When you find yellow leaves on your Echeveria, work through this sequence in order. Do not skip steps. Each answer narrows the cause.
Step one: touch the yellow leaf. Firm and dry means light or age stress. Soft and translucent means overwatering. Papery and flat means sunburn damage that happened days ago. Step two: check the soil. Insert a wooden skewer to the bottom of the pot and leave it for thirty seconds. If it comes out damp or with soil stuck to it, the substrate is too wet. If it comes out clean and dry, underwatering or nutrient deficiency is more likely.
Step three: locate the yellowing. Lower leaves only suggests normal senescence or mild overwatering. Upper and outer leaves suggest sunburn or pests. All-over uniform yellow suggests nutrient deficiency. Step four: inspect the rosette center with a flashlight. Look for white cottony deposits, fine webbing, or a soft dark stem indicating root rot. Step five: review the light history. Has the plant been moved recently? Has direct sun exposure increased? If yes, sunburn is the probable cause.
If the triage points to overwatering and the stem is soft or dark at the base, you have moved into root rot territory. That requires the full save-dying protocol: unpot, trim all rotted tissue, let the plant callus for 48 to 72 hours, and re-root in dry mineral substrate. Our save-dying haworthia protocol walks through the same surgical steps that apply to Echeveria. The yellow leaves will not recover, but a plant with a firm stem and healthy upper rosette can regenerate roots within three to four weeks.
Recovery Protocols: What to Do Once You Know the Cause
For overwatering: stop watering, extend the dry interval, and if roots are damaged, repot into fresh mineral mix after trimming. Expect yellowing to halt within seven to ten days. New roots appear in two to three weeks. For sunburn: move to filtered light immediately. Do not fertilize or overwater in response — the plant needs stability, not intervention. New growth normalizes in three to four weeks.
For nutrient deficiency: one dilute feeding at quarter strength in spring or midsummer. Do not feed in dormancy. For pests: treat with alcohol swabs or neem oil, quarantine the plant, and inspect neighbors weekly. The leaves that have already turned fully yellow and papery will not recover. Gently remove any leaf that pulls away with no resistance — it is already detached internally and leaving it invites leaf rot.
Leaves that are still firm but yellow should stay on the plant; they are still contributing energy while the rosette produces replacements. Within one to two months of correcting the underlying cause, the rosette should show tight, properly colored new growth at the center and no further yellowing in the middle or upper leaves.
If yellowing continues after you have corrected the apparent cause for more than three weeks, the issue is likely compound: overwatering plus early root stress, or sunburn plus underlying nutrient depletion. At that point, unpotted the plant, inspect the root system fully, and consider whether the substrate has broken down. Echeveria mineral mix should be replaced every 18 to 24 months as the pumice fractures and the organic component decomposes into fine particles that hold too much moisture.
Yellow leaves are a signal, not a sentence. Read the pattern, match it to the mechanism, and act on the specific cause rather than reaching for generic fixes. Most Echeveria recover fully once the correct intervention is applied within the first two weeks of visible symptoms. The ones that do not recover are almost always cases where the diagnosis was wrong and the wrong treatment was applied for long enough to push a stressed plant into irreversible decline.