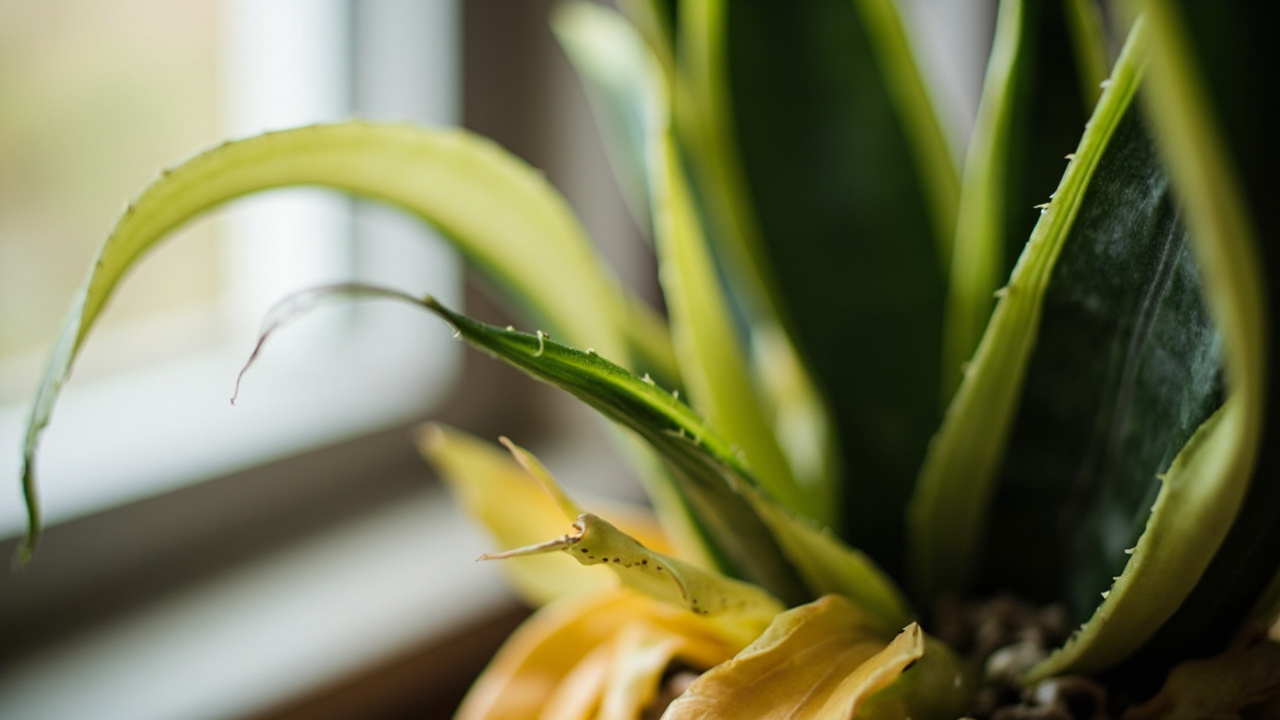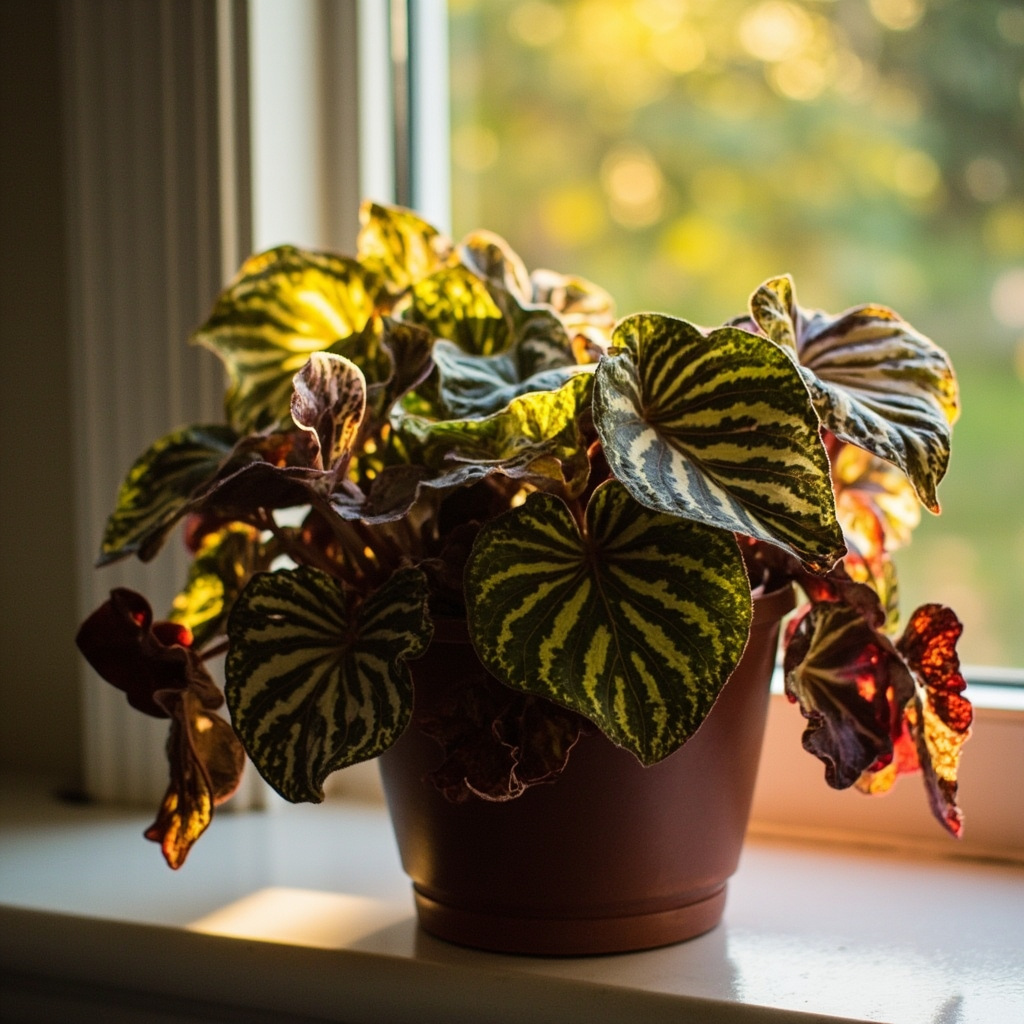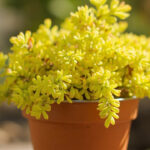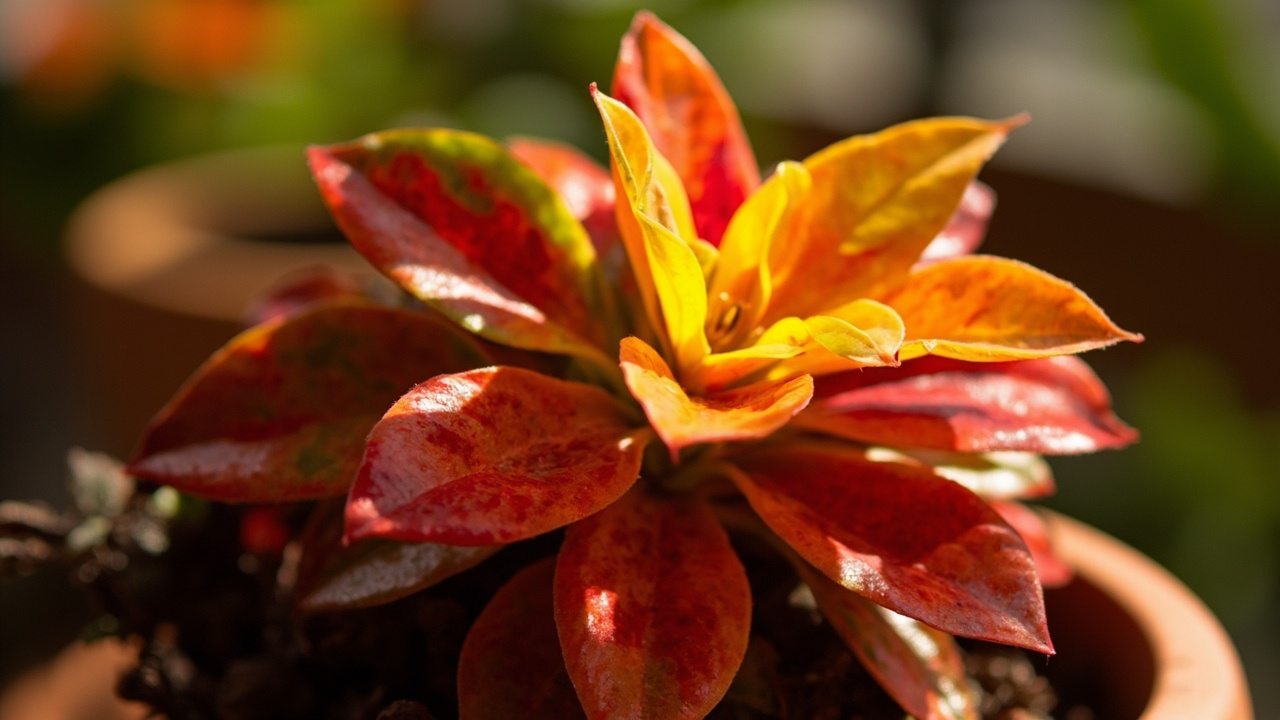

A croton sits in a bright nursery window in full red-orange-yellow glory. Three weeks later on a dim shelf, the new leaves emerge plain green. The plant isn’t dying — it’s starving. Codiaeum variegatum, the species behind virtually every colorful-foliage croton in cultivation, runs a tight color budget that responds directly to three signals: light intensity, watering rhythm, and humidity floor. Get those right and the plant pays you back in color. Get any of them wrong and the color goes first, the leaves go second, and within a month you own a green stick with a tag on it.
What follows is the Pillar for indoor croton care — the overview every Attribute page (light, water, varieties) and every Problem page (leaf drop, brown leaves) hangs off. If you only read one croton article, read this one. If you already know what your croton needs and want to fix one specific thing, the sibling links at the bottom of each section take you straight to it.
What a croton actually is — and what it isn’t
Codiaeum variegatum is a tropical understory shrub from the family Euphorbiaceae, native to Indonesia, Malaysia, and the Philippines. In the wild it grows as a semi-evergreen understory plant, dappled by taller canopy trees, and it produces modest flowers on long spikes — but those flowers are not why anyone grows it. It’s grown for the leaves: leathery, glossy, and patterned in combinations of green, yellow, orange, red, pink, and near-black that no other houseplant reliably produces. The “petra” cultivar gives broad oval leaves splashed with red and yellow. “Gold dust” sprinkles yellow on green. “Mammy” twists the leaves into narrow corkscrews of red and orange. “Eleanor Roosevelt” drops narrow yellow speckles on a green lance. The colors are real pigments — chlorophyll for green, anthocyanin for red and pink, carotenoids for yellow and orange — and which pigments dominate is a direct response to light, water, and humidity. Croton leaves have a succulent-like thickness that stores water and gives them their characteristic glossy sheen, but this thickness does not make them drought-tolerant: the thick leaves still lose moisture rapidly in dry indoor air. — and which pigments dominate is a direct response to light, water, and humidity.
For the full cultivar comparison — Petra vs Gold Dust vs Mammy vs Eleanor Roosevelt ranked by leaf color, leaf shape, and indoor performance — see the croton varieties guide.
What it isn’t: a low-light plant. Crotons will not adapt to a dim corner. They will not “settle in” after a few weeks. They will not acclimate the way a pothos does. What they will do is drop their oldest leaves first, then their middle leaves, then stop producing new colored leaves at all, then start producing small green leaves as a survival response — and if you don’t notice, you’ll think the plant is doing fine while it slowly starves.
What it also isn’t: a one-size-fits-all plant. The trade-off between color and survival is the central fact of croton care. Every decision you make — where to put it, when to water, whether to mist — is a decision about whether the plant will spend its energy on color or on staying alive. The rest of this Pillar is about how to choose.
The light that drives the color — and the color that hides when light drops
Color is a cost the plant pays. Anthocyanin (red and pink) and carotenoid (yellow and orange) pigments protect chloroplasts from light damage that would otherwise bleach the leaf in direct tropical sun. In dim conditions, the plant stops producing them because it doesn’t need the protection — and because producing them costs energy the plant would rather spend on survival. Variegation, the patches and speckles and color zones that define the cultivar, is the visible signature of that trade-off. When variegation fades to green, the plant isn’t losing pigment because it’s old — it’s losing pigment because light dropped below its working threshold and the plant redirected energy elsewhere.
The workable lux threshold for indoor crotons lands between 800 and 1500 lux for sustained color — anything below 800 and the plant conserves energy by cutting pigment; anything above 1500 and the leaves curl and bleach. Most smartphones have a lux meter app that reads close enough for croton decisions.
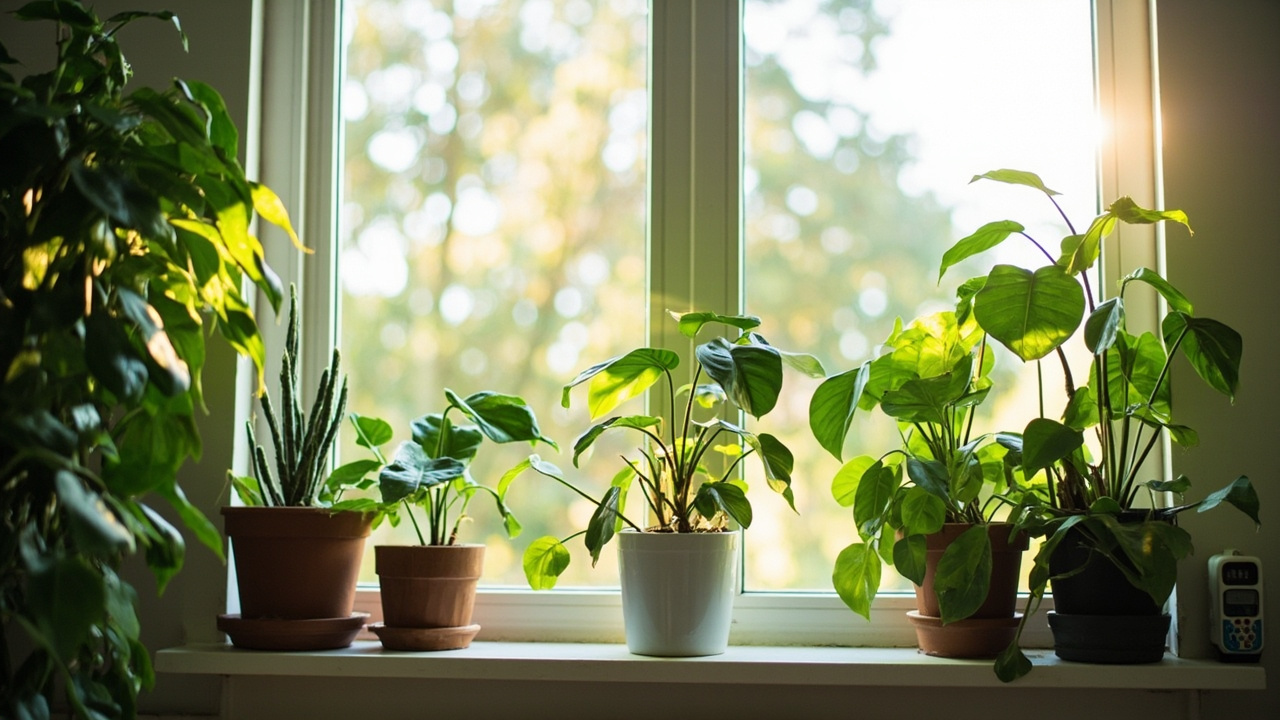
For the northern hemisphere, a southern exposure window delivers the highest peak intensity (4000-8000 lux at midday in summer) but requires either setback (1-2 meters back) or sheer curtain filtering to keep crotons in their workable band. An eastern exposure window delivers 2000-3000 lux for 3-4 hours of morning sun — almost always within the workable band without filtering. Western windows fall between the two: bright afternoon sun that may need filtering in summer, workable in winter.
The working threshold is roughly 800-1500 lux for sustained color production in indoor crotons, with the high end of that range producing the most saturated reds and yellows. A bright east-facing window unfiltered by trees delivers around 2000-3000 lux for 3-4 hours of morning sun — that’s the sweet spot for most cultivars, especially in summer. A south-facing window (northern hemisphere) or north-facing window (southern hemisphere) delivers 4000-8000 lux at peak, which is enough to push the plant into protective mode if the sun is direct — leaves curl to reduce surface area, variegation bleaches to yellow, and growth slows. The right move with a south-facing window is to set the croton back 1-2 meters so the light is bright but indirect, or to filter with a sheer curtain.
For the full mechanics of lux measurement, window direction, and grow-light setup, see the croton light requirements attribute page.
Photoperiod — the daily hours of light — matters as much as intensity. Crotons need 6-8 hours of bright light per day to maintain variegation. A plant getting 4 hours of direct sun plus 4 hours of bright indirect light is happy. A plant getting 2 hours of direct sun plus a dim corner will lose color within 4-6 weeks even if the peak intensity was high. This is the mechanic behind the most common croton complaint: “it was colorful when I bought it, now it’s all green.” It’s not the cultivar losing vigor. It’s the light budget dropping below the threshold.
If a new leaf emerges plain green, the plant is telling you it has reduced its pigment production. If the leaf emerges smaller than the leaves above it, the plant is reducing growth in addition to reducing pigment — that’s a more serious signal. The fix is almost always light: move the plant closer to the brightest spot in your home, or add a grow light. For the full mechanics of lux measurement, window direction, and grow-light setup, see the croton light requirements attribute page.
From PDF to Excel in one click
Forget retyping line by line. Upload any bank statement, get a spreadsheet you can actually use. Your files are never stored, and you can test the converter with 3 free conversions.
Try it freeWater: not a calendar — a trigger
Crotons drink heavily when they’re growing and barely at all when they’re dormant. They also require acidic soil — a pH between 5.5 and 6.5 — and a well-draining potting mix that returns to dry within 2-3 days of watering. Heavy clay or peat-heavy mixes retain water too long and suffocate croton roots. Trying to water on a fixed weekly schedule is the second most common cause of croton death (the first is light loss). The right move is to water on a trigger: stick a finger 2-3 cm into the soil. If the top 2 cm are dry, water thoroughly until it drains from the bottom. If they’re still moist, wait.
Water quality matters more than most growers realize. Tap water in most municipalities carries chlorine and often fluoride at levels toxic to crotons over time. Fluoride toxicity accumulates in the leaf margins and shows up as a brown, crispy edge that gets worse over weeks even when watering is correct. The fix is one of three: switch to filtered water (a simple charcoal filter removes chlorine and most fluoride), collect rainwater, or let tap water sit in an open container for 24 hours before using (this off-gasses chlorine but does NOT remove fluoride).
The trigger matters because overwatering — keeping the soil constantly wet — kills croton roots faster than underwatering does. The plant’s roots are adapted to a rainforest understory where the topsoil dries between rains; they suffocate in a perpetually damp pot. Water deficit, by contrast, makes the plant drop its oldest leaves and slow growth but rarely kills it. A croton that gets a little too dry recovers when you water it. A croton that has been too wet for two weeks may already have lost 30-50% of its root mass to rot.
For growers who travel or who keep crotons in a sun-room, a capillary mat under the pots provides consistent sub-irrigation: the mat wicks water from a reservoir below, and the soil draws what it needs. Combined with bottom-watering, capillary mats eliminate the most common croton failure mode (chronic overwatering from “just in case” watering).
For the full two-trigger watering system (soil dryness + leaf-droop signal) and the bottom-watering vs top-watering trade-off, see the croton watering guide attribute page.
The trigger also catches the seasonal shift. Indoor crotons under bright light in summer may drink every 3-4 days. The same plant in a dim corner in winter may need water every 10-14 days. A calendar doesn’t shift with the season. A trigger does.
For the watering technique itself, the cluster recommends bottom watering for indoor crotons in well-drained pots: set the pot in a tray of room-temperature water for 20-30 minutes, let the soil wick up from the drainage holes, then remove and let the excess drain. This wets the lower root zone without saturating the topsoil where rot starts. If your pot doesn’t have drainage holes, switch to a pot that does. Bottom watering without drainage just makes the crown sit in water. For the full two-trigger watering system (soil dryness + leaf-droop signal), see the croton watering guide attribute page.
Humidity: the silent 40% floor
Most indoor homes in winter sit at 25-35% relative humidity. Crotons want 50% or higher. The gap is the most common cause of two symptoms that look unrelated: brown leaf margins and crispy edges, and leaf drop that begins at the bottom of the plant and works upward. Both are humidity stress, not water stress. The plant is losing moisture through its leaves faster than its roots can replace it from a dry-soil reservoir.
The cheapest fix is grouping plants. Three to five crotons together, or a croton grouped with other tropical foliage (calathea, prayer plant, monstera), creates a microclimate around the leaves that bumps humidity 5-10 percentage points. The next step is a humidifier — and this is where most growers undersize. A small ultrasonic humidifier rated for 200 sq ft will not meaningfully humidify a 400 sq ft room. Get one rated for the room size, or run it in a smaller enclosed space (a bathroom with a south-facing window is the classic croton room). Misting is the third option but the least effective: the humidity spike from misting lasts 10-15 minutes before the air returns to baseline, and the water on the leaves can promote fungal leaf spot if it doesn’t dry quickly.
If you see brown leaf margins appearing on a plant that you’re watering correctly, the humidity is the problem, not the water. Add a humidifier, group the plant with others, or move it to a brighter-but-more-humid room like a bathroom or kitchen. For a more thorough treatment of humidity tents, pebble trays, and the 50% threshold, see the croton humidity attribute page (cross-cluster bridge to the calathea humidity guide).
The five signals of stress — and the five that aren’t
Crotons are drama queens. A croton that drops three leaves overnight is not necessarily dying — it may be reacting to a single cold draft, a single watering miss, or a single move to a new spot. The trick is reading the signal correctly. Five signals mean something; five other signals mean nothing.
Five signals that mean something: (1) brown leaf margins with crispy edges (humidity, fluoride, or salt); (2) leaf drop starting from the bottom and progressing upward over 2-3 weeks (chronic underwatering or root rot from overwatering); (3) sudden total leaf drop after a temperature drop below 60°F or 16°C (cold shock — crotons are tropical understory plants and below 60°F they panic); (4) all new leaves emerging plain green for more than 4 weeks (light dropped below threshold); (5) leaves curling inward along the long axis, especially in winter (low humidity combined with low light). For each of these, see the croton leaves dropping problem page for the full diagnostic.
For the full diagnostic on each of these five signals — including the leaf-drop recovery timeline, the cold-shock threshold, and the fluoride-vs-humidity-vs-salt split for brown leaf margins — see the croton leaves dropping problem page and the croton leaves turning brown problem page.
Five signals that mean nothing: (1) a single dropped leaf on an otherwise healthy plant (the plant sheds old leaves as it grows new ones); (2) a small amount of clear sap from a leaf scar (latex from the Euphorbiaceae family, normal); (3) slow growth in winter (the plant is semi-evergreen and slows in low light); (4) slight leaf curl in a newly purchased plant (transit stress, usually resolves in 2-4 weeks); (5) pale new leaves that gradually darken to the cultivar color (the plant is still adjusting its pigment production). The mistake most beginners make is treating signal (5) as if it were a problem and over-correcting with fertilizer or extra water — which then creates the real problems.
If your croton has dropped more than 30% of its leaves in a 7-day window, stop reading this Pillar and go straight to the croton leaves dropping problem page. That’s a recovery situation, not a maintenance situation.
Propagation: only for the croton you already have
Croton propagating from stem cuttings works but is slow and risky. If you have a croton that’s healthy and bushy and you’d like a second one, take a 10-15 cm cutting from a healthy stem, cut just below a node (the bump where leaves meet stem), remove the lower leaves, dip the cut end in rooting hormone, and set it in a moist 50/50 mix of perlite and peat. Cover with a clear plastic bag or a humidity tent (a clear plastic tote works) to hold humidity near 100%. Keep at 70-75°F (21-24°C) with bright indirect light. Roots form in 4-8 weeks. Once new growth appears, transplant to regular croton soil and treat as a mature plant.
Two cautions: first, croton sap is mildly toxic and a skin irritant — wear gloves when taking cuttings. Second, propagation is not a substitute for fixing the conditions that made the parent plant drop leaves. If your croton is losing color and dropping leaves, propagating a cutting of it just gives you two crotons losing color and dropping leaves. Fix the parent first.
For the full propagation technique — including water propagation as an alternative, the internode-to-node spacing rule, and aerial root handling — see the croton propagation how-to page.
For the full propagation technique — including water propagation as an alternative, the internode-to-node spacing rule, and aerial root handling — see the croton propagation how-to page.
The trade-off in one sentence
Color is what a croton pays you for the three things it needs: bright light (800-1500 lux for 6-8 hours), watering on a soil-dryness trigger (not a calendar), and humidity at 50% or higher. If you give it those three, the variegation holds, the new growth is colored, and the plant rewards you with the most vivid leaf display of any houseplant. If you give it two out of three, the plant survives but the color fades. If you give it one or zero, the plant drops leaves and eventually dies.
The croton is not a beginner plant. It is, however, a forgiving one once you understand the three signals: light, water trigger, humidity floor. Match those and the plant takes care of the rest. Miss them and no amount of fertilizer, repotting, or “talking to it” will save it. Color is the readout. Read the color, fix the signal. That’s the whole Pillar.