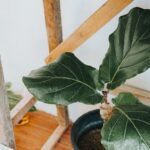
Rubber plants (Ficus elastica) are among the most forgiving indoor trees you can grow. They handle typical household conditions, tolerate occasional neglect, and still put out those thick, glossy leaves that make a room feel finished. The core formula is simple: bright indirect water, moderate watering, and soil that drains well. Get those three right and the plant does the rest.
What makes rubber plants stand out is their size and presence. A healthy specimen can reach 6 to 8 feet indoors over several years, with leaves that grow up to 12 inches long. The upright growth habit means it fits into corners and beside furniture without sprawling. The most common variety has deep green foliage, but cultivars like ‘Burgundy’ and ‘Tineke’ add dark red or variegated color if you want something more decorative.
This guide covers the full care profile — light, water, soil, humidity, fertilizing, pruning, and propagation — so you can keep your rubber plant healthy for the long term, not just keep it alive.
Light Requirements for Rubber Plants
Rubber plants need bright indirect light to thrive. That means a spot near a window with filtered sunlight — east- or west-facing works well, or a few feet back from a south-facing window. Direct afternoon sun can scorch the leaves, especially in summer, while too little light leads to leggy stems and smaller, sparser foliage.
In a low-light room, a rubber plant will survive for months but it will stretch toward the light source and lose its compact shape. If that happens, move it gradually to a brighter position over a week or two. Rubber plants adjust to new light levels, but a sudden jump from dim to intense direct sun can cause leaf burn on the newly exposed side.
Rotate the plant a quarter turn every two to three weeks so all sides get even light. This keeps the trunk upright and prevents the plant from leaning. If you only have north-facing windows, a full-spectrum grow light running 10 to 12 hours a day will supplement what the window provides.
How to Water a Rubber Plant
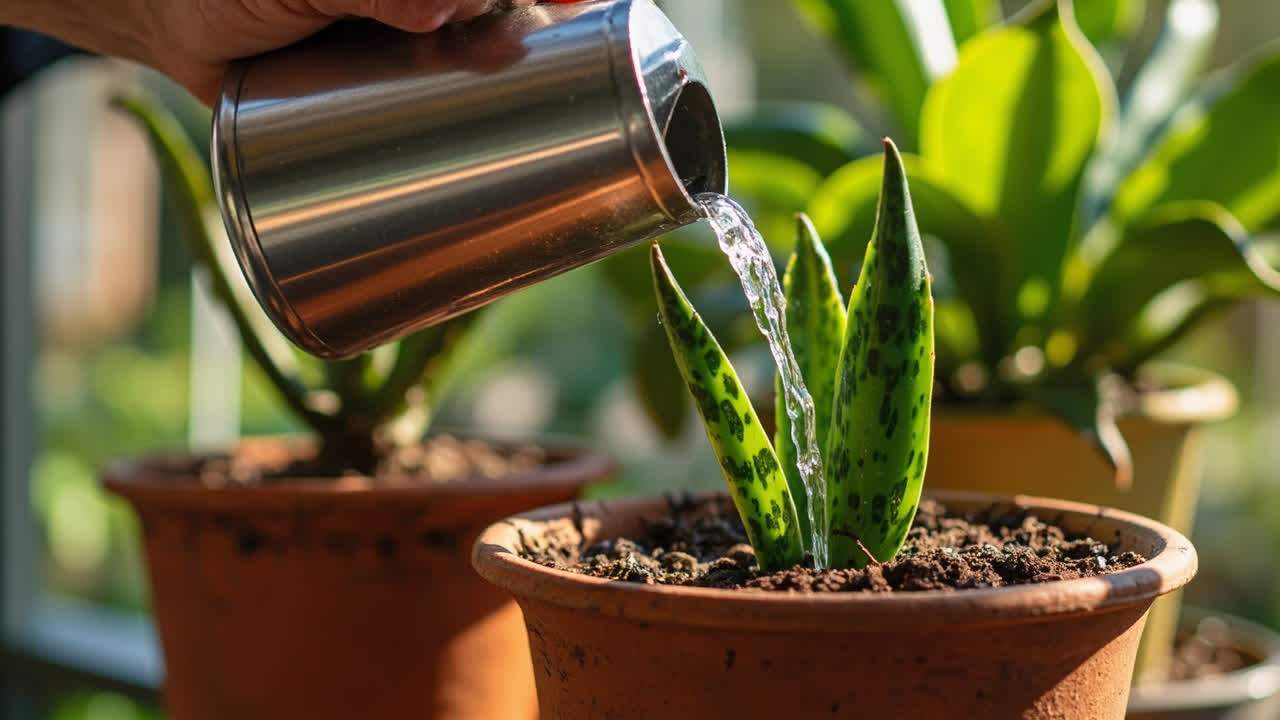
Water when the top inch of soil feels dry to the touch. Push your finger into the soil about an inch deep — if it comes out clean and dry, it is time to water. When you do water, soak the entire root ball until water runs out the drainage hole, then let the pot drain completely. Never let the plant sit in a saucer of standing water.
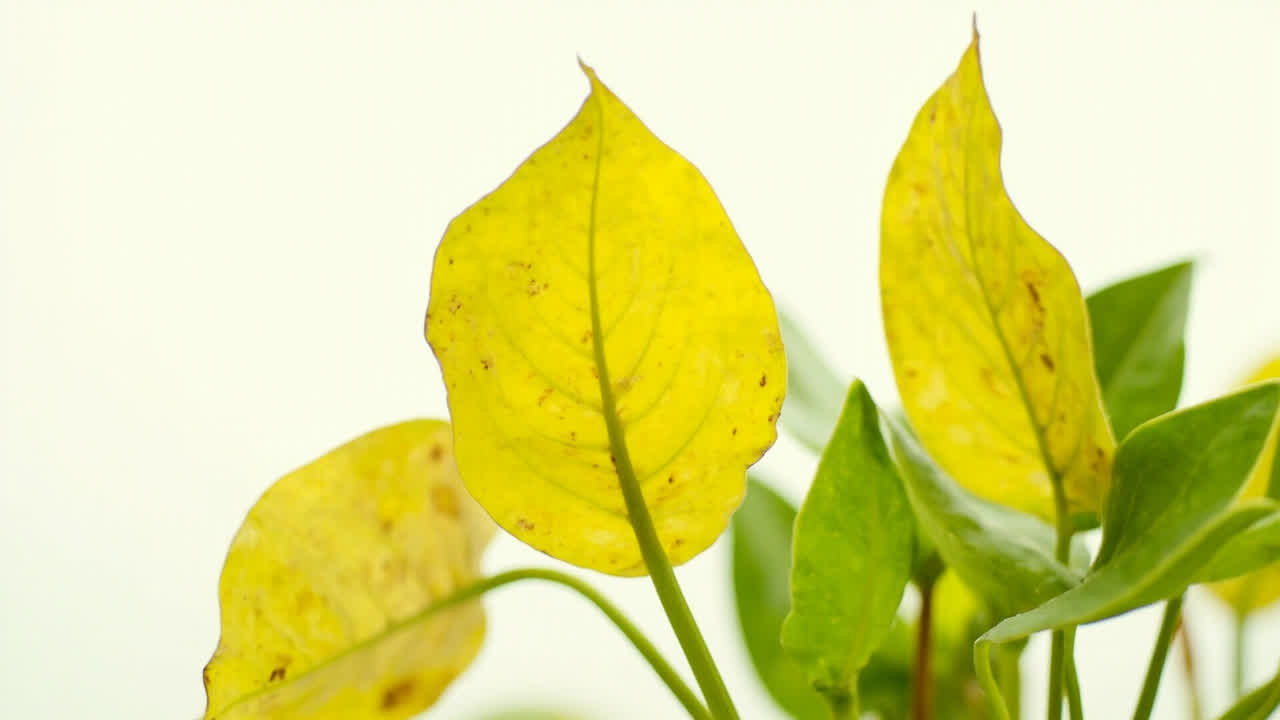
Overwatering is the most common mistake. Symptoms include yellowing lower leaves, a soft or mushy stem base, and soil that stays wet for more than a week after watering. If you see these signs, hold off on watering and check the roots for rot. Underwatering, by contrast, causes leaves to droop and curl inward — the plant recovers quickly once watered, but repeated drought stress weakens it over time.
In spring and summer, during active growth, you may need to water every 7 to 10 days depending on pot size, temperature, and humidity. In fall and winter, cut back to every 2 to 3 weeks. The plant uses less water when growth slows, and wet soil in cool conditions is the fastest route to root rot.
Best Soil and Potting Mix
Rubber plants need well-draining potting mix that holds some moisture but does not stay soggy. A standard indoor plant potting mix works if you add perlite or coarse bark at a ratio of about 3 parts mix to 1 part drainage material. The goal is a mix that feels light and airy, not dense or clay-heavy.
Repot every 2 to 3 years in spring, moving up one pot size at a time — no more than 2 inches wider in diameter. Rubber plants actually prefer being slightly root bound, which encourages leaf growth over root expansion. If you see roots circling the bottom of the pot or growing out the drainage hole, it is time. Use a pot with at least one drainage hole; without one, water pools at the bottom and the roots suffocate.
Humidity and Temperature Needs
Rubber plants prefer moderate humidity, around 40 to 50 percent, but they tolerate the 25 to 35 percent found in most heated homes. Below 25 percent, leaf edges may turn brown and crispy, especially in winter. A humidity tray, a room humidifier, or grouping the plant with other foliage plants all help raise the local humidity.
The ideal temperature range is 60 to 80 °F (15 to 27 °C). They can handle brief dips to 50 °F (10 °C) but sustained cold causes leaf drop. Keep the plant away from heating vents, air conditioning units, and drafty windows. A rubber plant that loses leaves after a cold draft will recover, but it may take 4 to 6 weeks for new growth to appear.
Misting the leaves does not meaningfully raise humidity — it only wets the surface for an hour or so. If humidity is a persistent issue, a small humidifier placed nearby is far more effective than misting.
Fertilizing Your Rubber Plant
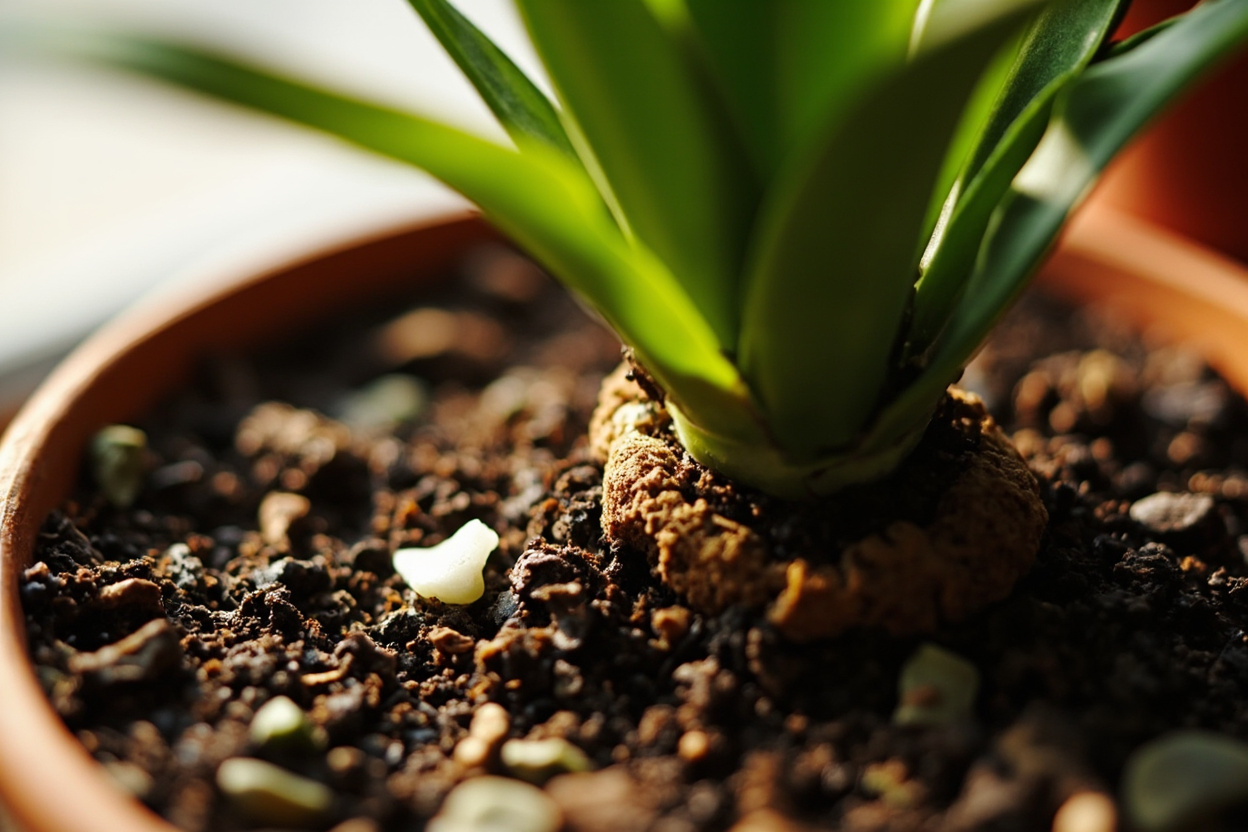
Feed monthly during the growing season, spring through early fall, with a balanced liquid fertilizer diluted to half strength. A formula with an NPK ratio for foliage growth — something like 10-10-10 or 20-20-20 — works well. Apply it to damp soil, never dry, to avoid root burn.
Skip fertilizing entirely in late fall and winter. The plant is not actively growing, and unused salts build up in the soil, which can damage roots and cause leaf tip burn. If you notice a white crust on the soil surface or pot rim, that is salt buildup — flush the soil with plain water and reduce fertilizing frequency next season.
More is not better with rubber plants. Over-fertilizing causes leaf burn, weak leggy growth, and can kill the plant faster than under-fertilizing. If you are unsure, use half the recommended dose and watch how the plant responds over 3 to 4 weeks.
Pruning and Propagation
Prune rubber plants in spring or early summer to control height and encourage branching. Cut just above a leaf node using clean, sharp shears. The cut will bleed a milky sap — wipe it with a damp cloth and avoid contact with skin, as it can irritate. A single cut stem often produces two new branches below the cut, giving the plant a fuller shape.
Propagation from stem cuttings is straightforward:
- Cut a 4 to 6 inch stem section with at least two leaves, making the cut just below a node.
- Let the cut end dry and callus for 30 to 60 minutes to reduce sap bleed.
- Place the cutting in water or moist perlite in bright indirect light.
- Change the water every 3 to 4 days if using water propagation.
- Roots typically appear in 3 to 5 weeks. Pot up when roots are at least 2 inches long.
Rubber plants also propagate by air layering, which works well for leggy specimens you want to shorten. The new plant can be potted alongside other indoor trees once established.
Common Problems and Quick Fixes
- Yellow lower leaves: Usually overwatering or natural leaf shedding. Check soil moisture and drainage. Remove yellow leaves to redirect energy.
- Leaf drop: Often caused by a sudden change in light, temperature, or location. Stabilize the environment and wait 3 to 4 weeks for recovery.
- Leggy growth: Not enough light. Move to a brighter spot and prune stretched stems to encourage branching.
- Brown leaf edges: Low humidity or salt buildup from fertilizer. Increase humidity and flush the soil.
- Dusty leaves: Wipe with a monthly damp cloth to keep pores unblocked and improve photosynthesis.
Most rubber plant problems trace back to one of three causes: too much water, too little light, or a sudden environmental change. Correct the underlying issue and the plant usually bounces back on its own within a month.