—
title: DIY Hydroponic Reservoir: Build a Simple, Reliable Nutrient Tank at Home
target: DIY hydroponic reservoir
slug: diy-hydroponic-reservoir-build-guide
cluster: hydroponics
type: SEO Backbone
—
A too-small reservoir is one of the most common reasons hydroponic systems stall. Your plants look healthy for a few weeks, then the nutrient solution drops faster than expected, pH swings start, and growth slows to a crawl — all because your tank ran dry or became a breeding ground for algae before you noticed. A properly sized, well-built reservoir fixes that. This guide goes past the basic bucket-and-pump setup and into the details that actually determine whether your system holds up over a full grow cycle.
Why Your Reservoir Size Actually Matters
Reservoir size isn’t just about holding enough water — it’s a buffer. A larger volume of nutrient solution stays stable longer. pH fluctuates more slowly. Temperature swings are dampened. And you don’t have to top it off every day, which matters if you’re growing in a warm climate or running a high-uptake crop like lettuce.
The rule of thumb is roughly 1–2 gallons of nutrient solution per plant in a DWC or flood-and-drain system. For 4–6 plants, that means a minimum of 5–8 gallons. If you’re running a larger setup with 8–12 plants, look at 15–20 gallons as a practical minimum. Undersizing might seem fine at first, but once temperatures rise and plants hit their peak vegetative growth, you’ll be refilling constantly — and every refill is a chance to get your pH and EC wrong.
One more thing: algae loves light and warmth. An opaque, dark-colored container keeps light out and keeps your solution cooler. Clear or translucent containers will grow algae fast, even if you can’t see it forming right away.
Materials Checklist
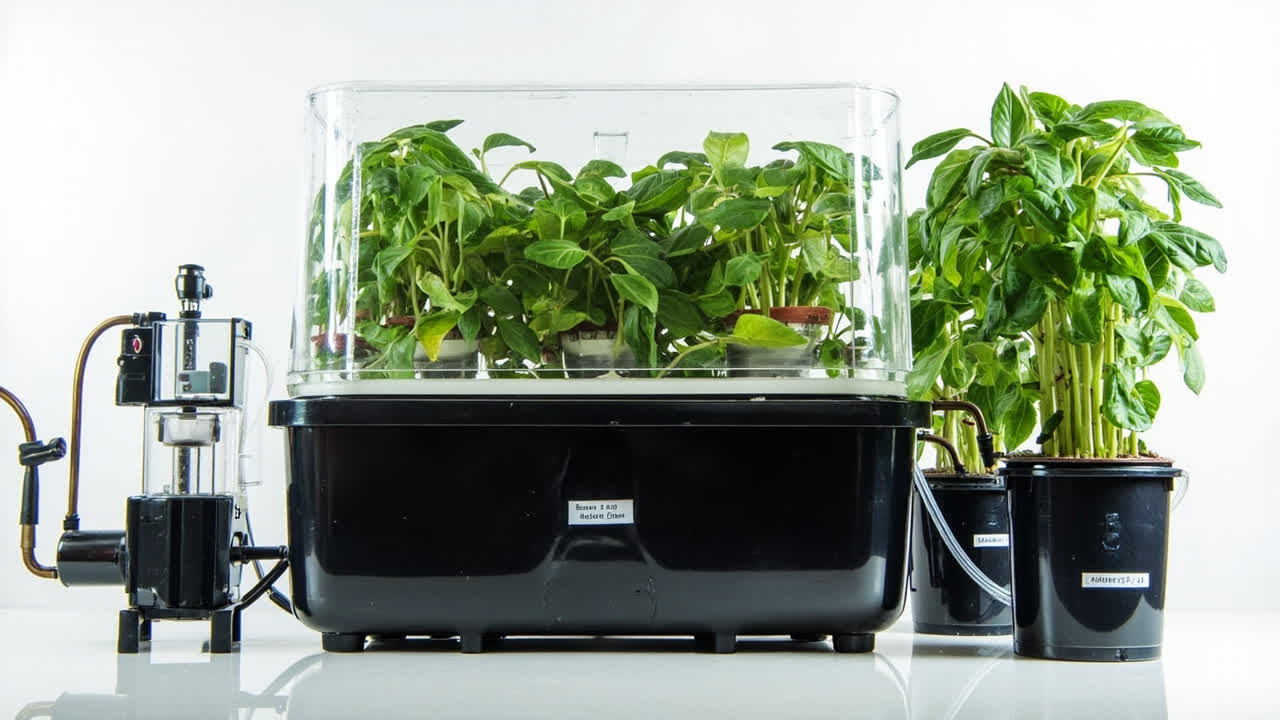
Before you start cutting hoses or drilling holes, make sure you have everything on hand. Here’s what you need for a single-bucket DWC or paired flood-and-drain setup:
- Food-grade opaque container — 20-gallon HDPE drum or two 10-gallon opaque buckets (available at most hardware or restaurant supply stores). Avoid clear plastic.
- Air pump — Sized to deliver at least 0.5 L/min per gallon of solution. For a 20-gallon tank, a pump rated 20–30 L/min with an adjustable output is ideal.
- Air stone — Cylindrical diffusers distribute bubbles more evenly than cheap round ones. Place it at the lowest point in the tank.
- Airline tubing — Food-grade silicone tubing, 4–6mm inner diameter. Keep it short enough that pump suction isn’t working against excessive length.
- Submersible water pump — For flood-and-drain systems, a 400–800 GPH pump rated for continuous use. For DWC-only, a much smaller circulation pump works, or you can skip this if using a single DWC bucket connected to a separate reservoir.
- Timer — A simple mechanical or digital timer to control flood cycles (every 20–30 minutes is typical for hobby setups).
- Return line and fittings — 1/2″ to 3/4″ vinyl tubing, bulkhead fittings, and appropriate sealant. Thread tape works for most threaded connections.
- Net pots or growing baskets — 3–4 inch for lettuce and herbs, 5–6 inch for larger fruiting plants.
- Light-proof lid — Either a commercial lid designed for your container or a layer of dark poly foam insulation cut to fit.
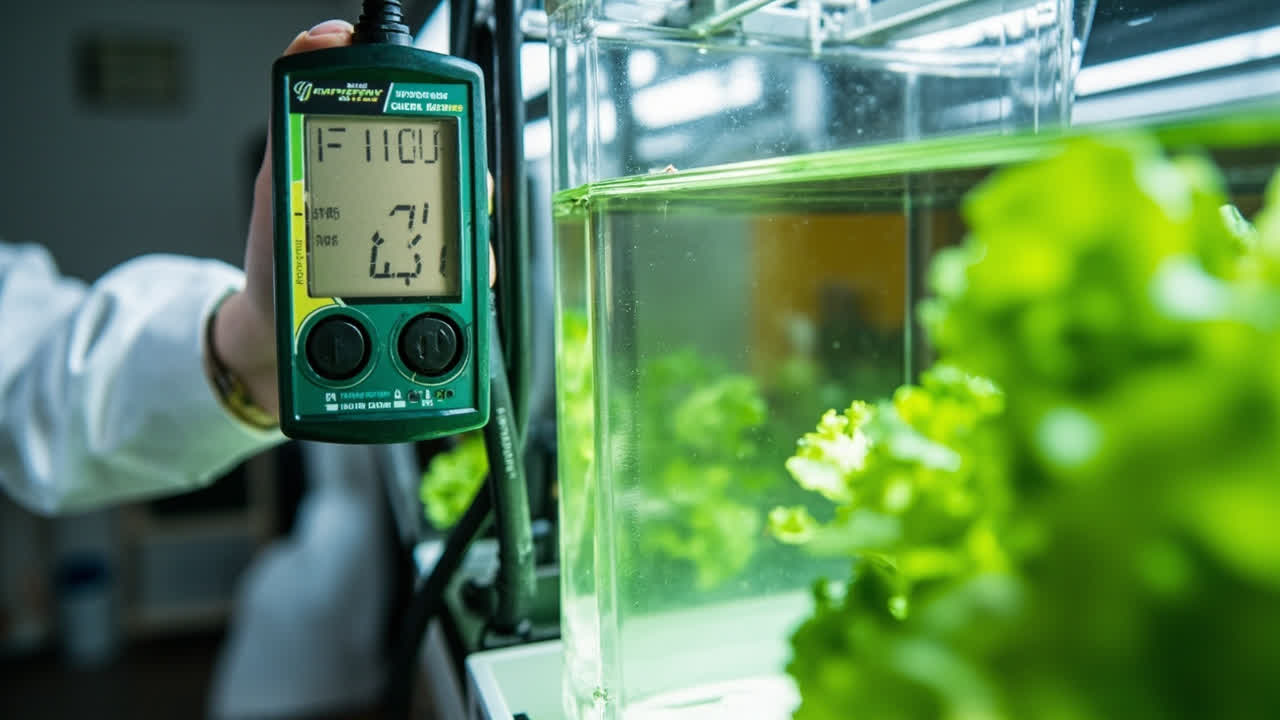
- pH and EC meter — Not a build component, but essential to running the system properly once it’s running.
You can source most of this from aquarium suppliers, hydroponic specialty shops, or restaurant equipment suppliers. HDPE drums used for food storage are easy to find and safe — just confirm they haven’t held chemicals.
Step 1: Choose and Prepare Your Container
Select an opaque HDPE container with a wide opening for easy access and cleaning. If you’re using a repurposed drum, scrub it thoroughly with a non-fragrance dish soap, rinse completely, and let it dry. Even trace residue from previous contents can affect nutrient uptake or encourage biofilm.
Cut or fit a light-tight lid. If the container doesn’t come with one, use black polyethylene sheeting or rigid foam board cut to size. The goal is zero light penetration — even a small gap at the lid edge will allow algae to establish over weeks.
If you’re building a flood-and-drain setup, mark and drill holes for your bulkhead fittings. The drain fitting should sit at the level you want your maximum flood height to reach. The fill line should be 2–3 inches below the lid to allow room for the solution without sloshing.
Step 2: Install the Air System
Oxygen in your nutrient solution is non-negotiable. Without it, roots suffocate and anaerobic pathogens take hold. Place your air stone on the floor of the reservoir — the lowest possible point — so that rising bubbles keep the entire column of solution oxygenated.
Run airline tubing from the stone to your pump. The pump should sit above the waterline of your reservoir. If the pump is lower than the water surface and loses power, water will siphon back into the pump and destroy it. Mount it on a shelf above the tank or use a check valve if positioning is tight.
Test the system before you fill it. Run the pump for 30 minutes and listen for inconsistencies in bubble output — uneven flow means the stone may be partially clogged or the pump is undersized.
Step 3: Set Up the Flood-and-Drain Pump and Timer
If you’re running a single DWC bucket connected to a larger reservoir, connect your submersible pump to a timer and set it to run for 5–10 minutes every 20–30 minutes during daylight hours. The exact cycle depends on your growing medium’s moisture retention and how quickly your system drains.
For a straight DWC setup without active flood-and-drain, a smaller circulation pump that runs on a cycle also helps keep nutrients and oxygen moving, but the air stone does the heavy lifting for dissolved oxygen in that configuration.
Set your timer in the morning when your lights come on. Running flood cycles through the night isn’t harmful, but your plants aren’t actively uptaking as much water in darkness, so the cycles are less necessary and you’ll refill more often than needed.
Step 4: Connect Your Growing Containers
Position your net pot buckets or grow trays above the reservoir. In a DWC single-bucket setup, your growing bucket sits directly over the reservoir with the lid serving as the platform. In flood-and-drain, the trays sit above and drain back via gravity through the return line.
Check that all connections are sealed. Leaks are messy, waste nutrients, and create humidity problems in your grow space. Tighten bulkhead fittings with Teflon tape and inspect tubing connectors for any signs of seepage after the first few run cycles.
Step 5: Fill, Mix, and Calibrate
Fill your reservoir with dechlorinated or filtered water (tap water left out for 24 hours also works for chlorine removal). Add your nutrient solution according to the manufacturer’s mixing ratio, then check with your EC meter. Most hobby hydroponic systems run between 1.2–2.0 EC for vegetative growth, and up to 2.5–3.0 for fruiting stages.
Check your pH next. The ideal range for most hydroponic crops is 5.8–6.4. Use pH up or pH down solutions to bring it into range, then let the system run for an hour and recheck. Small adjustments compound quickly in a smaller reservoir, so add conservatively and retest before adding more.
Record your starting numbers somewhere — a notepad on the reservoir lid, a notes app, whatever you’ll actually check. The daily check routine is easier when you have a baseline to compare against.
Daily and Weekly Check Routine
A reservoir that isn’t monitored will fail quietly. Build this into your grow habit:
- Daily: Check water level, pH, and temperature. In warm climates, a reservoir can gain 3–5°F over the course of a day from ambient air — above 72°F, dissolved oxygen drops significantly.
- Every 2–3 days: Check EC. As plants uptake water, the nutrient concentration rises even as the level drops. Topping off with plain water to maintain level will bring EC down — but topping off with full-strength nutrient will raise it. Measure before you add anything.
- Weekly: Full reservoir flush and refresh. Empty the tank, clean any biofilm on the walls and air stone with a 3% hydrogen peroxide solution, rinse thoroughly, and refill with fresh nutrients. This resets any drift in pH or EC and removes suspended organic matter.
If you’re noticing your plants wilt in the afternoon despite wet roots, check reservoir temperature first. It’s the most overlooked variable in hobby hydroponic systems and the most fixable one.
When to Scale Up
If you’re happy with your first reservoir and want to expand, you can connect multiple flood-and-drain buckets to a single reservoir with a divide-and-distribute manifold. Just be aware that the pump needs to be sized for the total head height — the vertical distance from the pump to the highest grow tray — and the flow rate needs to fill all trays in a reasonable time.
Running two separate smaller reservoirs for two groups of plants is often more reliable than one oversized tank. If one goes sideways, you haven’t lost everything at once.
If you’re still deciding which system fits your space and goals, our hydroponics system guide for gardeners covers the full range of options from DWC to NFT to flood-and-drain, with their respective strengths and tradeoffs.
And for keeping the system running cleanly once it’s built, our reservoir maintenance guide goes deeper into the weekly flush routine, algae prevention, and root health monitoring.
The Build Matters Less Than the Maintenance
You can spend a lot on a custom reservoir with manifold plumbing, digital sensors, and automated refill systems — and for large-scale operations, that makes sense. For most hobby growers, a well-chosen opaque container, a correctly sized air pump, and a consistent daily check routine will outperform any fancy setup that’s neglected for a few days.
The reservoir is the heart of your hydroponic system. Build it right, maintain it consistently, and it will quietly do its job while your plants focus on growing.
—
Turn PDF Bank Statements Into Workable Spreadsheets
Your bank statement is a mess of numbers, but your books shouldn't be. Use our converter to get Excel, CSV, or QBO files — ready for QuickBooks.
Try It Free Now