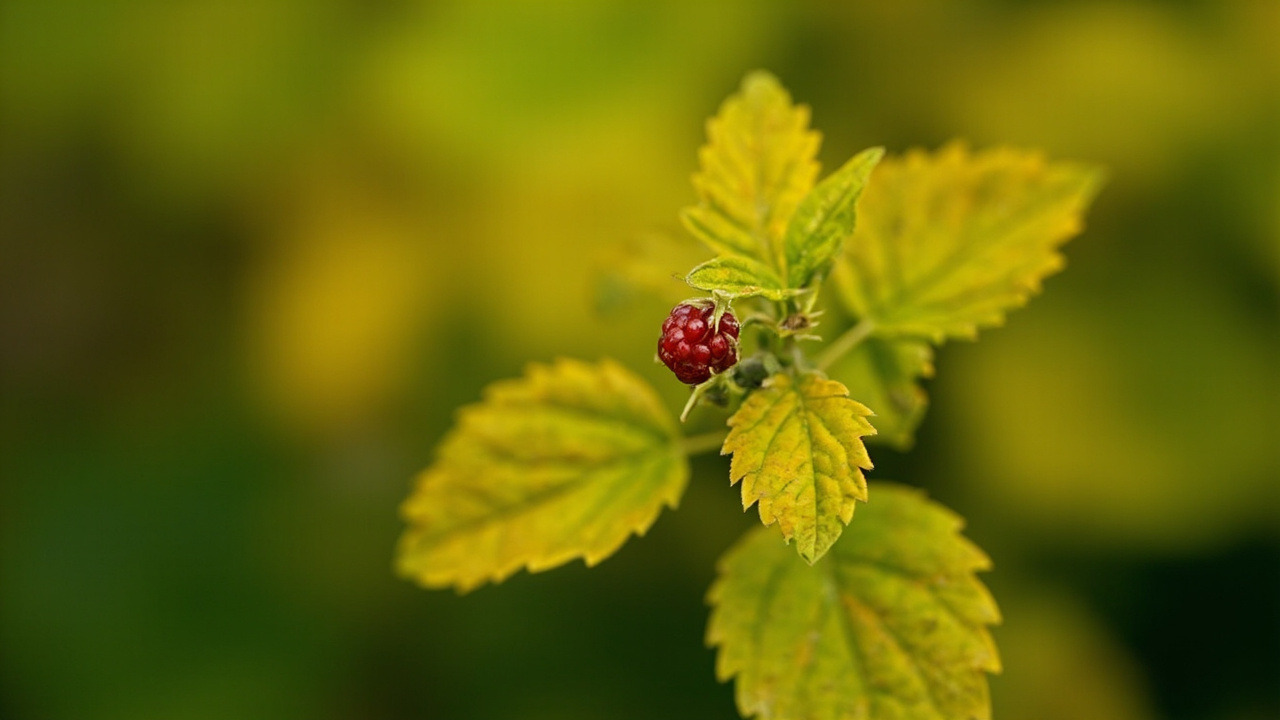

Yellow leaves on a raspberry plant rarely mean one thing, and the wrong fix wastes weeks of the growing season. The four primary causes are nutrient deficiency, overwatering, root rot, and natural senescence. Each produces a distinct pattern on the foliage, and the fix depends entirely on reading that pattern correctly before the cane loses vigor.
The diagnostic approach is straightforward. Look at where the yellowing starts on the cane, whether the leaves are uniformly yellow or showing green veins, and how the soil feels around the crown. These three observations narrow the cause to a single category almost every time. Start with the complete raspberry care guide if you need a baseline for healthy growth before diagnosing problems.
Nutrient deficiency produces a slow, even yellowing that begins on older, lower leaves and climbs the cane. Overwatering causes a similar upward progression but comes with soggy soil and dull, washed-out foliage before the yellow sets in.
Root rot is the urgent one: yellowing appears fast, the cane feels loose in the soil, and the crown tissue turns dark and soft. Natural aging affects only the oldest leaves on floricanes after harvest and never spreads to primocanes.
This guide walks through each cause in diagnostic order, starting with nutrient issues and ending with the natural yellowing that requires no action. Blueberry leaf yellowing follows similar diagnostic logic but the soil pH requirements differ.
Nutrient Deficiency — Chlorosis, Iron, and Nitrogen
Nitrogen deficiency is the most frequent nutrient cause of yellow leaves on raspberry plants. Older, lower leaves on each cane turn pale green first, then uniform yellow, because nitrogen is mobile inside the plant. It relocates from old growth to new primocane tips when soil supplies run short, leaving the oldest foliage chlorotic.
The fix is a single application of balanced fertilizer in early spring as primocanes emerge from the crown. Avoid repeated doses through summer, which pushes soft new growth that aphids and spider mites target aggressively. A two-inch layer of compost around the crown in March supplies enough nitrogen for most well drained garden beds without the risk of fertilizer burn on shallow raspberry roots.
Iron chlorosis looks distinctly different from nitrogen loss. The leaf tissue yellows but the veins stay dark green, creating a striped pattern. This shows up on new growth first because iron is not mobile inside the plant the way nitrogen is.
Iron chlorosis traces to soil pH above 6.5, where iron becomes chemically unavailable. A soil test confirms the pH before amending. Elemental sulfur or chelate foliar spray corrects visible symptoms within five to seven days.
The raspberry light and soil guide covers the ideal pH range of 5.5 to 6.5 and the container mix composition that prevents lockout. Chill hours also affect nutrient uptake — varieties with low chill requirements may break dormancy early and show deficiency symptoms before soil temperatures rise enough for root activity.
Container raspberries are prone to nutrient depletion because frequent watering leaches nitrogen from potting mix. Feed with balanced liquid fertilizer at half strength every two weeks during active growth, switching to low-nitrogen once fruiting begins. Cornell Cooperative Extension recommends a soil test before any amendment because guessing wastes the growing season.
Overwatering and Poor Drainage
Overwatering is the second most common cause of yellow raspberry leaves, and the one gardeners most often miss because the symptoms look like nutrient deficiency. If the ground around the crown stays damp for more than a day after watering, or if leaves look dull and limp before turning yellow, water is the problem.
Raspberry roots need oxygen as much as they need water. Saturated soil drives out air pockets, and fine feeder roots suffocate within 48 hours. Once damaged, those roots cannot take up nitrogen or iron, so the plant shows deficiency symptoms even when the soil has adequate fertility. The fix is better drainage, not less fertilizer.
For containers, check that drainage holes are not blocked and the potting mix has not compacted. Adding perlite restores airflow through the root zone. For garden beds, raised beds solve drainage problems in clay soils where water pools around the crown. Root suckers outside the row show yellowing first — an early warning that drainage is inadequate.
Oregon State University Extension recommends planting raspberry rows on 8-10 inch raised beds in heavy soil to keep the crown roots above the water table. A trellis system keeps canes upright and improves air circulation, which helps soil dry faster between waterings. Cut back watering to once per week for established plants, moistening the top eight inches without waterlogging.
Newly planted bare root raspberries need more frequent watering for the first three weeks, but the soil should feel moist, not wet, an hour after watering. The raspberry planting guide explains the soil preparation steps that prevent this problem. Apply a two-inch mulch of straw after planting to retain moisture through summer.
Root Rot — When Yellow Leaves Signal a Dying Crown
Root rot in raspberries is caused by Phytophthora species, a soil-borne pathogen that thrives in waterlogged conditions. Leaves turn yellow-brown across the entire cane, the cane becomes loose in the soil, and the crown tissue turns dark, soft, and sometimes foul-smelling. This demands immediate action because it spreads through soil water to neighboring plants.
Scrape the bark near the base of the cane with your thumbnail. Healthy tissue is green-white and firm. Rotting tissue is brown and soft. If the rot has girdled the entire crown, remove the plant, roots and all, to protect the patch.
Partial rot — where only one side of the crown is affected — can sometimes be treated by cutting away all soft, dark tissue with a sterilized knife until only healthy green-white tissue remains. Dust the wound with cinnamon or let it air-dry for 24 hours, then replant the cane in fresh, well drained soil away from the original site.
Do not water for five days after surgery; the cut tissue needs to callus before it contacts moisture again. Spur blight and cane blight can mimic root rot above the soil line — inspect the lower cane for purple-brown lesions before assuming the crown is the primary site.
Expect new cane emergence within three to four weeks if the crown tissue is still firm. The raspberry pruning guide covers proper cane removal to avoid damaging adjacent healthy plants.
Prune in dry weather to reduce the chance of spreading spores through wet soil on your tools. Cane borers create internal damage that weakens the cane structure — remove and destroy any cane showing sudden wilting or swelling at a single node.
Prevention is more reliable than treatment. Ensure drainage is adequate before planting, avoid spots where tomatoes or potatoes grew in the previous three years, and mulch to keep soil from splashing onto lower leaves during rain.
If root rot has been recurring, select resistant varieties such as ‘Latham’ or ‘Nova’ and grow on raised beds with well drained acidic soil. Thornless varieties are easier to inspect because you can handle canes without snagging. Soak bare root transplants for 30 minutes before planting to rehydrate the crown and reveal hidden rot.
Natural Aging vs. Problem Yellowing
Not every yellow leaf is a problem. Floricanes — the second-year canes that finished fruiting — naturally yellow and die back after harvest as the plant reallocates resources to new primocanes. The yellowing starts at the bottom of the fruited cane and progresses upward over two to three weeks until the entire cane turns brown.
No treatment is needed for natural senescence. Cut the spent floricane to ground level after it has fully dried and turned brown, which improves air circulation for the remaining primocanes. Everbearing varieties produce a fall crop on primocane tips, so leave those tips intact when removing spent floricanes in summer.
Primocanes should remain fully green from emergence through dormancy. If a primocane shows yellowing before October, that is a problem — not aging. Raspberries are self fertile, so poor pollination does not cause yellowing, but sunscald on exposed canes can bleach leaves to yellow-white in midsummer.
The timing distinction is the simplest diagnostic tool: post-fruiting yellow on floricanes is normal; mid-season yellow on primocanes is not. Sunscald is confined to the south-facing side of the cane and does not spread — shade cloth or repositioning the container solves it.
Light yellowing of the oldest leaves on a floricane in late summer, while the rest stays green, is normal senescence. Leave those canes standing until fully dormant after the first hard frost, then prune them out to improve air circulation for remaining primocanes.
If yellowing appears on multiple canes simultaneously, revisit the nutrient and drainage checks because natural aging is never synchronized. Bird netting and cane borers can mimic disease — inspect the full cane before concluding the cause.
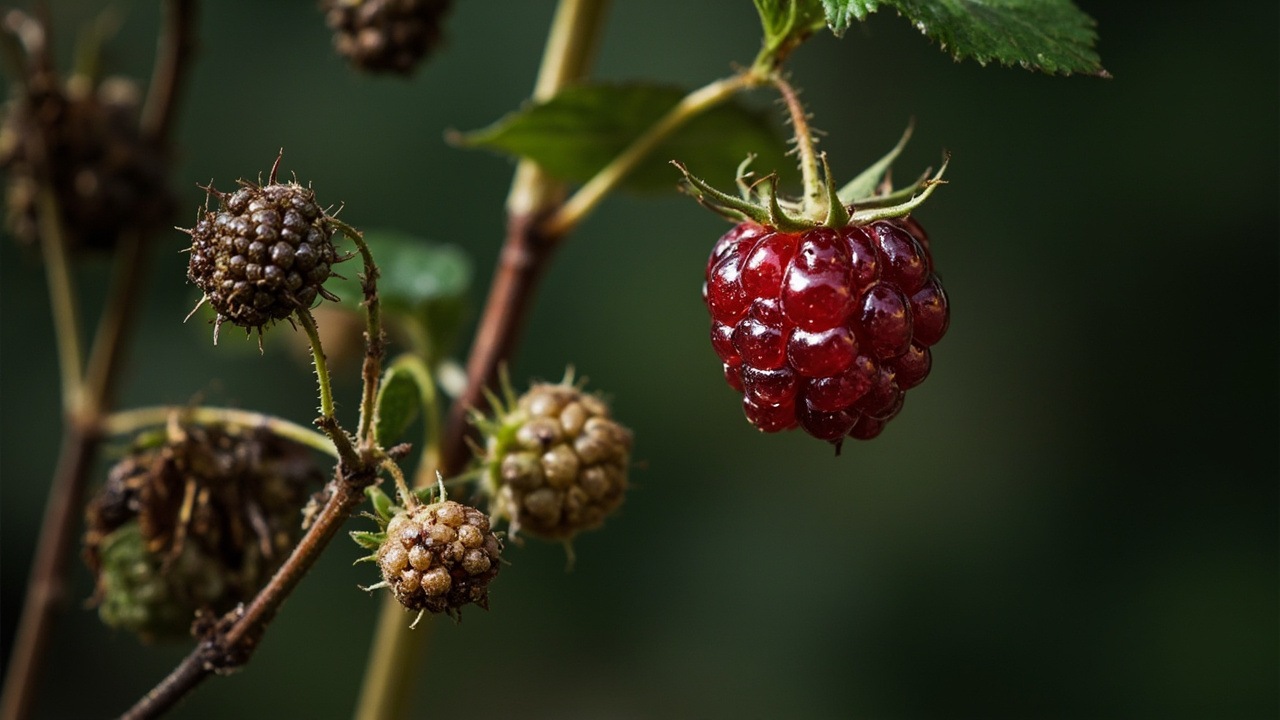
Each drupelet on a healthy raspberry develops from a pollinated flower. Poor pollination causes fruit deformation that gardeners sometimes mistake for a foliage problem, though it does not affect leaf color.
Turn any PDF statement into a clean sheet
Skip the typos and the hours of copying. Our converter handles any bank statement format and outputs Excel, CSV, or QBO for QuickBooks. No file retention, free to try.
Convert your statement