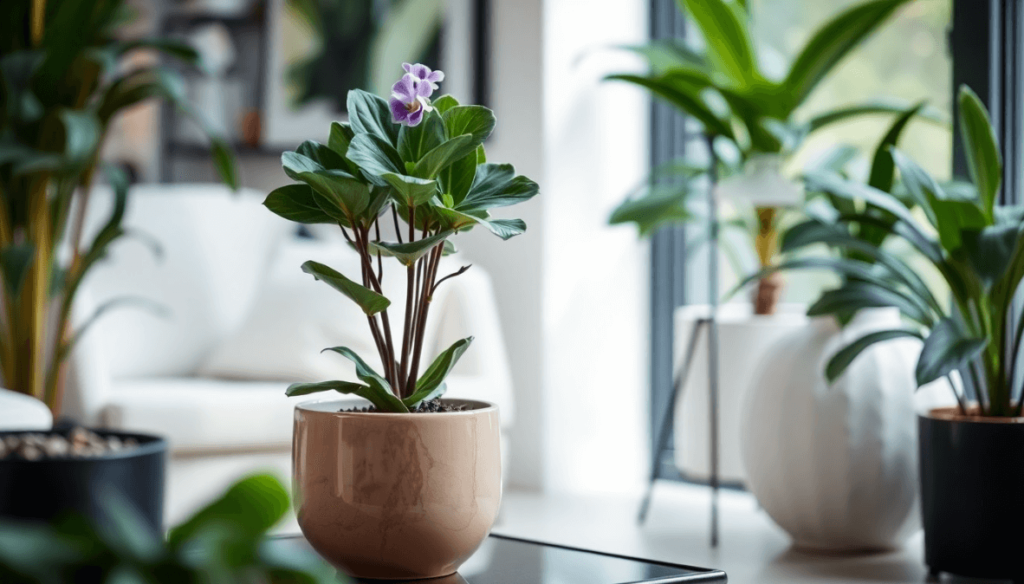
Watering African violets is the single skill that decides whether yours thrives or rots. The goal is evenly moist soil at all times, never soggy and never bone dry, while keeping the leaves and crown completely dry. Bottom watering with room-temperature water is the safest method.
African violets have fuzzy leaves that trap moisture. Water droplets sitting on the foliage cause brown spots, and water pooling in the crown triggers the fastest killer of the species: crown rot. That is why the watering method matters as much as the schedule. A standard pour-from-the-top approach that works fine for a pothos will slowly destroy an African violet.
This guide covers the three reliable methods, how often to water, how to know when it is time, and the water-temperature and salt-flush rules that prevent leaf spot and root rot.
Why African Violet Watering Breaks Most Beginners
Most houseplant watering advice assumes the leaves can get wet. For African violets, that assumption is dangerous. The fine hairs on the leaves hold water droplets against the leaf tissue. In direct or bright light, those droplets act like tiny magnifying glasses and cause burn spots. Even in indirect light, prolonged wetness invites fungal crown rot.
Crown rot starts when water sits in the center of the rosette where new leaves emerge. The crown turns soft and mushy, and the entire plant collapses within days. It is the number one killer of African violets, and it is almost always caused by watering from above without drying the crown.
The african violet care guide covers the full care picture. This article focuses entirely on the watering skill: method, schedule, water quality, and troubleshooting.
Bottom Watering: The Safest Default Method
Bottom watering keeps the leaves dry and draws moisture up through the root zone by capillary action. It is the method most experienced growers use as their default.
- Fill a saucer or shallow container with room-temperature water to a depth of about one inch.
- Set the African violet pot in the saucer. Make sure the pot has drainage holes in the bottom.
- Leave it for 20 to 30 minutes. The soil will darken as moisture wicks upward.
- Remove the pot and let it drain for 10 to 15 minutes before returning it to its display spot.
- Discard any remaining water in the saucer. Do not let the pot sit in standing water.
If the soil surface still feels dry after 30 minutes, add a small amount of water directly to the top to wet the very top layer, then drain as usual. Some mixes with high perlite content wick slowly at first.
Top Watering: How to Do It Without Wetting the Crown
Top watering works if you are careful. Use a narrow-spout watering can so you can direct water precisely at the soil line, not at the center of the plant.
Water slowly around the edge of the pot, not over the crown. Stop when you see water begin to drain from the bottom holes. Empty the saucer after 15 to 30 minutes. Never leave the pot standing in drained water.
The risk with top watering is habit. It is easy to get careless and splash the crown. If you have multiple violets, bottom watering is faster and safer at scale.
Wick Watering: The Set-and-Forget Option
Wick watering uses a synthetic cord or strip that runs from a water reservoir through the drainage hole into the soil. The wick delivers moisture continuously, keeping the soil evenly moist without any top or bottom watering sessions.
To set it up, thread a synthetic wick cord through the drainage hole, leave a long tail in the soil, and place the other end in a water reservoir beneath the pot. The reservoir needs refilling every one to two weeks.
The advantage is consistent moisture and no risk of wetting the leaves. The disadvantage is that salts accumulate faster because there is no periodic flushing action. If you use wick watering, flush the soil with plain water every four to six weeks.
How Often to Water and How to Know When It Is Time
There is no universal calendar schedule. How often you water depends on pot size, soil mix, humidity, temperature, and the plant’s growth rate. A violet in a 3-inch pot in peat-heavy mix in a dry heated room may need water every four to five days. The same plant in a humid kitchen might go seven to ten days.
The finger test is the most reliable method. Stick your finger into the top inch of soil. If it feels dry, water. If it still feels damp, wait another day and check again. The weight test is an alternative: lift the pot when you have just watered it and note how heavy it feels. As the soil dries, the pot gets noticeably lighter.
In winter, when growth slows and indoor air is dry from heating, the surface may dry faster than the root zone. Check the soil at root depth, not just the surface, before adding water.
Water Temperature, Salt Buildup, and the Monthly Flush
Use water at room temperature or slightly warm. Cold tap water, below 60 °F (15 °C), causes white ring spots on African violet leaves. The condition is called ring spot or leaf spotting. It is cosmetic but permanent on the affected leaves. Let tap water sit in an open container for a few hours before using it.
Fertilizer salts accumulate in the soil over time, especially with frequent feeding. Salt buildup causes brown leaf edges, stunted growth, and root damage. Flush the soil once a month by pouring plain room-temperature water through the top of the pot until it drains freely from the bottom. Let the pot drain completely afterward. This leaches excess salts out of the root zone.
For the full diagnostic guide to browning and spotting, see african violet leaves turning brown.
Signs You Are Overwatering or Underwatering
Overwatering symptoms: yellowing lower leaves, soft or mushy stems, wilting despite wet soil, and a foul smell from the root zone. If the crown feels soft, the plant has crown rot and may not be recoverable.
Underwatering symptoms: leaf edges turning brown and crispy, soil pulling away from the pot edges, and a pot that feels very light when lifted. The plant may wilt but will perk up within hours of watering if the roots are still healthy.
The most common mistake is watering on a fixed schedule instead of checking the soil. Check every two to three days and water only when the top inch is dry. Consistency in checking matters more than consistency in watering.