Most Hoyas get repotted too often and into too-large a pot. The plant slows down, the lower leaves yellow, and the owner concludes the Hoya is “fussy.” None of that is the Hoya – it is epiphytic, evolved to grip tree bark with its roots, not to sit buried in rich compost.
The right rule is the one most guides skip: a Hoya flowers best when it is root-bound. The Royal Horticultural Society and the American Orchid Society both put it plainly – keep the pot tight, upsize only when the root mass demands it, and use a bark-based mix that dries in 5-7 days. The five decisions that matter: when to repot, which pot, what mix, the procedure, and the four-week recovery window.
Why Hoyas Like a Tight Pot: The Root-Bound Flowering Rule
A Hoya’s root system is built to anchor, not absorb. In its native range across Southeast Asia and northern Australia, Hoya carnosa and its relatives climb tree trunks and hang from branches; the roots grip bark and absorb moisture from humid air. When that root system is buried in a deep, moisture-retentive mix, it sits wet, suffocates, and the plant responds by dropping leaves and refusing to flower.
The root-bound flowering response is well-documented in epiphytic orchids and applies to Hoyas for the same physiological reason. When roots sense crowding, the plant shifts energy from vegetative growth to reproductive growth – flower buds form on the spurs called peduncles that sit just behind the leaf axils. University of Florida IFAS extension notes on epiphytic houseplants put it plainly: a stressed-but-stable root system is the trigger; a comfortable one is not.
The practical version: if your Hoya is sending out long vines but no flowers, the answer is rarely “give it more room.” More often the answer is “leave it alone, give it brighter light, and wait.” A pot that looks tight to you looks like home to the Hoya. The same principle shows up in our broader hoya plant care guide, where tight potting is the one rule that overrides nearly every other adjustment.
When to Repot: Reading the Four Signals
Calendar-based repotting – “every spring, no matter what” – is the most common mistake. Hoyas run on root pressure, not on the calendar. Wait for one of these four signals, and only one of them needs to be true:
Roots circling the drainage holes. Lift the pot and look at the bottom.
If white roots are visibly pushing out of the drainage slot and wrapping back, the root mass has run out of room. This is the cleanest signal and the one to trust.
Water running straight through. When you water and the entire volume exits the drainage hole within 2-3 seconds, the mix has become hydrophobic or the root-to-soil ratio has tipped too far toward roots. Either way, the substrate is no longer buffering moisture the way the watering rhythm assumes.
The plant lifts out of the pot with the root ball intact. Gently tip the pot; if the entire root mass slides out as a single column with mix falling away, the roots have eaten the substrate. This usually takes 3-4 years and is normal for a vigorous plant.
New growth has slowed for two consecutive growing seasons. If the vine extension dropped from a foot per month to less than two inches, and light, water, and humidity have not changed, the root system may be constrained. This is the weakest signal and the last one to trust – check the other three first.
Choosing the Right Pot: One Size Up, Terra-Cotta, and Drainage
The rule for Hoyas is one pot diameter up, never two. A 6-inch nursery pot becomes a 7-inch or 8-inch at most; a 4-inch stays at 5 inches. Two sizes up is the overpotting trap that causes the yellow-leaf collapse – the extra substrate holds water the roots cannot reach, and the lower root zone turns anaerobic within 2-3 weeks.
Terra-cotta is the default choice because it breathes. The clay wall wicks moisture outward, dropping the rhizosphere humidity by roughly 10-15% compared to a plastic pot of the same size.
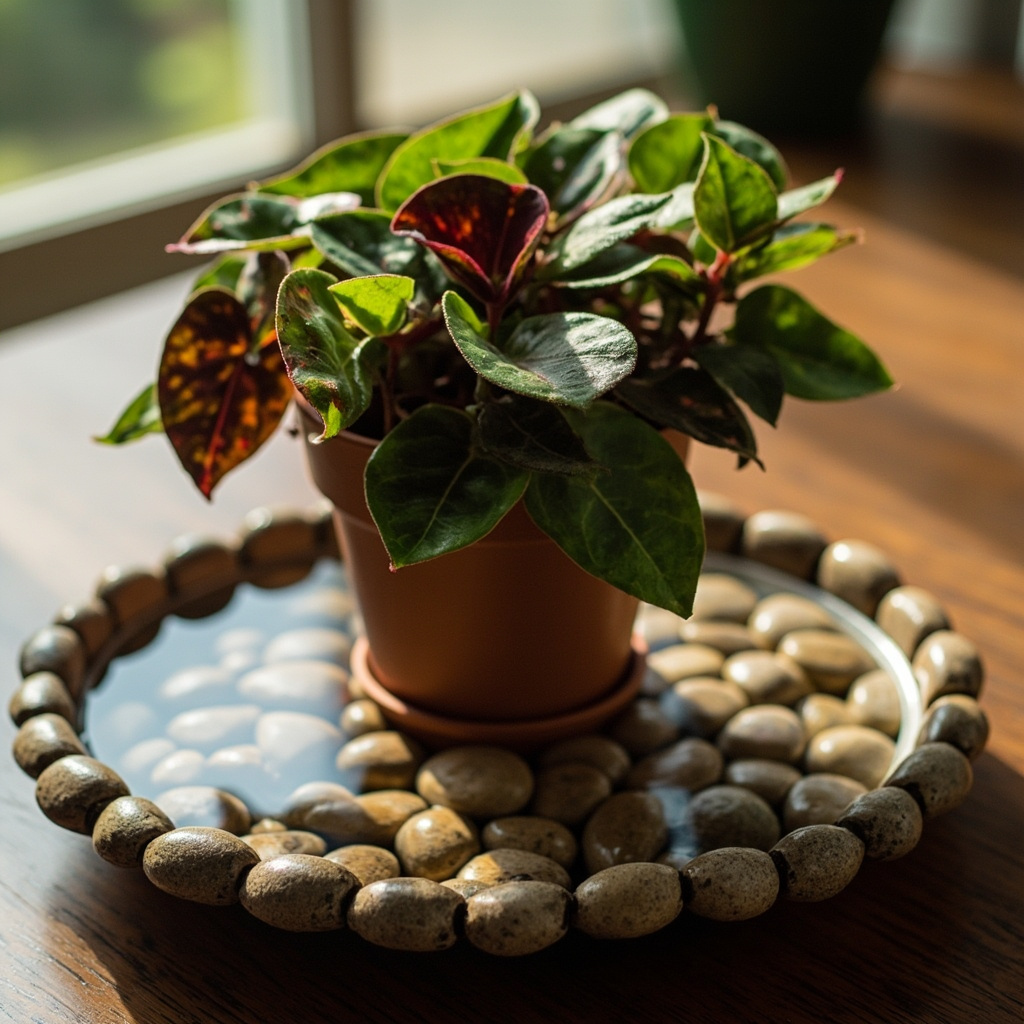
In a north-facing room or a basement apartment where humidity stays above 60%, that wicking matters. In a hot south-facing window where the substrate already dries in 4 days, plastic works because it preserves the moisture buffer the roots need.
Drainage is non-negotiable. A Hoya pot without a drainage hole is a death sentence over 6-12 months because the lower root zone never fully dries and root rot takes hold silently. If the decorative pot you love lacks a hole, keep the Hoya in its nursery container inside the decorative one and remove it for watering – the double-pot method used by serious orchid growers.
The Hoya Potting Mix: Orchid Bark, Perlite, and the Epiphyte Equation
A standard houseplant mix is too dense. It holds 40-60% more water than an epiphytic root system can process, and within 6-8 weeks it compacts into the anaerobic mass that kills Hoyas. The fix is a bark-based mix that mimics the tree-trunk substrate the roots evolved on.
The reliable starting recipe is roughly:
50% pine bark (orchid grade, 1/4 to 1/2 inch pieces)
20% perlite or pumice
20% coco chips or charcoal
10% worm castings or well-rotted compost
This mix drains in 4-6 seconds when you pour water through it and dries to the touch within 5-7 days at 65-75°F (18-24°C). The bark creates air pockets the roots grip; the perlite prevents compaction; the coco chips hold moisture without going soggy; the worm castings provide slow-release nutrients without burning the root tips. The ratios are not sacred – if you live in a dry climate, drop the coco chips to 10% and add 10% more perlite; if you live in a humid climate, drop the perlite to 10% and add more bark.
The trade-off worth naming: bark mixes dry faster than peat-based mixes, which means watering frequency goes up. Expect to water every 7-10 days in summer and every 14-18 days in winter, depending on light and humidity. The full breakdown of bark sizing and amendment ratios lives in our dedicated hoya potting mix guide.
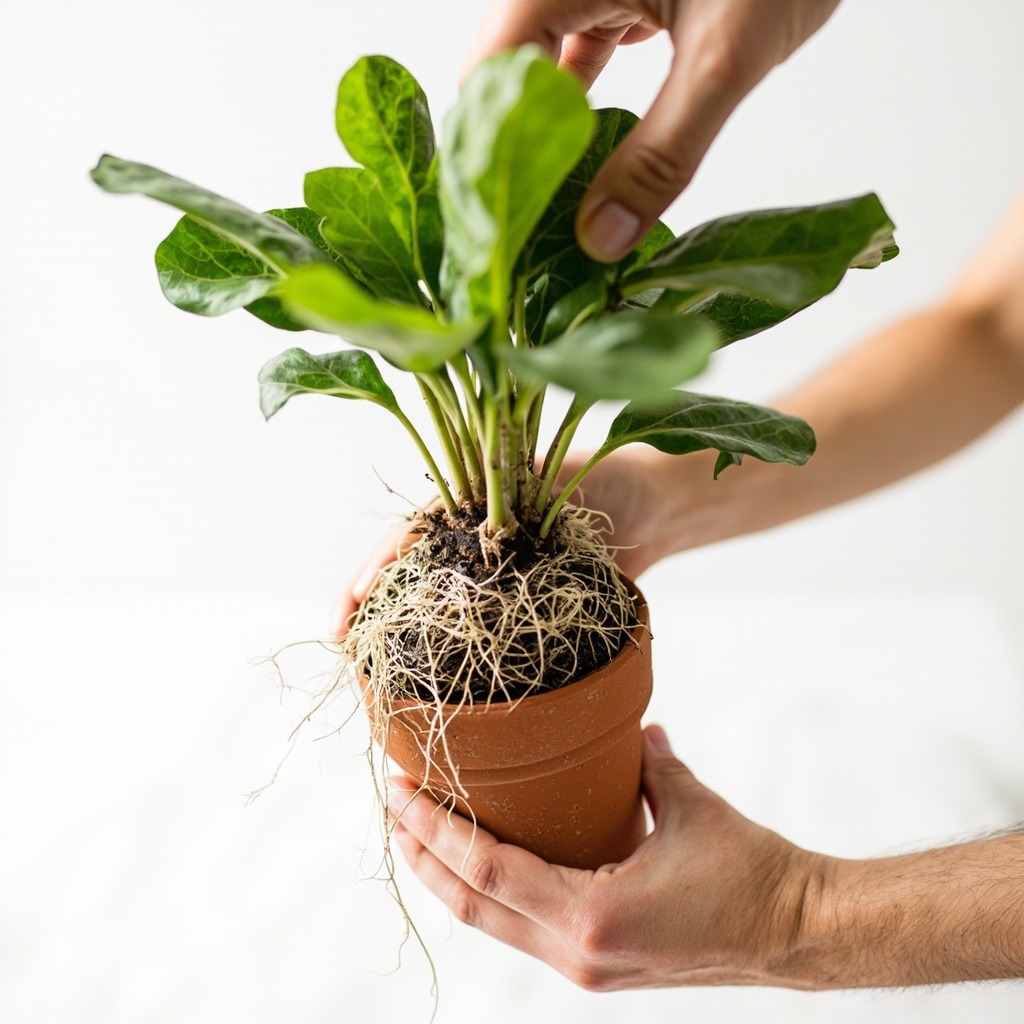
Step-by-Step: Repotting a Hoya in 15 Minutes
The procedure takes 15 minutes for a plant under 18 inches and 25 minutes for a larger specimen. Do not repot a Hoya in active bloom – the open flowers drop within 48 hours. Wait until the peduncles have finished flowering, then plan the repot within the next 2-3 weeks so the plant can re-establish roots before the next growth flush.
Step 1: Water 24 hours before. A lightly moist root ball holds together and reduces transplant shock. Do not water a dry plant and repot it the same day – the roots tear.
Step 2: Prepare the new pot. Soak the terra-cotta for 30 minutes if it is bone-dry.
Cover the drainage hole with a single piece of mesh or a coffee filter – this stops the mix from washing out without blocking flow. Add 2 inches of fresh mix to the bottom.
Step 3: Ease the Hoya out. Tip the pot sideways, support the vine with one hand, and tap the rim gently.
If the root ball does not slide out, run a butter knife around the inside edge. Do not pull on the vines.
Step 4: Tease the roots apart. Gently pull the outer roots away from the central mass.
White and tan roots are healthy; black, mushy, or sour-smelling roots are rot and should be cut back to firm tissue with sterilized pruners. Healthy epiphytic roots are tough and do not need gentle handling.
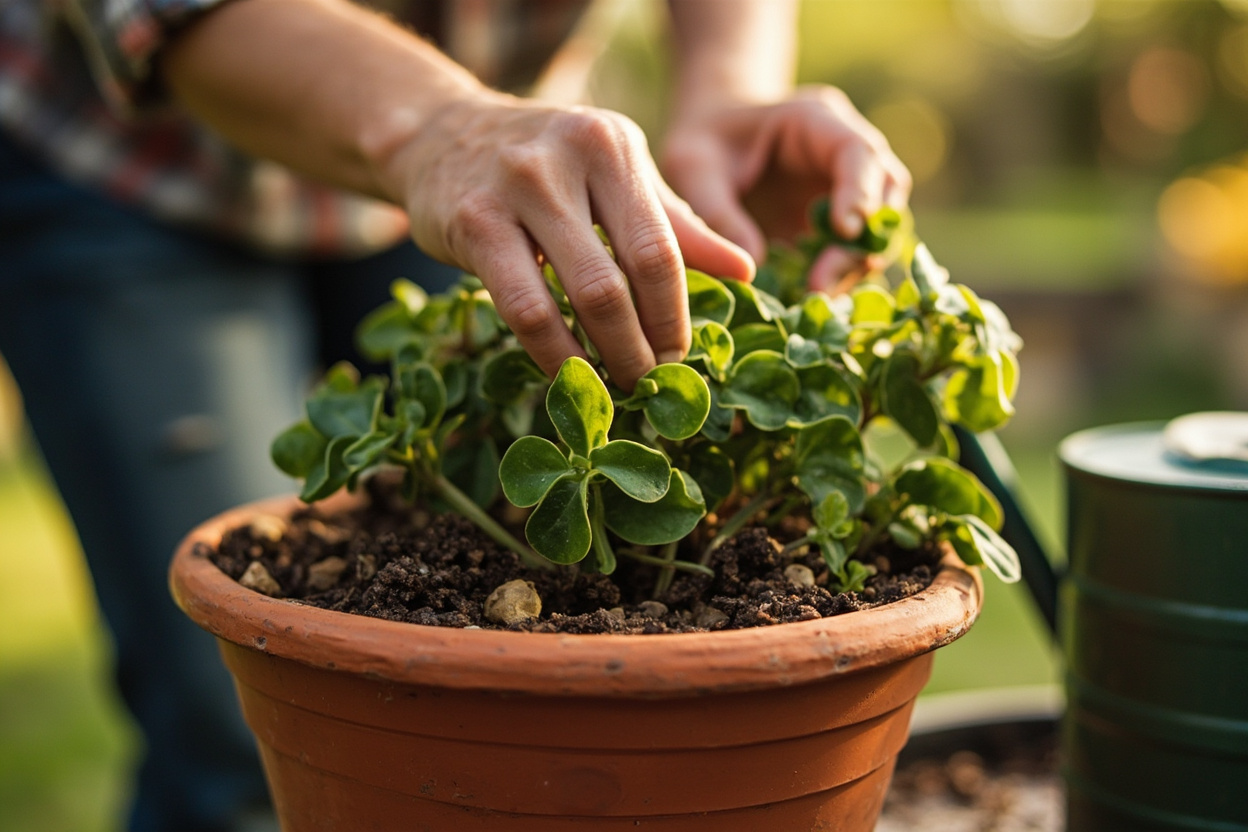
Step 5: Position and fill. Set the root ball so the soil line sits 1/2 inch below the pot rim – this leaves room for watering.
Backfill with the fresh bark mix, gently firming with your fingers. Do not bury the peduncles or the lower nodes on the vine; both should sit above the soil line.
Step 6: Hold off watering. This is the step most guides skip.
Wait 5-7 days before the first post-repot watering. The disturbed roots need time to callus over, and watering too soon invites rot into the fresh cuts. If you have cuttings to spare from the teased root mass, the same procedure applies – they root readily in the same bark mix, as covered in our hoya propagation guide .
After-Care: The Four-Week Hold and When Flowers Come Back
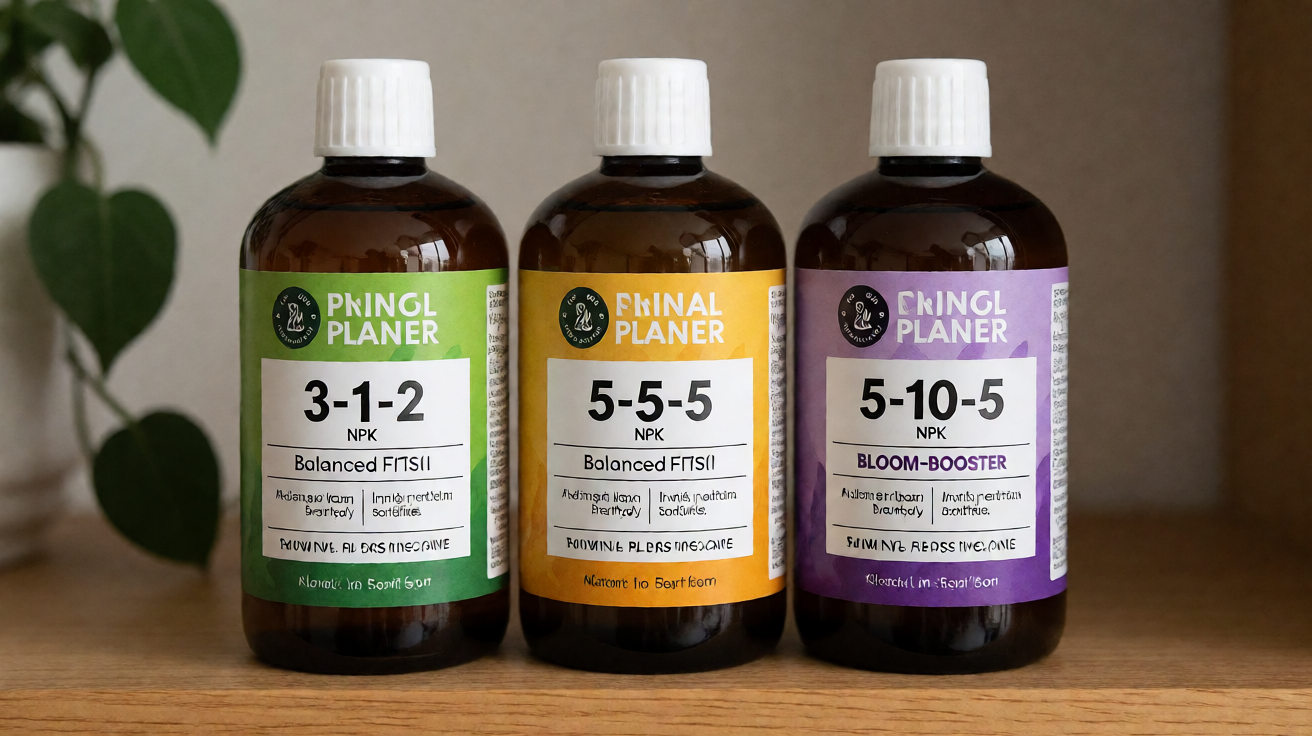
The first 4-6 weeks after a repot are a holding pattern. Place the Hoya back in its original light position – do not “help” it by moving it somewhere brighter; the consistency reduces stress. Maintain humidity at 50-60% if you have a humidifier running. Hold fertilizer entirely for the first 6 weeks; fresh bark mix contains enough nutrients for the recovery window.
New root growth becomes visible if you gently lift the plant at week 3 – white root tips pushing into the bark. By week 6 the Hoya has re-established, and you can resume the normal watering and fertilizing rhythm.
Expect the next peduncle flush 8-12 weeks after the repot, and expect flowers to form on the spurs that already exist rather than new ones. If your Hoya refuses to bloom at all 4-6 months after a successful repot, the bottleneck is light, not the pot – the diagnostic for that case is in our guide on why no blooms hoya .
The honest limit worth stating: no Hoya under 3 years old benefits from an upsize. The root system is still building, and forcing it into a larger pot delays flowering by a season or more. Patience, not potting, is what gets a young Hoya to its first bloom.
Turn PDF Bank Statements Into Workable Spreadsheets
Your bank statement is a mess of numbers, but your books shouldn't be. Use our converter to get Excel, CSV, or QBO files — ready for QuickBooks.
Try It Free Now