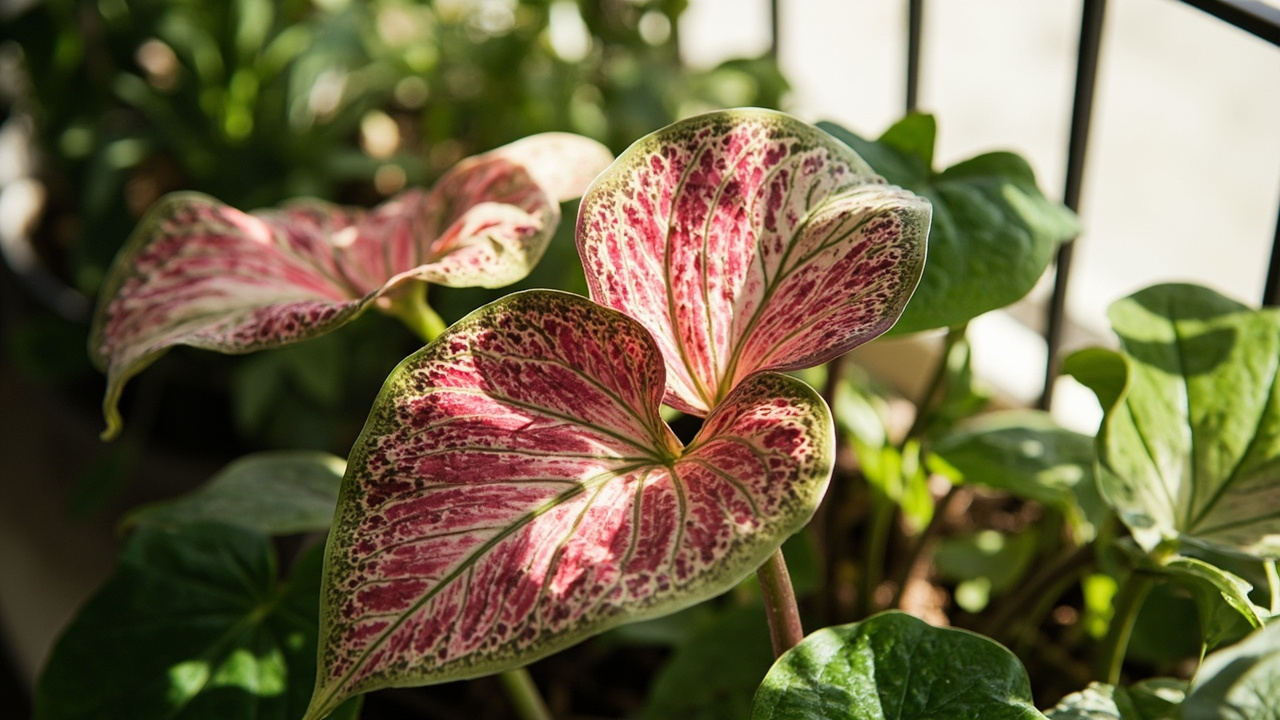
Caladium dormancy is the single most misunderstood phase of indoor caladium care. The leaves yellow and drop — and most growers panic, water more, feed, or throw the plant away. But caladiums are not dying; they are storing energy in their tuber for next season. Managing dormancy correctly is what keeps a caladium alive for years.
This guide covers what dormancy looks like on an indoor caladium (and how it differs from overwatering), when to cut back the leaves, whether to leave the tuber in the pot or dig it up, how to store it through winter, and the spring wake-up timeline that gets new leaves growing in weeks rather than months.
What Aqualogi recommends: when 80% of the leaves have yellowed, stop watering and cut back to 2 inches above the soil. Leave the tuber in its pot in a cool 55-60°F (13-16°C), dry spot. Do not water for 2-3 months. In early spring, move to warmth 65-75°F (18-24°C) and water once lightly. New shoots emerge in 4-6 weeks.
Recognising caladium dormancy — and the difference from overwatering yellowing
The first challenge with caladium dormancy is recognising it. Indoor caladiums lose their leaves every year — and most growers assume the plant is dying and water more, which is exactly the wrong response.
Dormancy yellowing — whole plant fades over 2-4 weeks
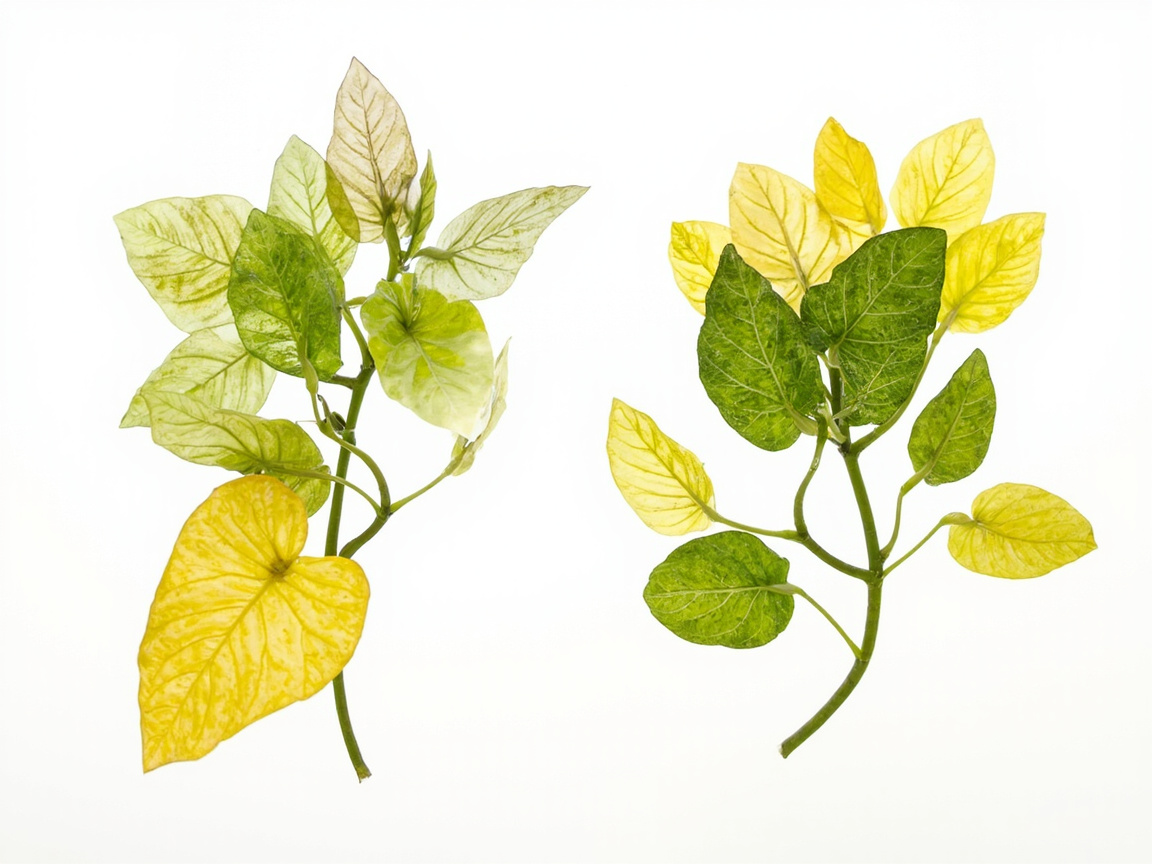
In natural dormancy, the entire caladium plant fades from the outside in, usually in fall or winter. Lower leaves yellow first but the upper leaves follow within days, not weeks. The stems stay firm at the soil line, and the yellowing takes 2-4 weeks from first leaf to last. The plant looks tired but not sick. If new leaves emerge from the centre while old leaves fade, the plant is not dormant — it is replacing foliage.
Overwatering yellowing — bottom leaves first, any season, stems soften
Overwatering yellowing is concentrated on the oldest 2-4 leaves and happens in the middle of the growing season, not fall. The stems at the soil line soften and feel hollow, the pot smells sour when you dig a finger in, and yellowing does not move to the upper canopy. The pinch test — gently squeeze the tuber — confirms the diagnosis: a dormant tuber is firm, a rotting tuber is soft.
The pinch test — firm tuber means dormancy, soft tuber means rot
Gently squeeze the soil surface above the caladium tuber. In dormancy, the tuber underneath is firm, like a raw potato even when dry. If it feels soft or yields under gentle pressure, the tuber is rotting from overwatering — and the fix is to unpot immediately, trim rot, and repot in dry mix. A soft tuber cannot be saved by cutting back leaves.
Preparing a caladium for dormancy — the gradual water reduction
Caladiums need a signal to enter dormancy cleanly. The signal is gradually decreasing water — mimicking the seasonal drought they would experience outdoors. Shocking a caladium with instant drought forces dormancy but stores less energy in the tuber, which means weaker growth in spring.
Stop fertilising first — 6 weeks before expected dormancy
Indoor caladiums on a regular feeding schedule should stop being fertilised 6 weeks before the expected dormancy window (typically October in the northern hemisphere). Fertiliser in late growth prolongs the active phase and delays the dormancy signal. Without that delay, the tuber enters dormancy with less stored starch and produces fewer leaves the following spring.
Reduce water gradually — between November and January for most indoor caladiums
Stretch the watering interval from every 5-7 days to every 10-14 days over 4-6 weeks. Then stretch to every 3-4 weeks for the final month before cutting back. This gradual drought is what triggers the caladium to pull nutrients back into the tuber and enter full dormancy. The yellowing that follows is normal and should not be interrupted with extra water.
Let the last leaves feed the tuber — do not cut green leaves early
Each green leaf on a caladium continues to photosynthesise and send sugars down to the tuber even as the plant enters dormancy. Cutting green leaves early throws away stored energy. Wait until 90-100% of the leaf is yellow before cutting — the final 10% of green is the plant pulling the last reserves back into the tuber.
Cutting back yellow caladium leaves — when and how
For more on the cluster: the complete caladium care guide covers the full year, while the light requirements page explains how to read variegation signals and the watering guide walks through the soak-and-dry rhythm. If you are debugging yellow leaves before dormancy, see caladium leaves turning yellow for the overwater-versus-dormancy split.
Wait until 90-100% yellow
Patience at this stage is what separates a weak spring restart from a vigorous one. The caladium pulls nitrogen, magnesium, and potassium from dying leaves back into the tuber for storage. Cut when the leaf is 90-100% yellow and the stem is soft — not when the leaf is still half-green. Cutting a half-green leaf costs the tuber roughly 30% of the energy that leaf would have returned.
Cut at soil line with sterilised bypass secateur
Use sharp bypass secateur sterilised with methylated spirits. Cut the yellow stem at the soil surface — not below, not above. Leave 1-2 cm of stub; cutting below the soil line risks nicking the tuber and inviting fungal infection through the wound. Do not pull the stem out — pulling tears the tuber surface and creates an entry point for rot.
Dust cut stems with cinnamon powder
Dust the cut surface of each stem stub with ground cinnamon powder. Cinnamon is a natural desiccant and anti-fungal that prevents the rot entering the tuber through the cut stem during the humid months of dormancy. This small step is what separates a multi-year caladium from a one-season plant.
Two storage strategies — leave in pot vs dig the tubers
Indoor caladium storage has two valid paths, and both work. The choice depends on your space and your confidence handling tubers.
Leave in pot — easier, lower risk, takes up space
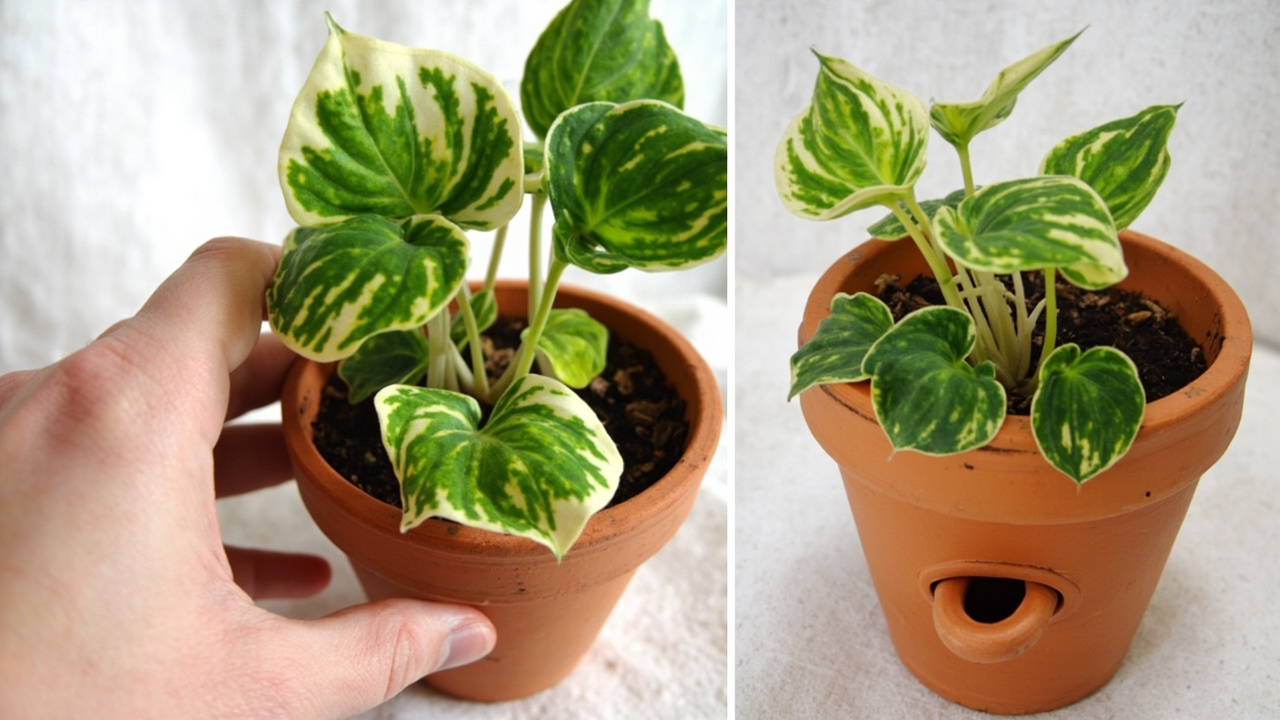
The simplest storage method: leave the tuber in its pot, stop watering, and move the pot to a cool (55-60°F/13-16°C), dark spot. The soil stays dry, the tuber rests in place, and you do not risk cutting the tuber during digging. The downside is that a dry pot takes up the same floor space all winter as a growing pot. For growers in small apartments, this can be a deal-breaker.
Dig tubers — cleaner storage, inspect health, but risk of cutting the tuber
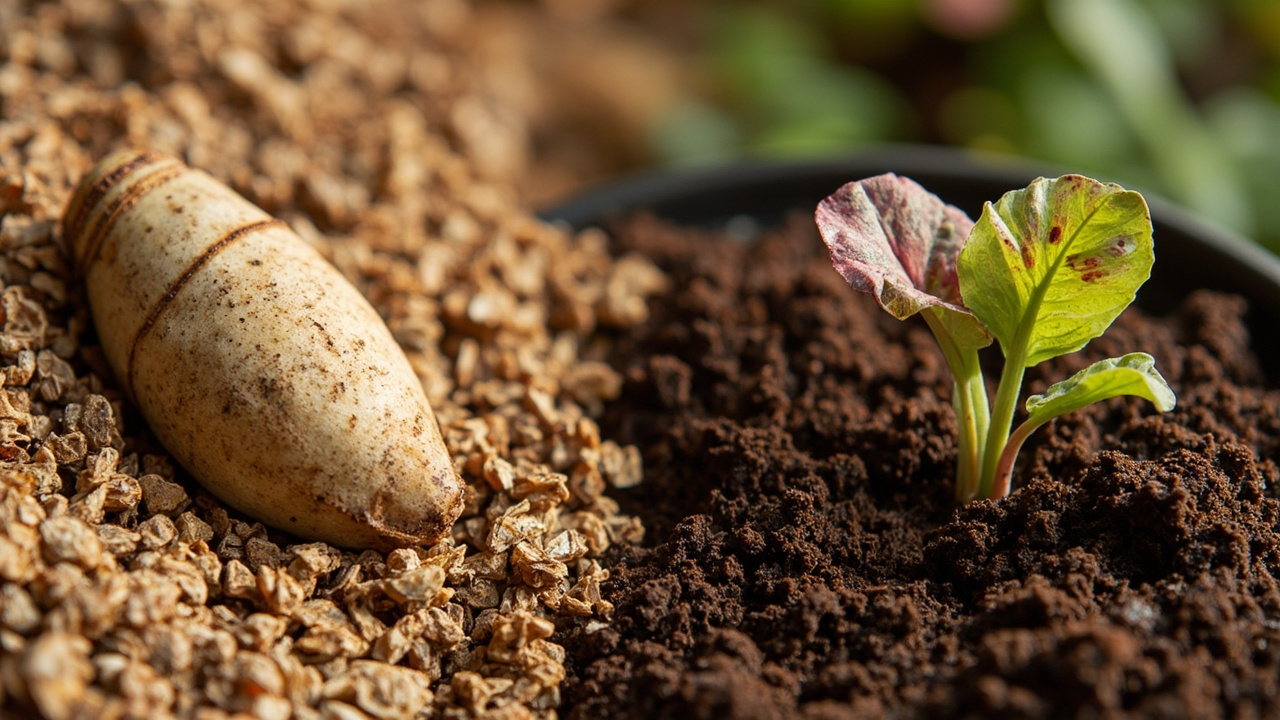
Digging the tubers before storage lets you inspect for rot, divide large tubers for more plants, and store them in a small box of dry vermiculite or perlite. The risk is cutting the tuber with a trowel — one slip creates a wound that rots in storage. If you dig, use your hands, not a tool, and work slowly around the tuber perimeter.
Either way — store cool (55-60°F/13-16°C), dark, dry
Regardless of storage method, the conditions are the same: 55-60°F (13-16°C), darkness, and dry air. A cool basement shelf, an unheated bedroom closet, or an insulated garage in mild climates all work. Below 50°F (10°C), tubers develop cold damage. Above 65°F (18°C), tubers break dormancy early and sprout weakly before spring. Do not store near a heating vent or on a cold windowsill — temperature swings trigger premature sprouting.
Mid-dormancy care — what to do (and not do) during the rest period
The 2-4 months of dormancy require almost no care — and that is the point. The tuber is resting, not growing, and intervention does more harm than good.
Do not water — the tuber stores enough water for 3-4 months dry
A healthy caladium tuber contains enough stored water to survive 3-4 months of dry storage without any additional water. Adding water during dormancy is the most common way growers kill tubers — damp soil around a dormant tuber triggers rot within 2-3 weeks, and by the time you smell the rot the tuber is already lost.
Monthly check — gently squeeze to confirm firmness
Once a month, gently squeeze the soil above the tuber. A firm tuber at room temperature means the rest is proceeding normally. A soft tuber that yields under gentle pressure means the tuber is dying — either from too much moisture or from cold damage. If you placed the tuber in dry storage in November and it is squashy by January, check that the storage location is not damper than you thought.
Keep away from heating vents and cold windows
Temperatures fluctuate near heating vents (hot air blasts during the day, cool at night) and near cold windows (cold glass radiates at night). Both fluctuations signal the tuber to break dormancy at the wrong time, and the weak early shoots drain the tuber before real spring arrives. A closet shelf in an interior room with stable temperature is ideal.
Spring wake-up — restarting growth without rot or shock
Waking a caladium from dormancy is slow by design. The tuber needs to transition from dry rest to active growth, and rushing it with heavy water or feed triggers rot before shoots emerge.
Move to warmth — 65-75°F (18-24°C)
In early spring (February to March in the northern hemisphere), move the potted tuber or storage container to a warm spot. 65-75°F (18-24°C) is warm enough to trigger cell division in the tuber eye without overheating the dormant tissue. The warmth signals the tuber that the growing season has begun.
Water once lightly — soak and drain, do not saturate
Give the soil one thorough soaking — water until it drains from the bottom, then empty the saucer. Then do not water again until the soil surface is dry 1-2 cm down. Over-waking watering is the most common mistake at this stage: the tuber has not yet grown roots to absorb water, and saturated soil rots the tuber eye before it breaks the surface.
Wait for shoots — 4-6 weeks, do not dig to check
From the first watering, shoots take 4-6 weeks to emerge. The first sign is a purple-red bump at the soil surface — the emerging leaf spike. Do not dig to check the tuber, do not water heavily, and do not feed until 3-4 leaves are up and photosynthesising. Feeding before the canopy is established salts the soil and burns the fragile new roots.
Resume normal feeding — once 3-4 leaves are up
Once the caladium has 3-4 leaves unfurled (week 6-8 after waking), resume a dilute balanced feed at half strength every 2-3 weeks during active growth. The plant is now photosynthesising enough to use the nutrients, and the root system is mature enough to handle a 2-1-1 or 10-10-10 without burning. By week 10, the plant is back to full growth mode and ready for the next 6-8 months of active foliage.
Turn That PDF Into a Spreadsheet in Minutes
You've seen how to do it manually — now let the tool handle the heavy lifting. Upload your bank statement and get Excel, CSV, or QBO in a few clicks.