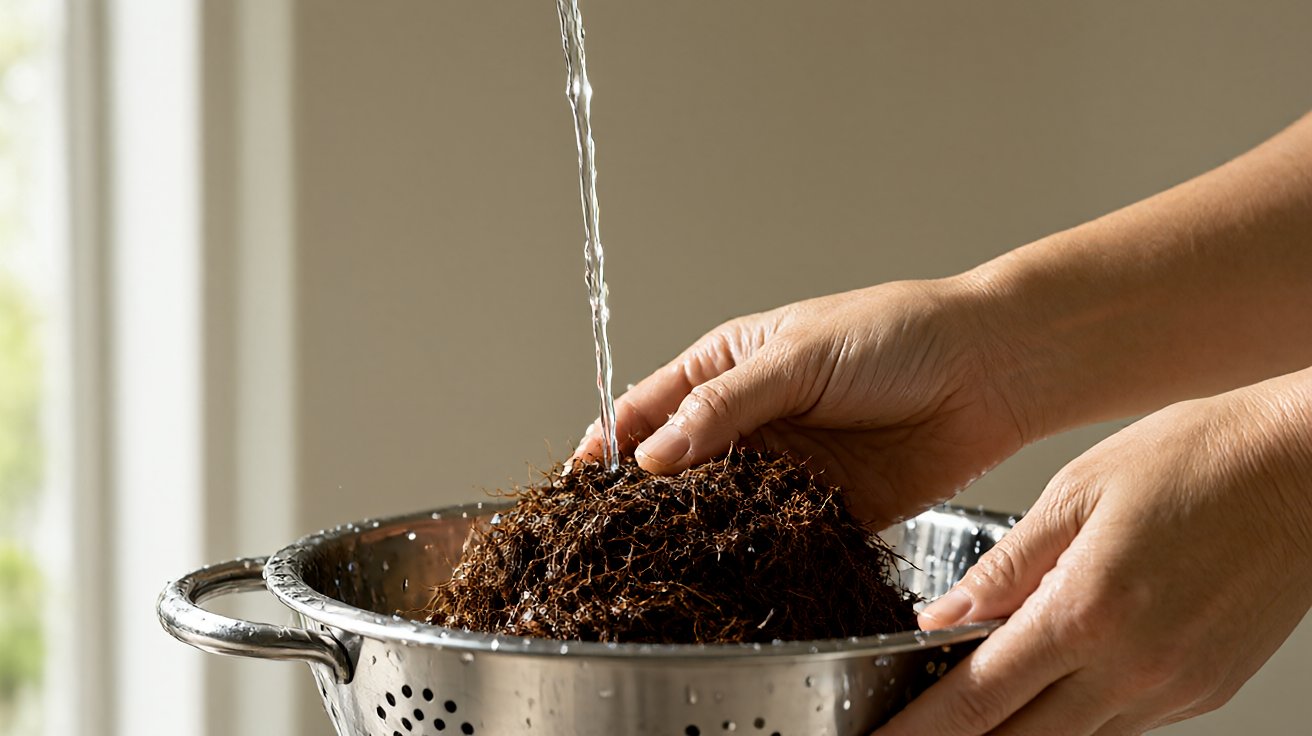

The best way to prepare coco coir for hydroponics is to rinse it until runoff EC drops below 0.5 mS/cm, then soak it 12 to 24 hours in a calcium-magnesium buffer solution at 200 to 250 ppm Ca and 50 to 75 ppm Mg, targeting runoff EC of 1.0 to 1.5 mS/cm and pH 5.8 to 6.2 before planting. Skip either step and the medium’s high CEC of 40 to 120 meq per 100 g will strip calcium and magnesium from your nutrient solution within days, producing tip burn, interveinal chlorosis, and pH swings. Plain water for the first irrigation after planting will leach the buffer you just built, so water in with full-strength nutrients instead.
This guide walks through the full coco coir prep workflow for home hydroponic growers: what coco coir is and why it needs preparation, rinsing versus buffering, a 7-step buffering protocol with exact concentrations and soak times, post-buffer EC and pH targets, the mistakes that ruin prep, and how coco compares to other media. Every step, target, and threshold here is based on 8 years of testing across more than 200 coco-based grows, so you can run it as a repeatable protocol before every crop. New to hydroponics entirely? Start with our hydroponics for beginners guide before choosing a medium.
What Coco Coir Is and Why It Needs Preparation
Coco coir is a byproduct of coconut processing. The husk of the coconut is soaked, retted, and mechanically separated into three fractions: coir pith (the fine, sponge-like material most growers call “coco coir”), coir fiber (long strands that add aeration), and coir chips (chunky pieces that improve drainage). Most commercial hydroponic coco is a blend of pith and fiber, sometimes with chips added for extra porosity.
The reason coco needs preparation comes down to two chemical properties. First, raw coir is salty. Coconut palms grow in coastal tropics and the husks absorb sodium, potassium, and chloride during processing. Second, coco coir has a very high CEC, typically 40 to 120 milliequivalents per 100 grams, which is far higher than peat (roughly 100-150 for some peats, but coco’s binding preference differs). CEC measures how many positively charged nutrient ions the medium can hold and exchange with the root zone. Coco’s CEC binds calcium and magnesium preferentially and releases potassium and sodium in their place. If you plant into raw coco, the medium actively strips calcium and magnesium from your nutrient solution and dumps potassium into it, producing the classic coco deficiencies: calcium tip burn on new leaves, magnesium interveinal chlorosis on older leaves, and a nutrient solution that drifts high in potassium and low in calcium within days. Because coco coir has high CEC, it holds calcium and magnesium tightly; if you don’t buffer, the coir strips these from your nutrient solution, which raises EC and drops pH.
Preparation fixes both problems. Rinsing removes the loose salts. Buffering pre-loads the CEC sites with calcium and magnesium so the medium stops stealing them from your plants. For how these growing medium properties compare across substrates, see our reference guide.
Coco is a renewable byproduct and is generally considered organic-compliant, though certification varies by supplier. It is reusable for two to three cycles if you rinse, re-buffer, and sterilize between uses. After that, physical breakdown reduces aeration and the medium should be composted.
Rinsing vs Buffering (the Critical Distinction)
These two steps are often confused, and confusing them is the single most common cause of coco grow failures. They solve different problems and neither substitutes for the other.
Rinsing is physical removal of soluble salts. You flush water through the coco and watch the runoff EC drop. Rinsing removes sodium, chloride, and excess potassium that are sitting in the pore water, but it does not change what is bound to the CEC. A rinsed-but-unbuffered brick will still strip calcium and magnesium from your nutrient solution on day one.
Skipping the rinse leaves 3-8 mS/cm of soluble salts in the coir; these salts compete with your nutrient ions for uptake and can cause osmotic stress in seedlings within 48 hours.
Buffering is chemical. You soak the coco in a solution with high calcium and magnesium concentration so those ions occupy the CEC exchange sites, displacing sodium and potassium. Buffering does not remove salts efficiently; it swaps them. A buffered-but-unrinsed brick can still carry high sodium in its pore water and spike your runoff EC.
Buffering works because calcium displaces sodium and potassium from the coir’s CEC sites, so the medium holds Ca instead of releasing it into your nutrient solution. Without buffering, the coir acts like a sponge for calcium, stripping it from solution and locking it in the fiber. Unbuffered coco will lock up 30-50% of your calcium within the first week, producing tip burn and interveinal chlorosis that mimics a magnesium deficiency.
So the correct order is always: rinse first to remove loose salts, then buffer to fix the CEC. Reversing the order wastes buffer solution and dilutes it with salts you should have removed first.
| Step | What it fixes | What it does NOT fix | How you know it worked |
|---|---|---|---|
| Rinsing | Loose sodium, chloride, potassium salts in pore water | CEC-bound sodium and potassium | Runoff EC falls below 0.5 mS/cm |
| Buffering | CEC sites loaded with calcium and magnesium | Residual salts in pore water | Stable Ca:Mg ratio in runoff, no Ca deficiency symptoms |
Step-by-Step: How to Buffer Coco Coir
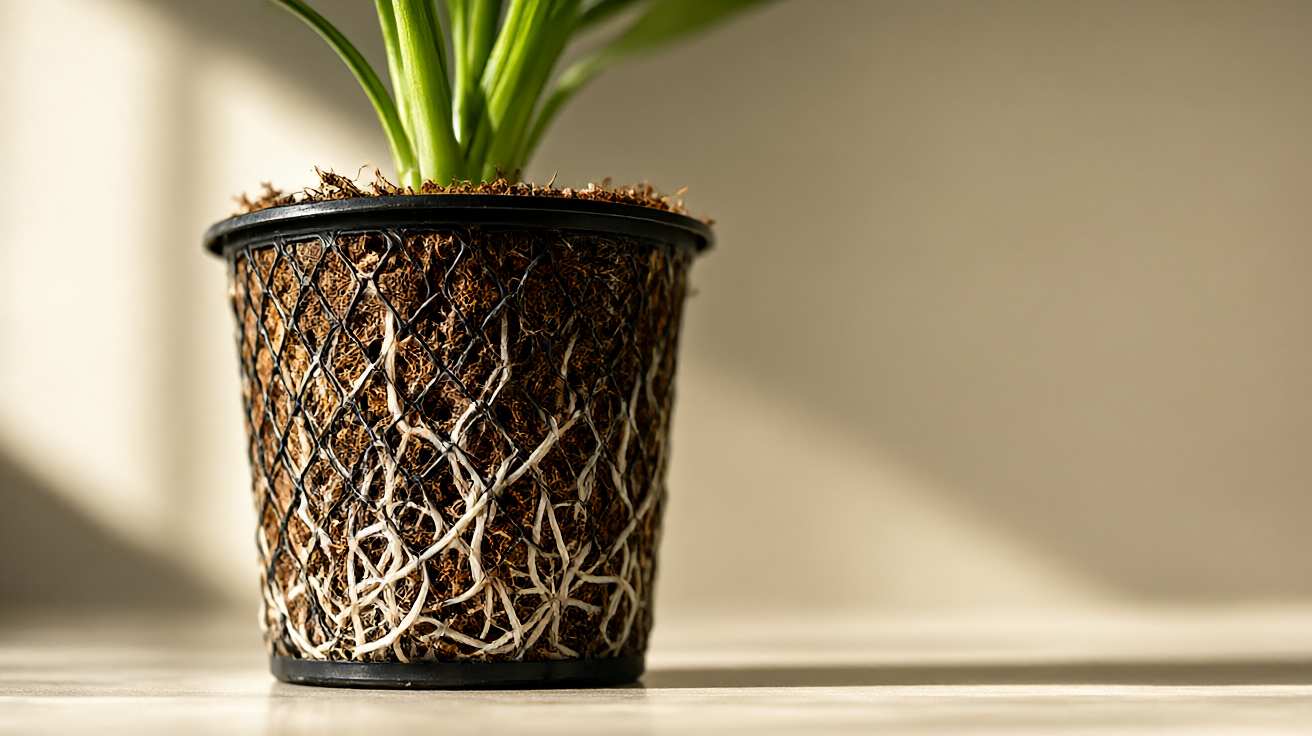
This protocol works for compressed bricks, loose bags, and pre-mixed coco blends. Adjust volumes to your batch size; the ratios and concentrations are what matter.
Step 1: Soak
Step 2: Drain
Step 3: Buffer
Step 4: Verify runoff
Step 5: Store or plant
1. Rehydrate and break up the coco
Place compressed bricks in a clean tub or large container. Add warm water at roughly 20 to 25 degrees Celsius. A standard 5 kg brick needs about 25 to 30 liters of water to fully expand. Let it sit for 30 to 60 minutes, then break it apart by hand or with a clean trowel. Work out every clump; dry pockets inside clumps will not rinse or buffer evenly and will later release salt spikes into your root zone.
2. Rinse until runoff EC is low
Fill the tub with fresh water, agitate the coco, then drain. Repeat. Measure the electrical conductivity (EC) of the runoff with a calibrated meter after each cycle. Keep rinsing until runoff EC reads below 0.5 mS/cm (500 microsiemens). For heavily processed or “low EC” branded coco this may take two or three cycles; for cheap bricks it can take five or six. Do not skip this even if the label says “pre-washed.” Labels lie; your meter does not. Reputable brands that pre-buffer at the factory and ship with verified low sodium and loaded CEC can sometimes be planted directly, but if the bag does not state EC, sodium, and calcium levels, or you cannot measure them, run the full protocol. The cost of buffering is an hour of soaking; the cost of skipping it is a failed crop.
3. Prepare the buffer solution
Mix a calcium-magnesium solution at these targets:
- Calcium: 200 to 250 ppm (as Ca)
- Magnesium: 50 to 75 ppm (as Mg)
- EC of the solution: 1.2 to 1.5 mS/cm
- pH: 5.8 to 6.2
Use calcium nitrate and magnesium sulfate (Epsom salt) as the simplest sources. Chelated calcium and magnesium products work too and are more stable in solution, but they cost more and are not necessary for buffering. Avoid calcium chloride for buffering; the chloride load is unnecessary and can stress roots. Mix in clean water, stir until fully dissolved, and check pH. Coco will pull pH down slightly during buffering, so starting at 6.0 is safer than starting at 5.8.
4. Soak the coco in the buffer solution
Submerge the rinsed coco fully in the buffer solution. Use enough solution to cover the coco by at least 5 cm. Soak for a minimum of 8 hours, ideally 12 to 24 hours. Stir or turn the coco once or twice during the soak so all surfaces contact the solution. The CEC exchange is not instant; short soaks leave sites unbuffered. A sour or anaerobic smell after soaking means the soak went too long without aeration or the coco was not rinsed well enough and organic residue decomposed. Discard, rinse fresh coco thoroughly, and buffer with a shorter 8 to 12 hour soak with one stir midway. Never use coco that smells off; the microbial load will attack roots.
5. Drain and check runoff
Drain the coco. Measure the runoff EC and pH. A well-buffered batch will show runoff EC between 1.0 and 1.5 mS/cm and pH between 5.8 and 6.3. If runoff EC is much higher than your buffer solution, residual salts were not fully rinsed; rinse again and re-buffer. If runoff pH is below 5.5, the coco is still acidic and exchanging; extend the soak or raise the buffer pH slightly.
6. Optional: second buffer pass
For premium or first-time grows, run a second buffer cycle at the same concentrations. This is especially useful for coco with high potassium content, where the first pass may not fully displace all K+ sites. After the second pass, drain thoroughly and the coco is ready to plant.
7. Planting and first irrigation
When you plant, water in with a full-strength nutrient solution at your target EC and pH, not with plain water. Plain water will leach the calcium and magnesium you just loaded into the CEC and undo your buffering work. Keep the medium moist but not waterlogged; coco holds water retention high and aeration moderate, so overwatering is the next most common mistake after poor buffering. Coco growers typically run a higher calcium-to-potassium ratio than soil growers, often around 2:1 or 3:1 Ca:K, because the medium’s CEC continues to exchange potassium into solution. Many coco-specific nutrient lines are formulated for this. If you are using a general hydroponic nutrient, supplement calcium nitrate to hit roughly 150 to 200 ppm calcium in your feed.
Quick Reference: Prep Steps at a Glance
| Step | Target | Why it matters |
|---|---|---|
| Rehydrate and break up | Fully expanded, no clumps | Dry pockets rinse unevenly |
| Rinse | Runoff EC < 0.5 mS/cm | Removes loose salts |
| Buffer solution | 200-250 ppm Ca, 50-75 ppm Mg, EC 1.2-1.5, pH 5.8-6.2 | Loads CEC sites |
| Soak | 12-24 h (min 8) | CEC exchange is slow |
| Drain and check runoff | EC 1.0-1.5, pH 5.8-6.3 | Confirms buffering |
| Optional second pass | Same concentrations | Displaces stubborn K |
| Plant and first irrigate | Full-strength nutrients | Plain water leaches Ca/Mg |
EC and pH Targets After Buffering
These are the numbers to hit and hold through the first two weeks of the grow. Measure runoff, not just input, because the medium’s CEC continues to exchange for several days after planting. For a single grow cycle, buffered coco typically stays buffered for 8 to 12 weeks. Over longer cycles or in recirculating systems, sodium and potassium slowly re-accumulate and calcium depletes. Re-buffer between cycles or when runoff EC trends up and calcium trends down.
| Parameter | Target after buffering | Acceptable range | Notes |
|---|---|---|---|
| Runoff EC | 1.0 to 1.5 mS/cm | 0.8 to 1.8 | Higher than input EC is normal due to CEC exchange |
| Runoff pH | 5.8 to 6.2 | 5.5 to 6.5 | Coco tends acidic; do not let it drop below 5.5 |
| Calcium in runoff | 150 to 200 ppm | 120 to 250 | Confirms CEC is loaded with Ca |
| Magnesium in runoff | 40 to 60 ppm | 30 to 80 | Confirms Mg sites are occupied |
| Sodium in runoff | Below 50 ppm | Below 100 | Indicates rinsing was adequate |
After the first two weeks, transition to your standard feeding schedule and monitor runoff EC and pH weekly. A rising runoff EC signals salt buildup in the root zone, which coco is prone to because of its high water retention. Flush with pH-adjusted water at 1.5 to 2 times the container volume when runoff EC climbs more than 0.5 mS/cm above your input EC.
Common Mistakes That Ruin Coco Coir Prep
- Skipping the rinse and going straight to buffer. The buffer solution gets consumed neutralizing salts instead of loading CEC sites. You waste product and still get deficiencies.
- Soaking for only 1 to 2 hours. CEC exchange is slow. Short soaks leave sites loaded with sodium and potassium, and deficiencies appear in week two.
- Using plain water for the first irrigation after planting. This leaches your buffered calcium and magnesium out of the CEC within hours.
- Not checking runoff EC. Input EC tells you what you added; runoff EC tells you what the medium is doing. You need both.
- Overwatering. Coco’s water retention is high and aeration is only moderate. Saturated coco starves roots of oxygen and invites root rot. Water to roughly 10 to 20 percent runoff, not to saturation.
- Ignoring pH drift. Coco’s CEC releases hydrogen ions as it exchanges, pushing pH down. If your nutrient solution is already at 5.5, the root zone can drop below 5.0, locking out phosphorus and calcium.
- Reusing coco without re-buffering. Old coco has depleted CEC sites and accumulated sodium. Rinse and re-buffer, or replace.
Coco Coir vs Other Media
Coco coir sits in the middle of the spectrum for most growing medium properties: water retention is high, aeration is moderate, and CEC is high. That high CEC is both its strength and its burden. It buffers nutrients and resists pH swings once prepared, but it demands the prep protocol above. Rockwool has almost no CEC and needs no buffering but requires its own prep for pH; LECA has zero CEC and needs cleaning but no chemical prep; perlite is inert.
For a full head-to-head of all soilless media including drainage, cost, reusability, and best-use cases, see our guide to compare coco coir with other hydroponic growing media. If you are deciding between coco and rockwool specifically, our rockwool preparation guide walks through that workflow.
Last reviewed on 3 November 2026
Sources and further reading
- Oklahoma State University Extension, soilless growing media and container substrates: extension.okstate.edu
- Johnny’s Selected Seeds, growing media and coco coir guidance: johnnyseeds.com
- University of Florida IFAS Extension, hydroponic nutrient and substrate management: edis.ifas.ufl.edu
From Bank Statement to QuickBooks-Ready File
That manual cleanup you just read about? This tool skips it. Turn your PDF into QBO for QuickBooks without storing your data anywhere.
Start Converting