When your thyme collapses suddenly — wilted stems, yellowing foliage, soil that stays wet for days — the root system is likely in the early stages of root rot, and acting within 48 hours gives you the best chance of saving the plant. The key variable is not how brown the top looks; it is how much healthy root tissue remains below the soil line. English thyme, the most common culinary variety, is more susceptible to overwatering than lemon thyme or creeping forms. Thyme can lose half its foliage and still recover if the crown and root system are intact.
This guide walks you through a four-stage rescue protocol: diagnose root viability, perform root rot surgery, prune back damaged stems, and repot into a well-drained recovery environment. Each stage builds on the previous one — skipping the diagnosis and jumping straight to repotting often kills a plant that could have been saved with proper root work.
No rescue protocol works on a fully desiccated plant. If the stems are brown and brittle to the crown and the roots crumble, the plant is dead. In that case, propagation from stem cuttings or division is the realistic next step — our thyme propagation guide covers both methods — but if any green tissue remains, the protocol below gives you a genuine chance.
Diagnose before you cut: checking root viability in a declining thyme plant
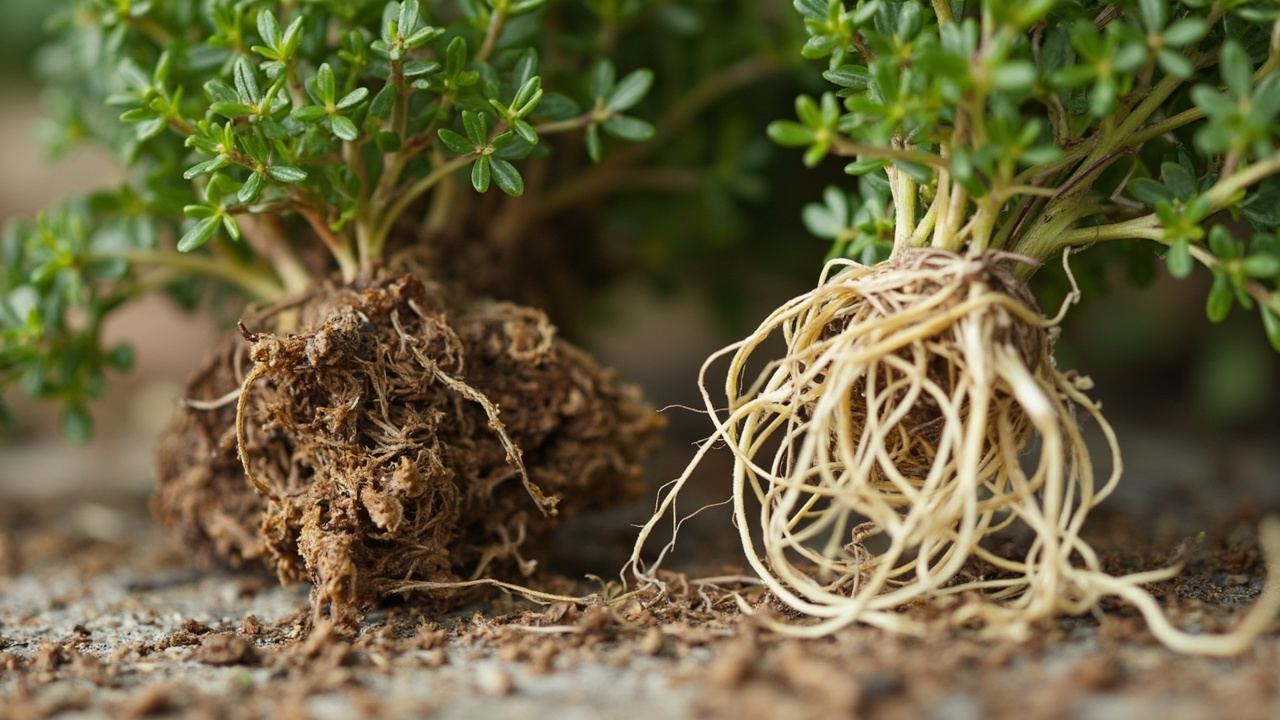
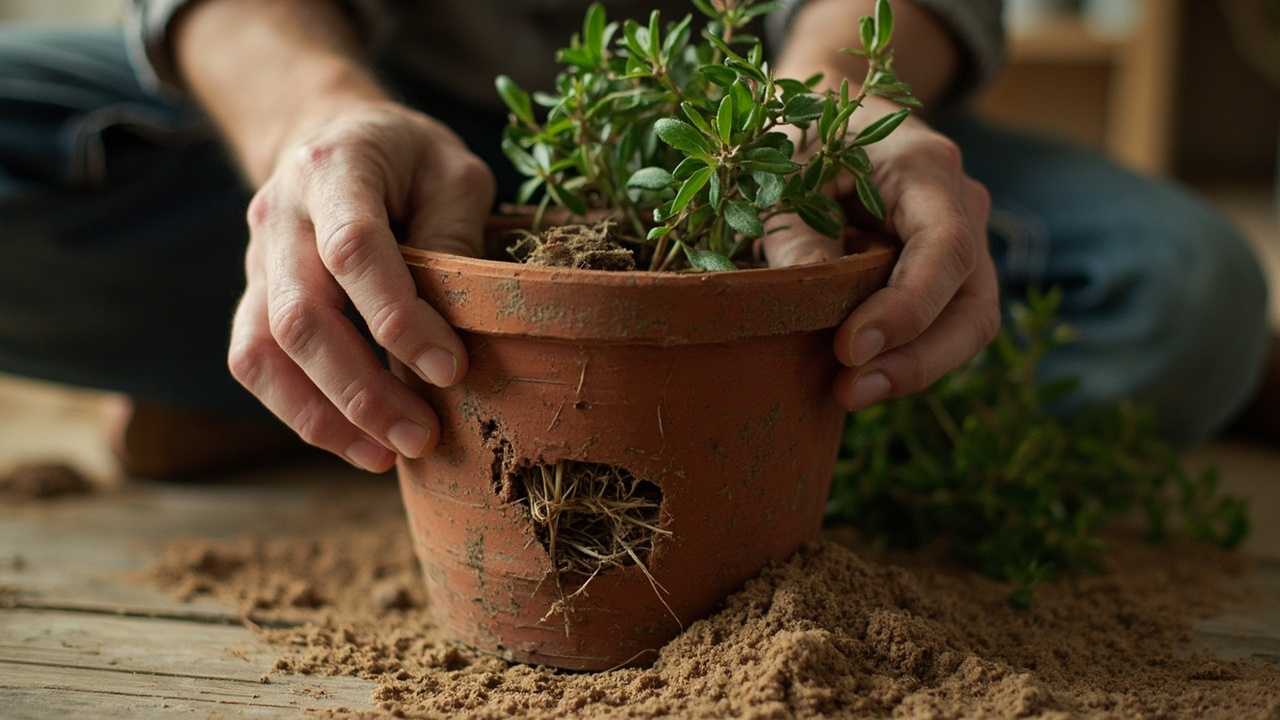
Remove the thyme from its container and gently shake away the soil. Healthy thyme roots are pale, fibrous, and firm. Rotted roots are dark brown or black, mushy, and often carry a sour smell. Overwatering saturates the soil, excludes oxygen, and allows fungal pathogens — typically Pythium or Phytophthora — to colonize weakened tissue. University of Minnesota Extension notes that by the time foliage wilts, the root system has been compromised for at least one to two weeks. The Mediterranean origins of thyme mean its root system evolved for sharply drained, lean conditions with almost no tolerance for waterlogged soil.
Estimate the percentage of viable root tissue remaining. If 50 percent or more of the root system is pale and firm, the plant is a strong candidate for rescue. If 20 to 50 percent is viable, rescue is still possible but recovery will be slower. If less than 20 percent of the roots are healthy — or if the crown itself (the woody stem base where roots meet shoots) is soft and dark — the plant cannot sustain itself through recovery. Propagate from any green stem tips using nodal cuttings instead.
Check the crown separately from the roots. Scratch the surface of the main woody stem at soil level. Green tissue means the crown is alive and capable of producing new basal growth. Brown, dry tissue at the crown is the single most reliable death indicator — even with healthy roots, a dead crown cannot produce new shoots. For a full diagnostic of the browning patterns that precede root rot, see our thyme turning brown and dying guide.
Do not confuse winter dormancy with root rot. Thyme goes semi-dormant below 7 °C — growth stops, older leaves bronze, and the plant looks unproductive. Unlike fruit trees that require chill hours to set buds, thyme simply pauses. Dormant thyme has firm, pale roots and a green crown when scratched. Root-rotted thyme has dark, mushy roots and a soft crown. Overwintering thyme successfully means keeping it cool, dry, and in bright light until spring.
Root rot surgery: removing damaged tissue without killing the plant
Using clean, sharp secateurs or scissors, trim every rotted root back to healthy pale tissue. Cut boldly — leaving even small sections of brown or mushy root in the pot allows the fungal infection to resume once watering restarts. If you must cut away more than 60 percent of the root mass, reduce the foliage proportionally by pruning the top growth back by one-third to one-half. The balance between root surface area and transpiring leaf area determines whether the plant can maintain water uptake during recovery. This is the same drought-tolerant physiology that makes thyme thrive in poor, dry Mediterranean soils — it needs far less water than most gardeners assume.
After trimming, soak the remaining root system for ten minutes in a diluted hydrogen peroxide solution — one part 3 percent peroxide to four parts water. It kills Pythium and Phytophthora without damaging healthy roots, leaves no residual toxicity, and oxygenates the root zone, restoring the air circulation that roots need to recover.
Let the trimmed roots air-dry on newspaper for 30 to 60 minutes before repotting. This allows cut surfaces to callus slightly. Do not leave roots exposed for more than two hours — thyme roots desiccate quickly.
Discard the old soil completely — fungal spores survive for months. Scrub the container with a 10 percent bleach solution and rinse thoroughly. Cornell Cooperative Extension identifies contaminated containers as the most common cause of repeat root rot in rescued herbs.
While the roots dry, inspect the stems for soft or dark sections below the soil line. Trim away affected tissue with a sterile blade until you reach firm, green-white interior. If the crown is more than 50 percent affected, propagate from healthy upper stems instead. Our thyme leggy and poor growth guide covers the propagation decision in detail.
Rejuvenation pruning: cutting back woody stems to stimulate basal growth
Once the roots are clean and the plant is repotted, prune the top growth to match the reduced root system. For thyme with 50 percent or more healthy roots, cut each stem back by one-third, making your cut just above a visible leaf node. For thyme with less than 50 percent viable roots, cut back by one-half. The goal is to reduce the transpiring leaf surface to a level the reduced root system can support without wilting.
Thyme sprouts reliably from green wood and partially woody stems, but not from fully brown sections. Cut into the stem until you see green tissue. If the first cut reveals brown interior, cut lower. If no green tissue exists anywhere on the stem, remove that branch entirely.
The RHS recommends rejuvenation pruning in early spring for maintenance, but a dying thyme plant should be pruned whenever you perform root surgery — regardless of season. The plant is already in crisis, and leaving damaged foliage in place only increases water demand on a compromised root system. Remove all yellow, brown, or wilted foliage. Leave only healthy green stems, and cut those back to the nearest viable node.
After pruning, the plant should look dramatically smaller. This is correct — a heavily pruned thyme with reduced roots allocates its limited energy to root regeneration. The first new growth emerges from the crown and from nodes just below your cut points within three to four weeks. For the full seasonal pruning calendar, see our thyme pruning and harvesting guide.
Repotting for recovery: soil mix, container choice, and the first 30 days
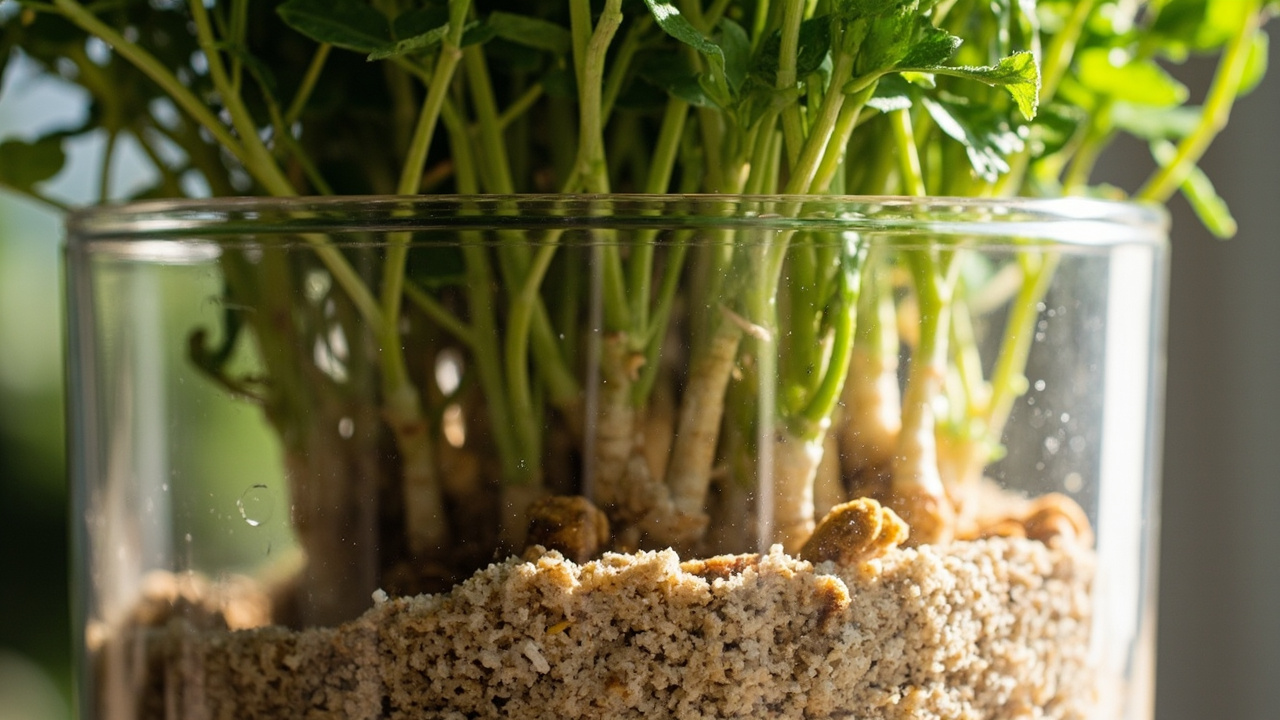
Use a sharply drained sandy loam mix for recovery: roughly 40 percent coarse sand, 30 percent compost, and 30 percent perlite or fine gravel. The mix should feel gritty in your hand and never clump when squeezed. Avoid moisture-retentive ingredients like peat-heavy potting soil, coco coir alone, or water-retaining crystals — these hold too much moisture for a thyme plant with a compromised root system. The goal is a root zone that alternates between moist and briefly dry, never staying saturated for more than a few hours after watering.
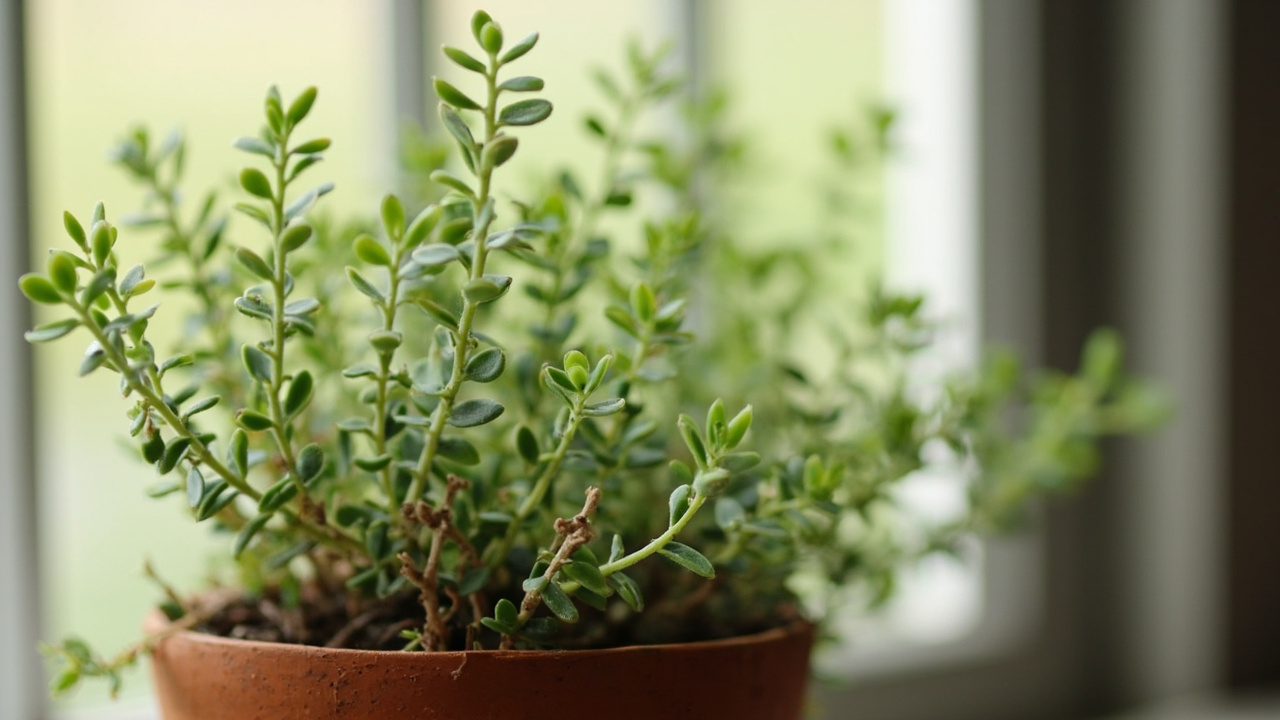
Choose an unglazed terracotta container one size smaller than the original pot. A smaller pot holds less soil, which means less water retention and faster drying — exactly what a recovering root system needs. Terracotta’s porous walls wick moisture away from the root zone and improve air circulation around the roots. Ensure the pot has at least one drainage hole; two or three are better. Place a 1-centimetre layer of gravel mulch at the bottom to prevent the drainage holes from clogging with soil.
Position the thyme at the same soil level it occupied before. Fill around the root ball with fresh mix, press gently to eliminate air pockets, and water once thoroughly until water runs freely from the drainage holes. After this, do not water again until the top 3 centimetres of soil feel dry.
The first 30 days are critical. Place the repotted thyme in bright indirect light — not full sun, which stresses a plant with reduced roots. An east-facing windowsill or a spot three to four metres from a south-facing window works well. If natural light is limited, a full-spectrum grow light 30 centimetres above the plant for 14 hours daily provides adequate energy without heat stress. Water sparingly: in most indoor environments, every seven to ten days is sufficient during recovery. Yellowing of the oldest lower leaves during the first two weeks is normal. But if new growth yellows or stems wilt at the tips, the roots are failing — remove the plant and re-inspect.
Do not fertilize for at least eight weeks after rescue surgery. Thyme in lean sandy loam recovers faster than thyme in amended soil because the plant’s energy goes to root regeneration. After eight weeks, if the plant shows steady new growth, begin feeding with a half-strength balanced liquid fertilizer once per month during the growing season. Full sun — at least six to eight hours daily — is essential once the plant resumes active growth, both for recovery and for maintaining the thymol and carvacrol concentration that gives thyme its essential oil. Keep humidity moderate; stagnant air around the recovering crown encourages the same fungal pathogens that caused the original rot. For the full light and watering protocol once the plant has recovered, see our thyme light and watering guide.
When to propagate instead: reading the signals that rescue has failed
Watch for three failure signals during the first 30 days. First, if no new growth appears at the crown or from nodal buds within four weeks, the root system has not regenerated. Second, if stems continue wilting despite the soil being dry, the vascular system is compromised and water cannot reach the foliage. Third, if the crown turns soft or dark after repotting, crown rot has progressed below the soil line and cannot be reversed by further pruning.
When any of these signals appear, act quickly to salvage what you can. Select the healthiest green stem sections 8 to 10 centimetres long with at least two nodal zones and take cuttings for propagation. Strip the lower leaves, dip the cut end in rooting hormone if available, and place in equal parts perlite and coir under bright indirect light. Rooting occurs within three to four weeks. The optimal harvest window for taking cuttings is late spring when essential oil concentration peaks. Our thyme propagation guide covers the full cutting-to-pot timeline.
Some thyme plants are simply past rescue. A plant declining for more than two months, with a root system more than 80 percent rotted and a crown that tests brown at every point, does not have enough viable tissue to regenerate. Compost it, sanitize the container, and start fresh. The time spent trying to revive a dead thyme is better invested in establishing a new plant in well-drained soil with proper watering from day one.
If the rescue succeeds, the recovered thyme will be smaller and less bushy than a healthy specimen for at least one full growing season. This is normal. The perennial plant is rebuilding its root system and will not allocate energy to vigorous top growth until the roots are fully restored. By the second season, a successfully rescued thyme produces the same compact, aromatic growth as a plant that was never stressed — provided you maintain the lean soil, bright light, and restrained watering that prevented the decline in the first place. Place the recovered plant where it will attract pollinators and bee-friendly insects — thyme’s summer flowers are ornamental as well as functional, and a healthy plant rewards you with dense, upright growth suitable for both culinary harvesting and ground cover in sunny borders.
Turn any PDF statement into a clean sheet
Skip the typos and the hours of copying. Our converter handles any bank statement format and outputs Excel, CSV, or QBO for QuickBooks. No file retention, free to try.
Convert your statement