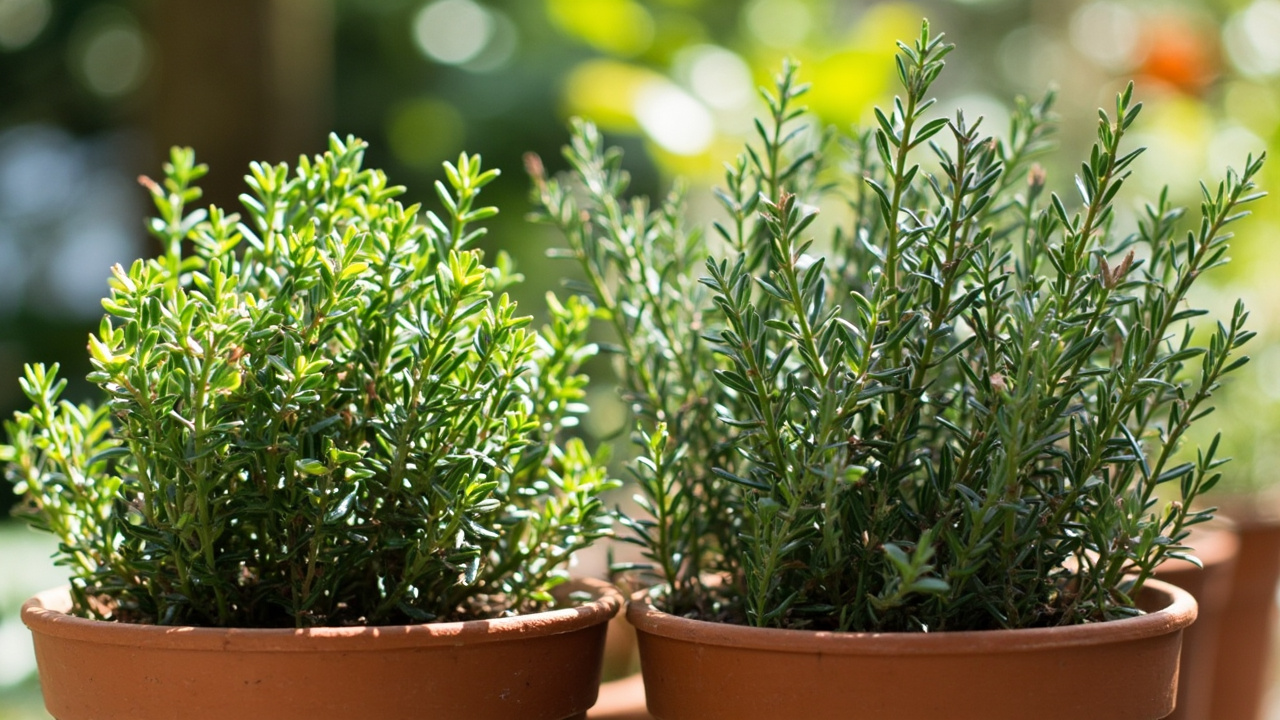
If you have one thyme plant you like, you don’t need to buy more — three reliable methods can turn that single pot into a dozen, and the fastest one starts this weekend.
The method you pick depends on what you have to work with. A friend with a plant you like is a stem-cutting situation. A mature plant that’s getting woody is a division situation. A seed packet is for when you have time and want to grow more plants than you need. Each path has a different time cost and a different reliability profile, and the article walks through all three in the order most home gardeners should actually try them.
Stem cuttings are the workhorse — almost foolproof in a Mediterranean climate or on a sunny windowsill. Division is the spring shortcut for established plants. Seed starting is the slowest and least predictable route, but it’s the only way to grow varieties that aren’t available as plants. Pick the method that matches what you have and how patient you are.
The three methods, ranked by ease
Stem cuttings come first because they root in two to three weeks, they preserve the parent’s essential oil profile, and you can take them any time the plant is actively growing. This works on upright culinary thyme just as well as it does on creeping ground cover types — both are drought-tolerant perennials once established. Softwood cuttings from new spring growth root fastest; semi-hardwood cuttings from mid-summer stems root a little slower but are more forgiving of humidity swings. Both work on the same principle: strip the leaves from the bottom inch, stick the stem in a moist well-drained medium, and wait for roots to form.
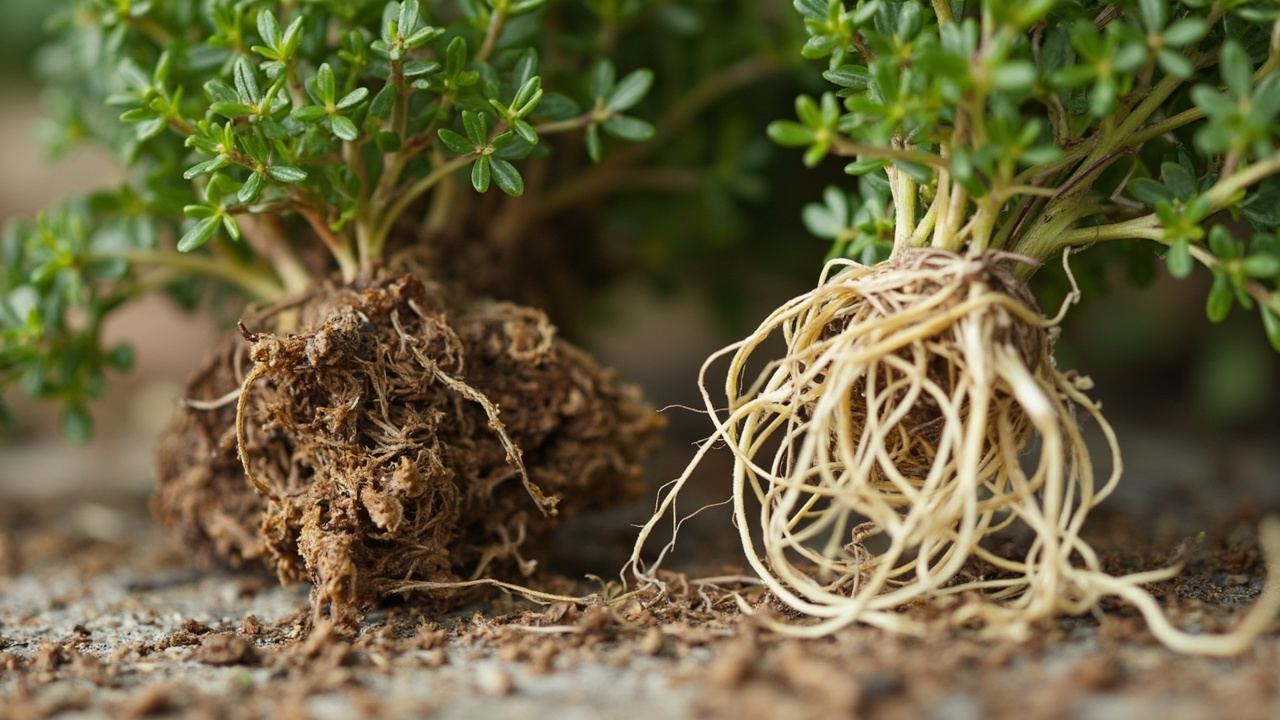
Division is the second-best option and the right choice when you already have a mature thyme plant that’s two or three years old and getting woody at the base. You dig up the whole plant in early spring, tease the root ball apart into three or four sections, and replant each as a new plant. It’s a ten-minute job and the divisions recover in two to three weeks because they bring their own root system with them.
Seed starting is the long game. Thyme seeds germinate in 14 to 28 days under ideal conditions, the seedlings grow slowly for the first two months, and the resulting plants vary in flavor and habit from the parent. Seed starting makes sense if you want a lot of plants at low cost and don’t need them to match a known variety — for culinary thyme where you want predictable flavor, stick with cuttings or division. The thyme plant care guide walks through the overwintering routine for any new plants you propagate.
Stem cuttings: the fast path
Take cuttings in the morning when the stems are fully hydrated. Cut four to six inch lengths from healthy non-flowering stems, making the cut just below a leaf node — that’s the swollen joint where leaves meet the stem, and it’s where roots form fastest. Strip the leaves from the bottom inch of each cutting; leave the top two or three pairs intact so the cutting can photosynthesize while it roots. The best window for softwood cuttings is mid-spring when the plant is out of dormancy and pushing new growth on a perennial that’s already established.
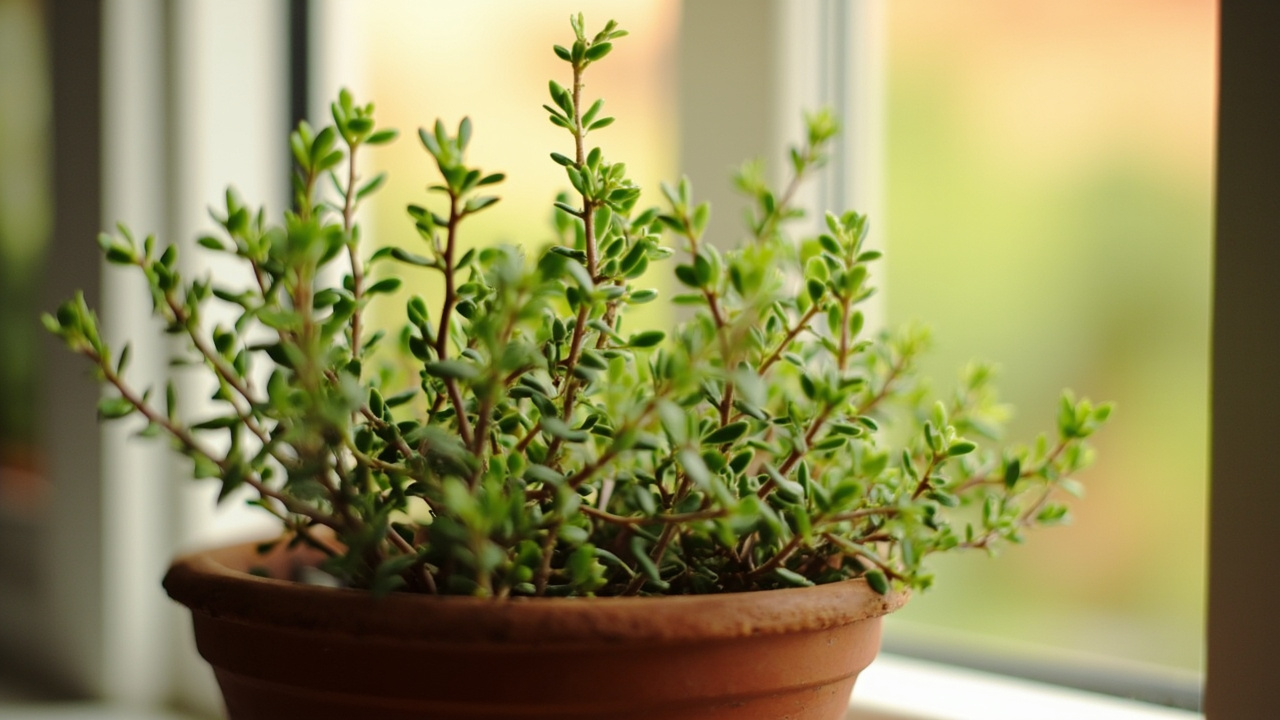
Stick the prepared cuttings into a small pot filled with a moistened mix of half perlite and half peat-free compost, or half coarse sand and half potting mix. The medium needs to drain freely — thyme cuttings rot in wet soil faster than they root in dry soil. A terracotta pot is the best container because it wicks excess moisture away from the stem base. Space the cuttings so their leaves don’t touch, and water once to settle the medium.
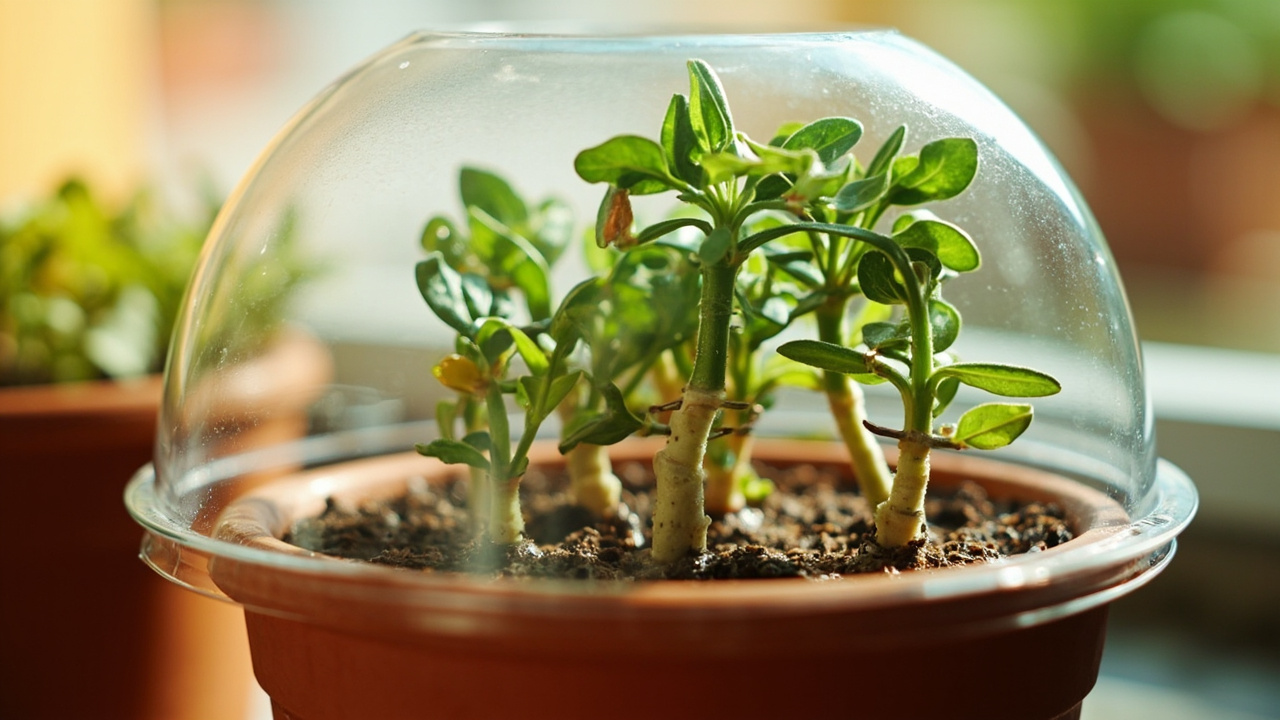
Cover the pot with a clear plastic bag or a propagation dome to hold humidity around the cuttings, but open it once a day for ten minutes to refresh the air. Air circulation matters as much as humidity — cuttings in stagnant wet air rot, while cuttings in moving air with consistent moisture root. Place the pot in bright indirect light; full sun through a plastic bag cooks the cuttings.
Roots form in 14 to 21 days for softwood cuttings and 21 to 30 days for semi-hardwood. You’ll feel resistance when you give a cutting a gentle tug — that’s the sign roots have formed. Once roots are an inch long, pot each cutting into its own 3 to 4 inch terracotta pot with a sandy loam mix and treat it as a young plant. No rooting hormone is needed for softwood thyme cuttings; semi-hardwood cuttings benefit from a light dip but it’s not required.
The most common failure mode is overwatering. Cuttings have no roots to absorb water, so the medium needs to be moist but never wet. If your cuttings turn black at the base and collapse, root rot has set in and you need to start over with fresh cuttings and drier conditions. The thyme light and watering guide covers the moisture rhythm that prevents rot in young thyme plants.
Division: the spring shortcut for mature plants
Division works on thyme plants that are at least two years old and have multiple woody stems coming from the base. The best time is early spring just as new growth begins, when the plant is coming out of dormancy and has stored energy from winter. Avoid dividing in summer heat — divisions struggle to recover when they’re simultaneously trying to push new growth and replace lost roots.
Lift the whole plant with a fork, shake off loose soil, and inspect the root ball. You’ll see natural divisions where stems have formed their own root clusters. Tease these apart with your fingers or cut through the crown with a clean knife, making sure each division has at least three stems and a healthy chunk of root. Discard the oldest woody center if it’s clearly declining — the outer divisions carry the plant’s future, and each new section will produce a pollinator-friendly mound within a season.
Replant each division immediately into its own pot or garden spot, water once to settle the soil, and place in full sun. The divisions need consistent moisture for the first two to three weeks until new roots establish, then taper to normal thyme watering — meaning drier than you’d think. Avoid fertilizer for the first month; the fresh root tips are tender and burn easily in a nutrient-rich mix.
Seed starting: the slow road
Thyme seed is small and slow to germinate, and most home gardeners skip this path because cuttings and division are so much faster. Seed starting makes sense if you want a lot of plants at low cost — a single packet gives you 50 to 100 potential plants — or if you’re growing an ornamental variety that isn’t available as a transplant.
Start seeds indoors 8 to 10 weeks before your last frost. Use a sterile seed-start mix, not regular potting soil, and press the seeds into the surface without covering them — thyme seed needs light to germinate. Bottom-water the tray by setting it in a shallow pan of water until the surface darkens, then cover with a clear dome and place under grow lights or in a south-facing windowsill.
Germination takes 14 to 28 days at 65 to 70°F; thyme seed has no real chill-hours requirement, so it germinates readily once temperatures are warm. Once seedlings have two sets of true leaves, thin them to one per cell and grow on at cooler temperatures — 55 to 60°F is ideal — for another six weeks before transplanting. Harden off gradually by moving the trays outdoors for an hour more each day over a week. Direct sowing outdoors doesn’t work reliably because thyme seed is slow and the small seedlings can’t compete with weeds.
The honest limit on seed-started thyme is genetic variation. Seedlings won’t match the parent’s essential oil profile — a seed-started English thyme might taste more like caraway thyme or be weaker in thymol and carvacrol. For predictable culinary flavor, vegetative propagation is the only reliable path. If your goal is a lemon thyme, in particular, cuttings are the only way to keep the citrus note; seedlings rarely carry the geraniol that defines the variety. The thyme varieties guide walks through which varieties are worth starting from seed and which are better bought or shared as cuttings.
After propagation: potting, hardening off, and the first month
New thyme plants — from any method — need the same first-month routine. Pot into a terracotta container with a sandy loam mix, place in full sun or a south-facing windowsill, water when the top inch of soil dries out, and skip the fertilizer. Sharp drainage is more important than rich soil at this stage — a young plant sitting in wet compost will rot before it roots. Young thyme plants are slow to establish because they’re putting energy into roots before top growth, and a lean soil mix encourages that root focus.
If you started cuttings or divisions indoors, harden them off before moving outside permanently. A week of progressively longer outdoor stays — starting with an hour in a sheltered spot and building to a full day — lets the leaves adjust to direct sun, wind, and temperature swings. Plants moved from indoors to a full-sun garden bed without hardening off will scorch on the first hot day.
First-year plants don’t need much pruning beyond pinching the tips to encourage bushy growth. Save serious pruning for the second year when the plant has enough top growth to recover. The first light harvest can happen once the plant has filled its pot with roots — usually 8 to 12 weeks after transplant. For the full harvesting routine, the thyme pruning and harvesting guide walks through timing, technique, and how to keep the plant productive for years.
One healthy thyme plant, three methods, and a weekend is all you need to start a herb garden that costs nothing but a bag of potting mix. The slowest part is waiting for roots, and even that takes less than a month.
Turn PDF Bank Statements Into Workable Spreadsheets
Your bank statement is a mess of numbers, but your books shouldn't be. Use our converter to get Excel, CSV, or QBO files — ready for QuickBooks.
Try It Free Now