If you know when to cut and how much to take, thyme rewards regular harvesting with thicker growth and better flavor — and the right pruning routine is what keeps a plant from going woody after year three.
The two activities are linked but distinct. Harvesting is taking small amounts of soft growth for the kitchen; pruning is the harder cut that shapes the plant and renews its leafy growth. Both should happen on a Mediterranean schedule: light frequent cuts in the growing season, one harder prune in spring or just after flowering, and a hands-off rest in winter dormancy.
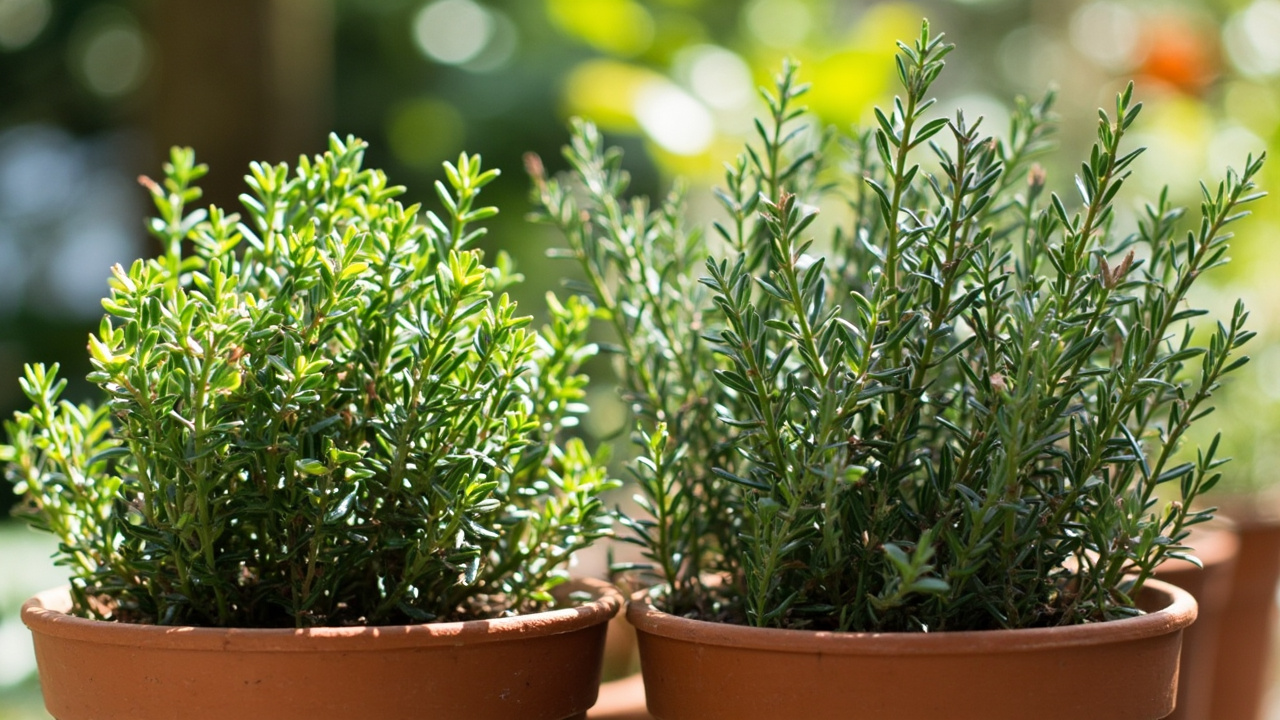
This guide walks through the timing for each, the cuts that keep the plant productive for three to four years instead of one or two, and how to dry and store the harvest so a single English thyme — the workhorse culinary variety — can stock your spice rack through the year. The same routine works for upright perennial Mediterranean herbs more broadly, including lemon thyme and oregano, since they share thyme’s drought-tolerant dormant-winter cycle.
When to harvest: the timing rule
Harvest thyme in the morning, after the dew dries but before the midday heat. That’s when the essential oil concentration is highest in the leaves, and the cut sprigs will keep their flavor through drying or short-term storage. The growth-stage rule is to harvest just before the plant flowers — once flowers open, the leaves toughen and the flavor shifts from sweet to slightly bitter.
For most home gardeners, that means two harvest windows per year. The first is late spring through early summer, before flower buds form. The second is a lighter cut in late summer or early fall, once the first flush of flowers has finished and new leafy growth has come in. Avoid harvesting in the six weeks before your first expected frost; the plant needs time to push fresh growth that will harden off for winter.
The flavor profile of thyme actually peaks right at the start of flowering — the plant is producing the most essential oils because pollinators are about to arrive. A home gardener who wants the strongest culinary thyme should harvest in the morning on the day flower buds first appear. The thyme plant care guide covers how the overwintering routine sets up the next year’s first harvest.
How much to cut: the one-third rule
The reliable rule is to never take more than one-third of the plant’s total growth at any single harvest. For an established thyme plant with multiple woody stems, that means cutting four to six inch sprigs from the top, leaving the bottom two-thirds of leafy growth and the woody base untouched. Cutting deeper than one-third risks killing the stem or pushing the plant into survival mode where it won’t push new growth.
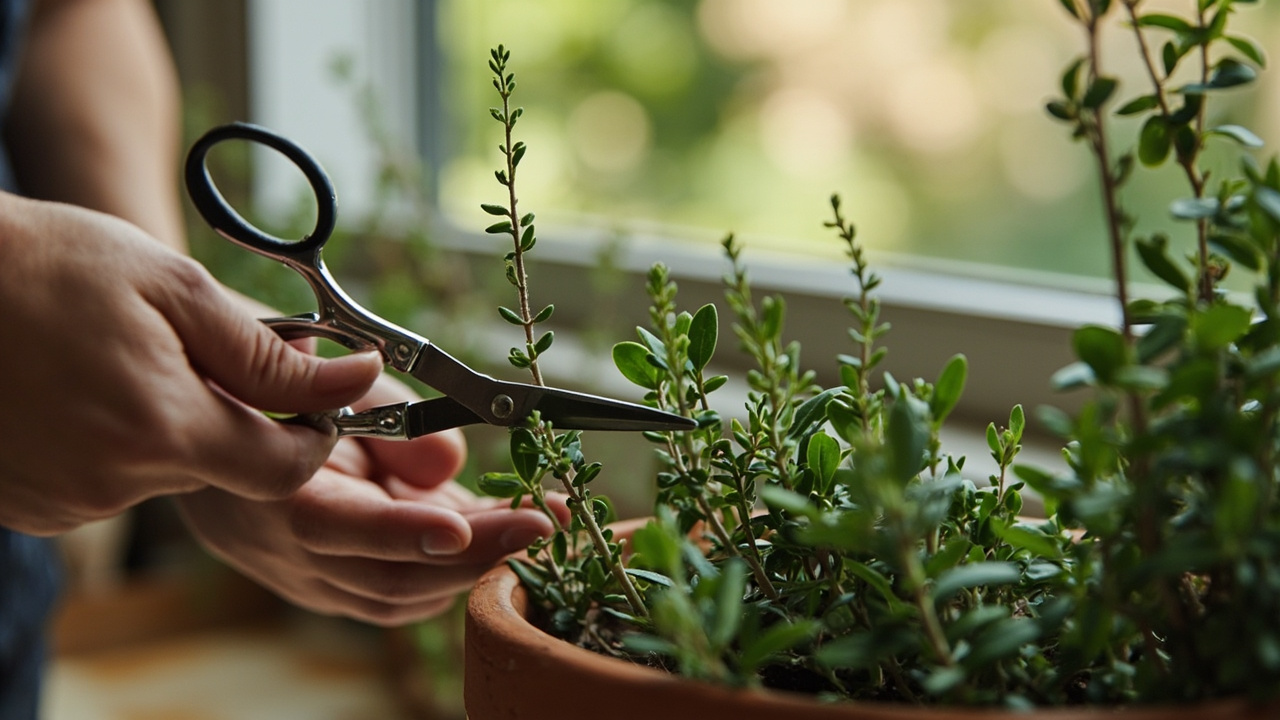
For harvesting specifically, cut just above a leaf node — the swollen joint where leaves meet the stem. New branches will sprout from that node within a week or two, which is what gives a regularly harvested thyme its bushy shape. Cutting randomly between nodes leaves a bare stem section that won’t re-sprout, which over time creates the leggy, woody look that gardeners want to avoid.
The exception is hard pruning in spring, which is the one time you take more. That’s covered in the next section. Plants that have been allowed to get leggy indoors — long stretched woody stems with sparse leaves — benefit more from a hard prune than from light harvesting, because the leggy growth won’t push new leafy stems where you need them. For routine harvesting, the one-third rule keeps the plant productive for years instead of exhausting it in a single season.
Spring pruning: the renewal cut
Once a year, give thyme a harder prune to renew the leafy growth and prevent the woody decline that ends the plant’s useful life. The right time is early spring, just as new growth is starting at the base of the plant but before the main flush of stems has extended. In most climates that’s two to three weeks before the last expected frost.
Cut the whole plant back by about one-third to one-half, removing the oldest woody stems at the base and shaping the plant into a low mound. Don’t cut into the bare woody base below the leafy growth — that section won’t re-sprout. The goal is to remove the tired top growth while preserving the healthy lower stems and the root system.
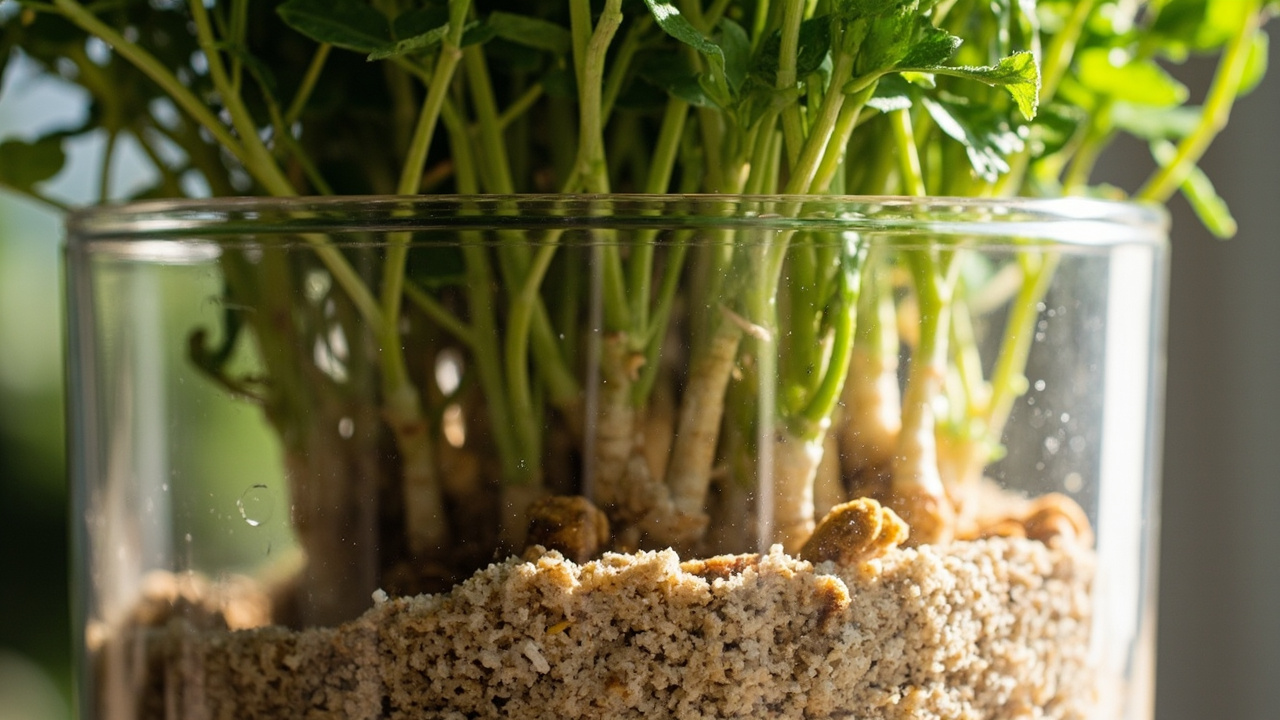
If the plant is already two or three years old and looking leggy or sparse at the base, the spring pruning is also the right time to take a few stem cuttings for propagation. The same stems you’re cutting back are perfect softwood cuttings for rooting, and you can replace the parent plant with a fresh rooted cutting if the original is too far gone. For plants too woody to prune, division of the remaining healthy sections — lifted, teased apart, and replanted in fresh well-drained sandy loam mix in a terracotta pot — is the cleaner revival path. The new divisions want full sun, low humidity, and sharp drainage to avoid root rot in the first month. The thyme propagation guide walks through the rooting mix and timing.
Drying and storing the harvest
There are three reliable drying methods for thyme, and the choice depends on how much you harvested and how you plan to use it. Air drying is the simplest: bundle five to ten sprigs with twine, hang them upside down in a warm dry spot out of direct sunlight, and let them cure for one to two weeks. The flavor holds well, and the dried leaves strip easily from the stems for storage.
Oven drying is faster but requires low heat to preserve the essential oils. Spread the sprigs on a baking sheet, set the oven to its lowest setting (ideally 170°F or below), and leave the door cracked for air circulation. The thyme dries in two to four hours; check every 30 minutes after the first hour to avoid scorching.
A dehydrator is the most efficient method if you have one. Set it to 95 to 110°F and dry the sprigs for four to eight hours until the leaves crumble off the stems. The dehydrator preserves more of the volatile oils than the oven because the lower temperature doesn’t drive them off.
Store dried thyme in an airtight container away from direct light. Whole leaves keep their flavor longer than crumbled leaves — a one-year shelf life is reasonable for whole dried thyme, six months for crumbled. Glass jars with tight lids work better than plastic bags because thyme’s essential oils — the thymol and carvacrol that carry the flavor — can permeate plastic over time. For longer storage, freezing fresh thyme in olive oil in ice cube trays keeps the bright flavor for six months and works well for soups and stews. Garden-grown thyme is leaner than potted plants in rich compost, and the resulting dried leaves have a more concentrated flavor profile.
What not to do: the common mistakes
The most common pruning mistake is cutting into the bare woody base below the leafy growth. Thyme’s woody stems don’t regenerate from bare wood the way some shrubs do — a hard cut below the leafy zone kills that stem permanently. If the plant has gotten too woody to save, take cuttings from the healthy upper growth and start over rather than cutting deep into the base hoping for a fresh flush.
The second mistake is pruning in late summer or fall when the plant should be winding down. A late-season prune pushes tender new growth that won’t harden off before frost, and the plant goes into winter with vulnerable stems. Save the harder cuts for spring and stick to light harvesting in late summer.
The third mistake is over-fertilizing to compensate for slow growth. Thyme is a Mediterranean plant that thrives in lean soil; fertilizer pushes leggy weak growth with diluted flavor. If a thyme plant looks tired after a season of harvesting, the answer is renewal pruning and a lean watering rhythm, not fertilizer. The thyme varieties guide walks through which varieties handle frequent harvesting best, and the thyme turning brown guide covers revival sequences for plants that have been over-cut or over-fertilized.
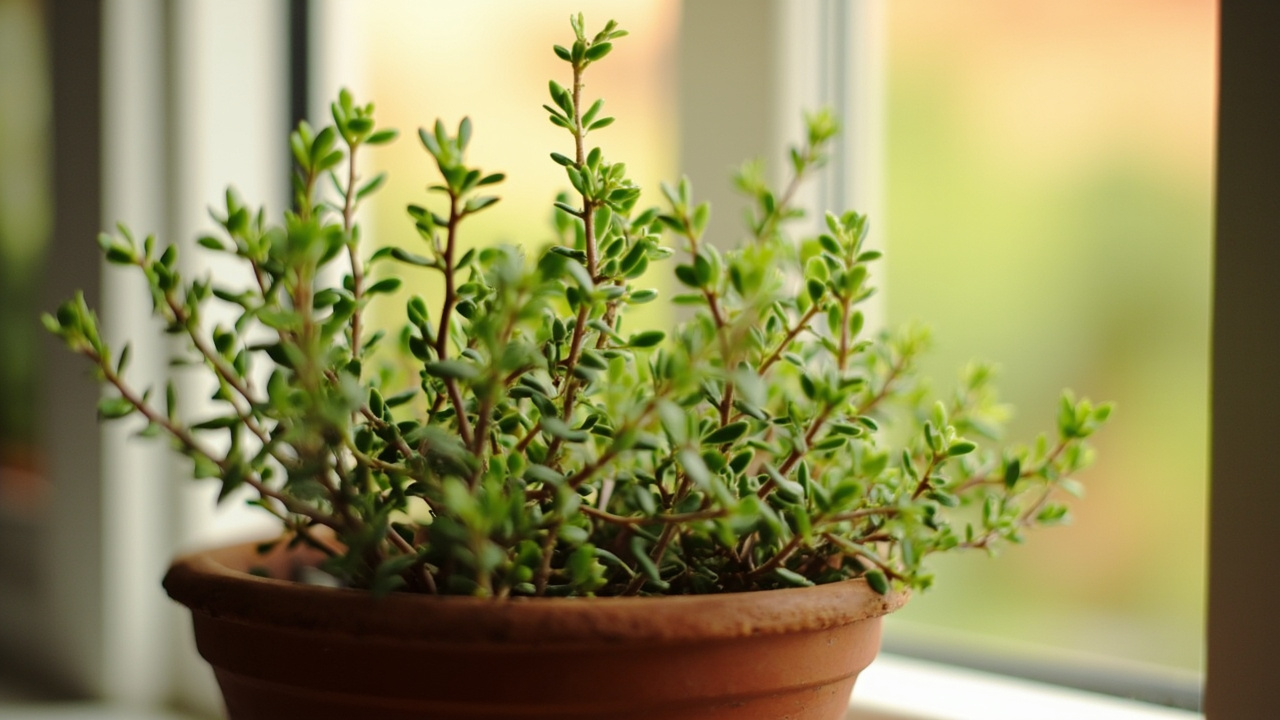
One well-timed spring prune, light harvesting through the growing season, and proper drying is the full routine. The plant will give you four years of productive harvests before it needs replacing, and you’ll have a spice rack stocked with homegrown thyme through the year. The same routine works indoors on a south-facing windowsill or under a grow light during winter; thyme has no real chill-hours requirement, so a heated home keeps it productive year-round. Outdoors, an upright culinary variety is the right pick for the kitchen, while a creeping or ground-cover type — less harvest, more bee-friendly ornamental — earns its space along a path or between flagstones. After two or three seasons the routine becomes second nature and the plant will outlast most of the herbs you started it with.
Turn That PDF Into a Spreadsheet in Minutes
You've seen how to do it manually — now let the tool handle the heavy lifting. Upload your bank statement and get Excel, CSV, or QBO in a few clicks.
Try It Free