Diagnose First — Is the Crown Still Alive?
Before you reach for water, fertilizer, or pruning shears, spend sixty seconds checking whether your oregano is actually dying or just stressed. The crown — the base where stems meet the roots — is the survival indicator. Scratch the outer bark of the lowest stem with your fingernail. Green tissue underneath means that stem is alive. Brown, dry, or hollow tissue means it is dead. If the roots are the problem, the yellow-leaves diagnostic will confirm whether root rot is the cause.
Check the roots next. Gently slide the plant out of its pot and shake off the soil. Healthy oregano roots are white or light tan and firm to the touch. Black, mushy roots that smell sour are root rot — the number-one killer of container oregano. The color and texture tell you everything: white roots can recover, black roots cannot.
The decision tree is simple. Green crown plus healthy roots means the problem is environmental — too much water, too little sun, or a pot that is too small. Green crown plus rotted roots means you need root surgery to trim away the dead tissue before it spreads. Brown crown with any roots means the base is gone — your only option is stem cuttings from any green growth still standing above the damage.
If the entire crown is brown and the root ball is uniformly black and mushy, the plant is not salvageable. Compost it and start from seed or a new purchase. Oregano grows fast in its first season; a fresh plant often outperforms a struggling perennial by the second year.
Root Rot Surgery — Unpot, Trim, Repot
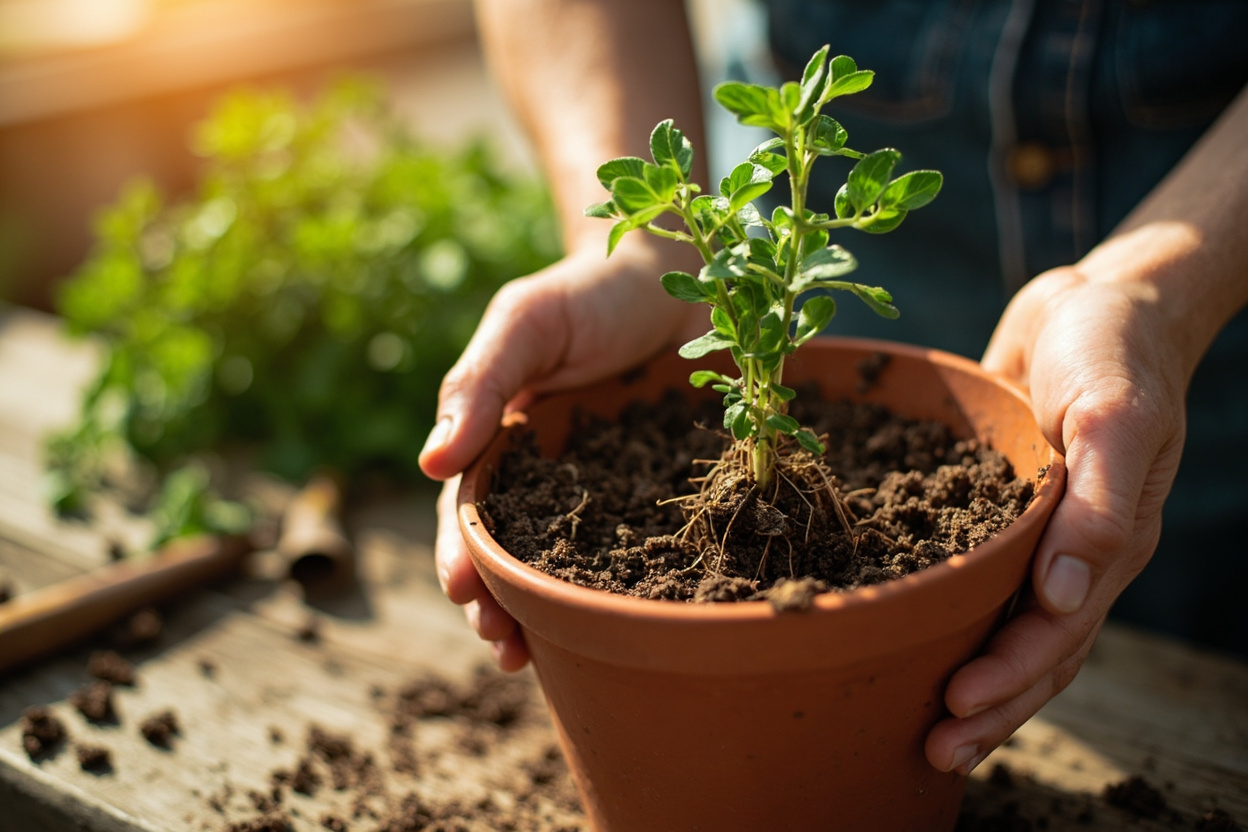
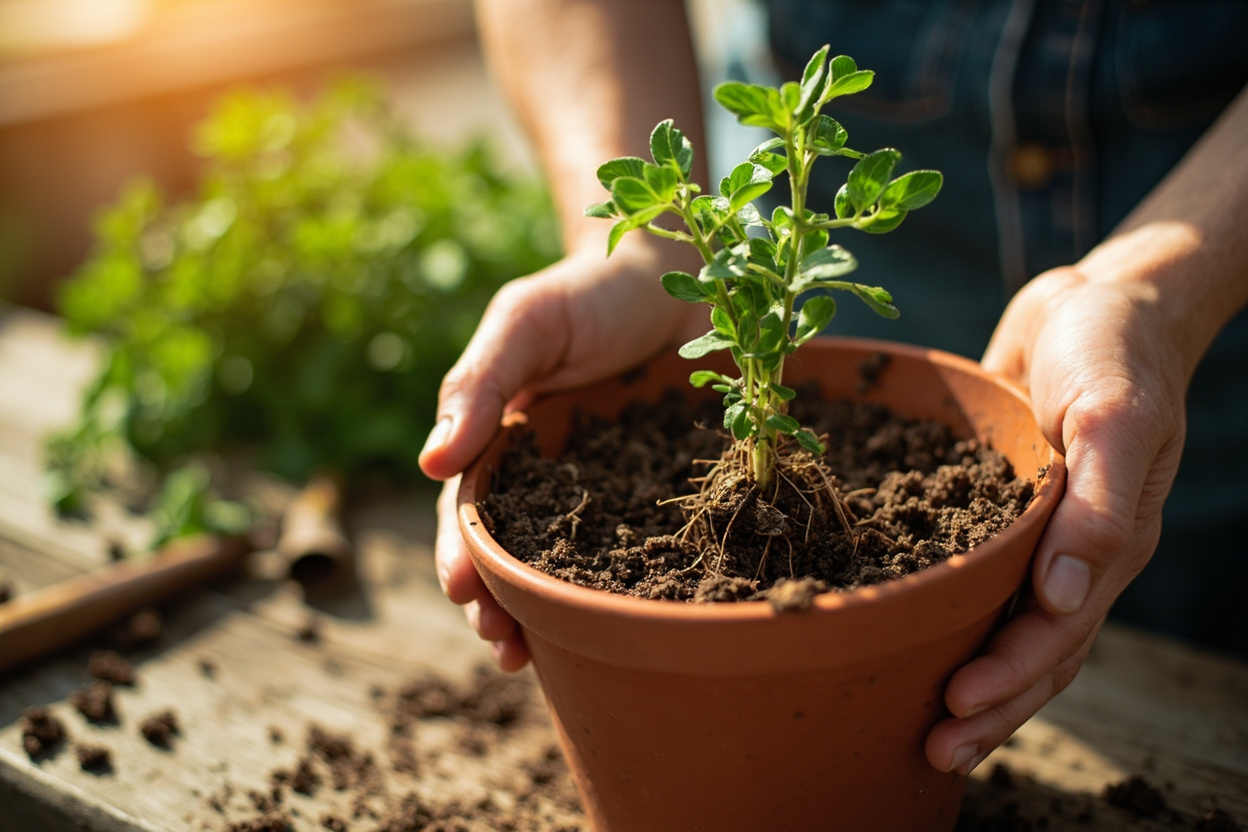
Remove the plant from its pot and gently shake off every bit of wet soil. Oregano roots are fine and fragile, so work with your fingers rather than a tool to avoid breaking healthy tissue. Spread the roots out on a clean surface so you can see the full extent of the damage before you cut.
Using scissors sterilized with rubbing alcohol, trim every root that is black, brown, or mushy. Cut back until you reach white, firm, healthy tissue. If you reach a point where the center of the root ball is entirely black and there is no healthy tissue left to cut back to, stop — switch to stem cuttings instead. Surgery cannot save a plant with no roots left to anchor it. The soil and container guide explains the gritty mix ratio that prevents recurrence.
Repot in a clean terracotta pot with a fresh, fast-draining mix: 50% potting soil, 30% perlite, 20% coarse sand. Water once thoroughly to settle the soil, then do not water again until the top 2 inches of soil are completely dry. Terracotta is ideal because it breathes — moisture evaporates through the walls, which prevents the soggy conditions that caused the rot in the first place.
Place the repotted plant in full sun — 6 or more hours of direct light. The plant needs maximum energy to regenerate its root system, but keep it out of strong wind for the first week while the roots are still anchoring. A south-facing windowsill or an unshaded outdoor spot works.
Penn State Extension advises against fertilizing herbs recovering from root rot for at least 6 to 8 weeks. The fresh potting mix provides enough nutrients, and feeding damaged roots can burn the few healthy ones that remain.
Stem Cuttings — When the Roots Are Gone But Green Stems Remain
If the root system is destroyed but the upper stems are still green and firm, propagation is your fastest path to a healthy plant. Take 4-to-6-inch stem cuttings from healthy growth, cutting just below a leaf node at a 45-degree angle. The angled cut maximizes the surface area available for root development. The full propagation guide covers water vs. perlite rooting in detail.
Strip the lower 2 inches of leaves from each cutting. Place the bare stem in a glass of clean water or directly into moist pertilite. Water rooting is faster — you can see the roots forming — but perlite roots transplant-ready without the shock of moving from water to soil. Both methods work; perlite is the lower-maintenance choice.
If you use water, change it every 3 days to prevent bacterial buildup. Roots should appear within 14 to 21 days. Once they are at least 1 inch long, pot the cutting in the same gritty mix used for root surgery. Handle the new roots gently — they are brittle and snap easily.
The Royal Horticultural Society recommends taking twice as many cuttings as plants you want. Oregano roots readily, but not every cutting survives — having backups eliminates the disappointment of an empty pot.
The original plant, once you have cut it back for propagation, may still re-sprout from the crown if any green tissue remains. Do not discard the old root ball for at least 4 weeks. Water it sparingly and watch for new shoots at the base.
Environmental Shock — When the Plant Is Dying From Conditions, Not Disease
Not all dying oregano has a disease. Three environmental causes kill oregano more often than pests or pathogens: too much water, too little sun, and a pot that has become root-bound. Each requires a different correction, and the wrong fix accelerates the decline. The light and watering guide covers the soak-and-dry cycle that prevents overwatering.
Overwatering is the most common. If the soil is damp and the plant is wilting, stop watering entirely until the dry 2 inches down. Then resume on a true soak-and-dry cycle — flood the pot, let it drain completely, and wait until the top 2 inches are bone-dry before watering again. Oregano recovers from drought stress within days; recovery from waterlogged roots takes weeks.
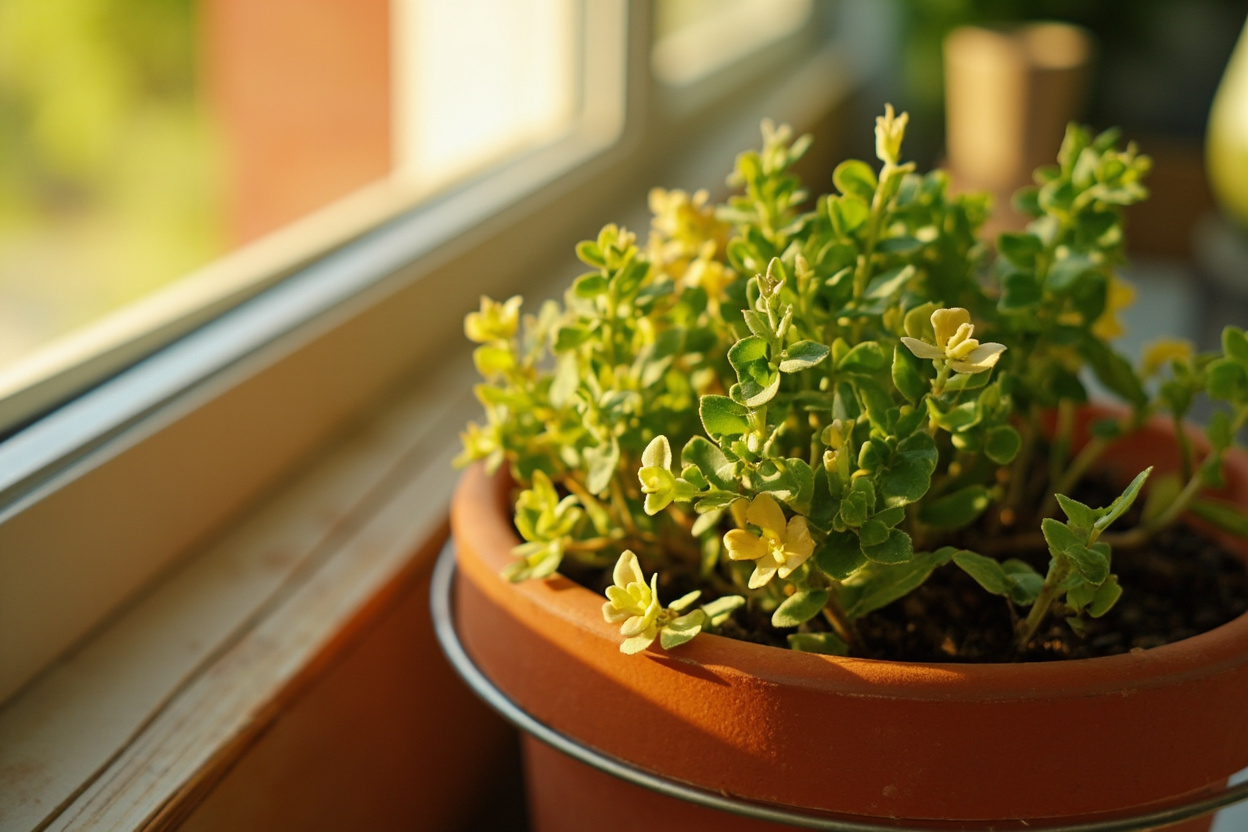
Light deprivation is the second killer. Etiolated oregano — stretched, pale, with wide gaps between leaves — cannot sustain itself long-term. Move the plant to a south-facing window or an outdoor spot with 6 or more hours of direct sun. The stretched stems will not revert, but new growth will be compact, dark green, and rich in the volatile oils that give oregano its flavor.
Pot-bound roots circle the bottom of the container densely, choking out water and nutrient flow. If you see roots spiraling at the drainage holes, repot into a container 2 inches wider with fresh gritty mix. Terracotta is the best material for oregano because it wets and dries evenly, preventing the saturated bottom layer that plastic pots trap.
The University of Maryland Extension notes that container herbs in full sun may need daily watering in peak summer — but daily means a thorough soak followed by complete drying, not constant moisture. A pot that never dries out is a pot growing root rot.
Woody Oregano — Can an Old, Leggy Plant Be Reversed?
Oregano stems naturally turn woody after 2 to 3 growing seasons. This is not a disease — it is the plant aging out of its most productive phase. Woody stems produce fewer leaves, and the leaves they do produce contain lower concentrations of carvacrol and thymol, which means weaker flavor. The leggy and woody guide explains how pruning delays this process.
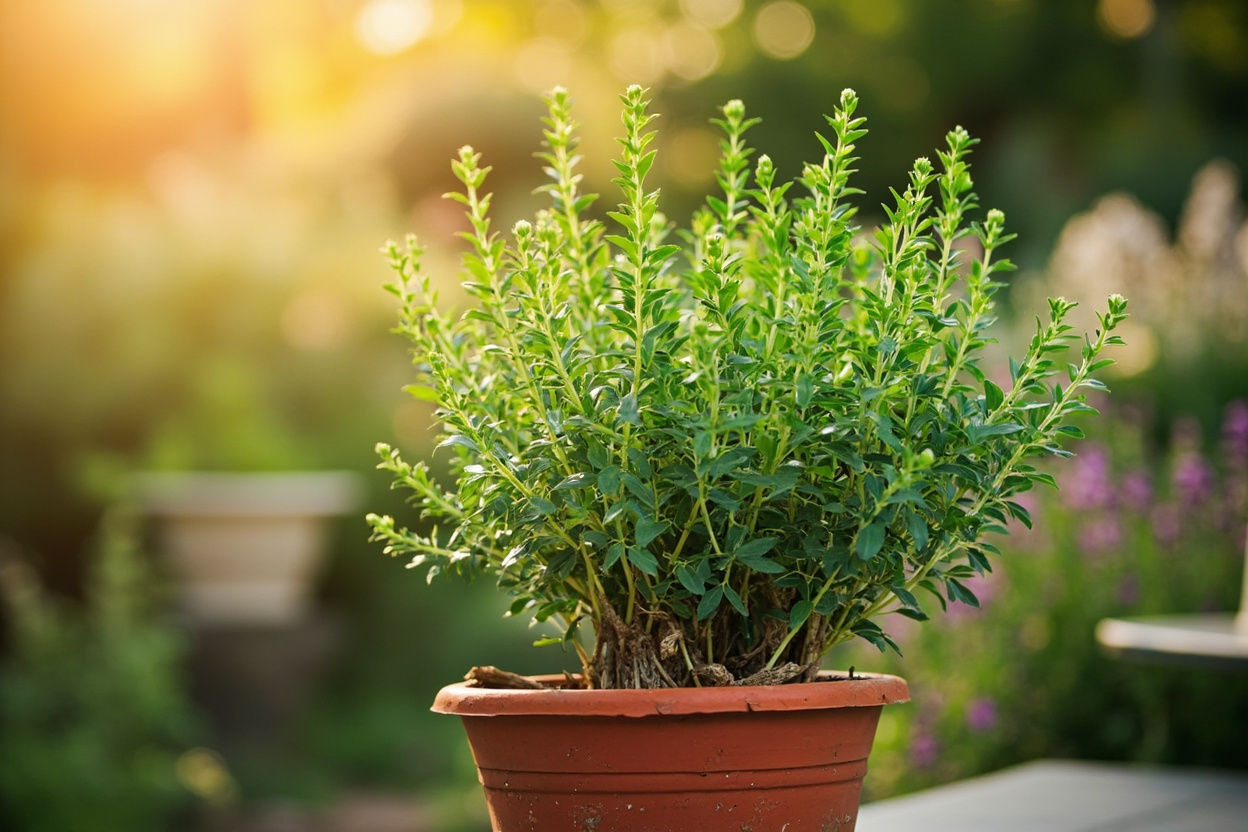
Rejuvenation pruning can reset the clock. In early spring, before new growth starts, cut all stems back to 2 or 3 inches above the crown. If the crown is still green — confirmed with the fingernail scratch test — new shoots emerge within 3 to 5 weeks. The fresh growth will be tender, leafy, and intensely flavored.
Do not attempt hard pruning on a plant already weakened by root rot or drought stress. A plant with limited reserves cannot survive the energy demand of regenerating from a hard cut. Only rejuvenate plants that passed the crown-and-root diagnostic in the first section. If the plant was struggling before pruning, the pruning will finish it.
NC State Extension recommends replacing oregano plants every 3 to 4 years as productivity declines. The practical approach is to take stem cuttings in year 2, root them, and have replacement plants ready before the original declines. This gives you continuous harvests without gaps.
Variety matters for longevity. Greek oregano (Origanum vulgare hirtum) stays productive longer than common Origanum vulgare because it produces more side shoots and resists woodiness for an extra season. If you are starting over, choose a variety matched to how long you want the plant to last.
Recovery Timeline — What to Expect After Rescue
Root rot surgery patients show new white roots in 10 to 14 days. New leaf growth at the stem tips follows by week 3 or 4. If the plant is still wilting after 3 weeks in dry soil and full sun, it did not survive — take cuttings from any remaining green tissue and start fresh.
Stem cuttings root in 14 to 21 days under good conditions. They are transplant-ready at 4 to 6 weeks and harvestable at 8 to 10 weeks from the original cutting. This is why taking multiple cuttings in spring is the smartest insurance policy for oregano growers. Once the plant recovers, the pruning and harvesting guide shows how to maximize flavor from new growth.
Environmental corrections show results fastest. Overwatered plants perk up within 3 to 5 days of the soil drying out. Etiolated plants need 2 to 3 weeks of full sun before new compact growth appears, but the improvement is visible week over week.
The universal recovery signal is firm, upright stems with green new growth at the tips. Soft, yellowing, or drooping stems after 3 weeks mean the plant is not recovering. Do not wait longer — compost it and redirect your effort to cuttings or a new plant.
The Royal Horticultural Society advises against harvesting from a recovering plant for at least 6 weeks. Let it rebuild root mass and establish new growth before you remove any leaf tissue. Patience now means a full harvest later.