A gooseberry bush that suddenly yellows, drops leaves, or shows cane dieback is sending a distress signal — but watering more or adding fertiliser usually makes it worse. The three most common killers of gooseberry bushes — cane disease, root rot, and nutrient collapse — each present similar above-ground symptoms but demand opposite interventions. Water a root-rot bush and you drown the remaining healthy roots. Fertilise a disease-stressed bush and you push soft new growth that cane blight enters in days. The right response starts with a five-minute triage test, not a guess.
Below: how to determine whether your bush is salvageable, a step-by-step rejuvenation pruning protocol for dormant season, drainage and root-rot recovery, staged nutrition that does not overwhelm damaged roots, and honest criteria for when replacement is the better investment. Most gooseberry bushes with a healthy crown can be brought back to full production in two seasons — but only if you stop treating symptoms and start treating causes.
The Triage Test: Is Your Gooseberry Bush Worth Saving?
Gooseberry decline falls into three patterns, and the treatment for each is different enough that guessing wastes a full season. Cane dieback from mildew, cane blight, or borers kills the wood progressively from the tips down. Root rot from poor drainage kills the root system first, and the canopy wilts suddenly despite wet soil. Nutrient collapse from exhausted or imbalanced soil produces gradual yellowing, stunted growth, and reduced fruit set over one to two seasons. Your first job is to determine which pattern you are facing.
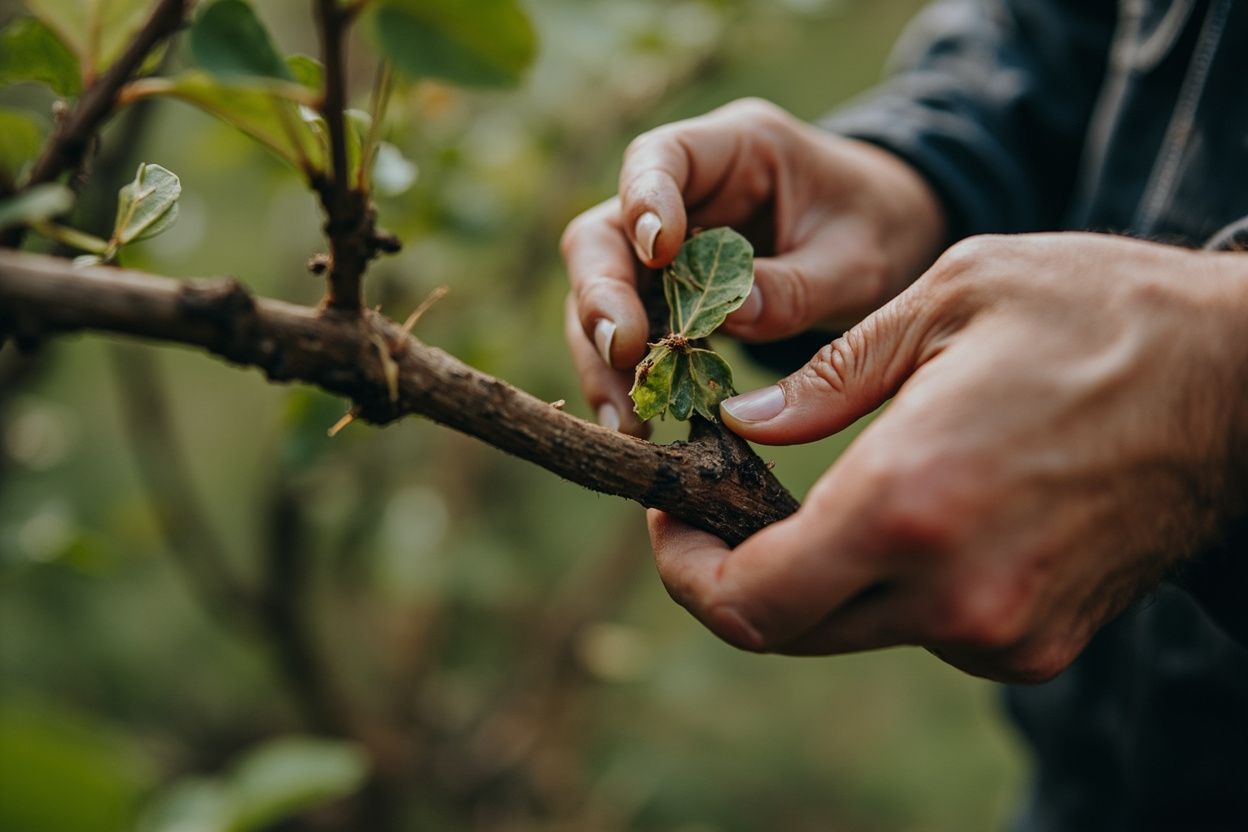
The scratch test takes two minutes and tells you more than any other diagnostic. Use your thumbnail or the tip of a clean knife to scrape a thin line of bark on three different canes, at three heights: near the crown, at mid-cane, and near the tip. Green, moist tissue underneath means the cane is alive at that point. Brown, dry tissue means that section is dead. A cane that is brown at the tip but green at the base is recovering from tip dieback — manageable. A cane that is brown from the crown up is gone.
The crown check is the decisive test. Scrape bark at the very base of each cane where it emerges from the soil line. Green tissue at the crown means the root system is still delivering water and nutrients. If every cane is brown at the crown, the vascular connection between roots and canopy is severed — either by cane blight girdling the base or by root rot destroying the feeder roots. Missouri Botanical Garden notes that once the crown cambium is fully girdled, no amount of pruning or feeding will reconnect the system.
Check the root zone before committing to recovery. Push a trowel into the soil 15 centimetres from the crown and smell the soil at depth. A sour, anaerobic smell, grey waterlogged texture, or roots that are grey-black and pull away easily indicate root rot. Healthy gooseberry roots are pale brown to white and firm. If root rot is present, skip straight to the drainage protocol in the next section — pruning a bush with compromised roots adds stress it cannot absorb.
Decision rule: green crown tissue plus at least two canes with green cambium from base to mid-height = recoverable. Brown crown on all sides plus all canes brown at the base = replace. The middle ground — one or two healthy canes, marginal crown — is worth a rejuvenation attempt if the bush is a named cultivar you want to keep. If you suspect leaf-spot or mildew as the underlying cause, the gooseberry leaves turning brown page covers diagnosis.
Rejuvenation Pruning: How to Cut a Failing Bush Back to Healthy Wood
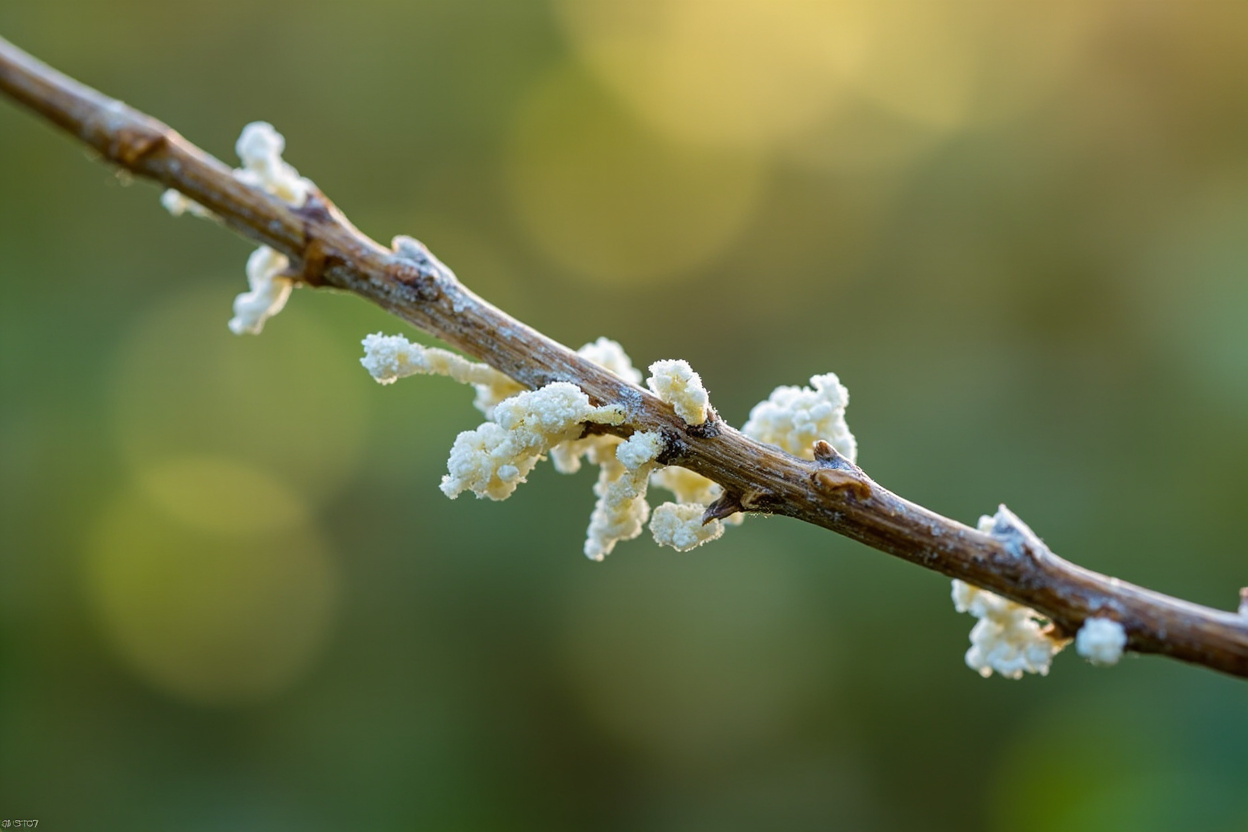
If the triage test shows a living crown and at least two healthy canes, rejuvenation pruning gives the bush a new framework. This is a dormant-season procedure only — January through March in temperate zones, when the bush is fully leafless and the sap is down. Never rejuvenate-prune a stressed bush in active growth; it cannot seal wounds fast enough and cane blight enters through fresh cuts in warm, humid conditions.
Start with the dead and dying. Remove every cane that shows brown cambium at any point below the mid-cane mark, cutting right at the crown where the cane emerges from the soil. Remove all canes that cross or rub against neighbours — the bark damage at contact points is an entry site for cane blight. Remove all canes older than four years, identified by dark, rough bark and reduced fruiting spurs. These older canes produce fewer berries and harbour more overwintering disease than one-to-three-year wood.
Your target after pruning is six to eight healthy canes aged one to three years, spaced evenly around the crown like the spokes of a wheel. These are your new fruiting framework. Accept that you are removing 50 to 70 percent of the bush’s above-ground volume. The remaining canes will respond to the reduced competition with stronger growth and larger fruit — but the current season’s crop will be sacrificed. There is no way to save every cane and get a full harvest in the same year.
Seal any cut wider than two centimetres with horticultural wound sealant. Gooseberry canes are hollow, and an open cut wider than a pencil is an invitation for cane blight spores to colonise the pith. Smaller cuts heal cleanly without sealant — the bush produces callus tissue within two to three weeks in spring. Disinfect your secateurs between every cut with 70 percent isopropyl alcohol, especially when moving from diseased to healthy wood.
After pruning, water the bush once deeply — enough to moisten the soil to 30 centimetres. Apply a 5-centimetre layer of wood-chip mulch in a 60-centimetre radius around the crown, keeping the mulch 5 centimetres away from the cane bases to avoid collar rot. Do not fertilise. The root system is supporting less canopy now and does not need additional nutrition until new shoots are at least 10 centimetres long. For the correct pruning cuts and timing, refer to the gooseberry pruning guide.
Turn PDF Bank Statements Into Workable Spreadsheets
Your bank statement is a mess of numbers, but your books shouldn't be. Use our converter to get Excel, CSV, or QBO files — ready for QuickBooks.
Try It Free NowRoot Rot, Drainage, and Soil Recovery
Root rot is the most common killer of gooseberry bushes in heavy or compacted soils, and it is the one decline pattern where the above-ground symptoms mislead. Leaves yellow and wilt as if the bush is drought-stressed — but the soil is wet. The fine, shallow root system of Ribes species begins to suffocate within 48 hours of waterlogged conditions, and fungal pathogens (principally Phytophthora and Pythium) colonise the weakened tissue within a week.
Diagnose by digging carefully 10 to 15 centimetres down in the root zone, 15 centimetres from the crown. Healthy roots are pale brown to cream-white, firm to the touch, and branch finely. Rotted roots are grey to black, mushy, and slough off easily when pulled. The soil will have a distinct sour or sulphurous smell — the signature of anaerobic bacterial activity. If more than half the root mass shows these signs, the bush is in serious decline and immediate drainage correction is the only treatment that matters.
For bushes in the ground, create a gentle slope away from the crown using a mix of coarse compost and horticultural grit. Work 5 centimetres of coarse sand or fine grit into the top 15 centimetres of soil in a 60-centimetre radius around the crown. This does not fix a truly waterlogged site — for that, you need a raised bed or a French drain — but it is enough for moderate drainage problems where water pools for a few days after heavy rain rather than staying saturated for weeks.
Container rescue: if your gooseberry is in a pot and showing root-rot symptoms, remove the root ball and gently wash away the old growing medium. Trim all black and mushy roots back to healthy white tissue with sterilised scissors. Repot in fresh mix: 60 percent loam-based compost, 30 percent well-rotted garden compost, 10 percent perlite or coarse grit. Water once after repotting, then let the top 3 centimetres of mix dry before watering again. Cornell Cooperative Extension notes that gooseberries in containers need drainage holes that allow free flow — a single hole in the centre of a pot is not enough.
New white roots appear within two to three weeks if drainage is corrected in time. Do not fertilise during this period. The damaged root system cannot handle nutrient loading and the salts in fertiliser cause additional osmotic stress to compromised root cells. Water only, keep the mulch layer intact, and wait for visible new growth before moving to the nutrition stage. Soil composition is critical for drainage — the gooseberry light and soil requirements page covers the ideal mix for both ground and container growing.
Nutrient Recovery Without Overfeeding a Stressed Bush
The instinct to feed a declining bush is strong and usually wrong. Damaged roots cannot absorb nitrogen efficiently, and excess nitrogen in the soil draws water out of root cells through osmotic pressure — the opposite of what a stressed plant needs. The RHS recommends a staged approach: no fertiliser in the first four weeks after corrective pruning, gentle foliar support only, then half-rate soil feeding once active new growth is visible.
Stage 1 (weeks 1 to 4 post-pruning): water only. Keep the soil evenly moist but not saturated. If you want to provide micronutrient support without root loading, apply a seaweed extract foliar spray at 5 millilitres per litre, early morning or late evening when stomata are open. Seaweed provides cytokinins and trace minerals that support root cell division without the nitrogen load of conventional feed.
Stage 2 (weeks 4 to 8, once new shoots reach 10 centimetres): apply a balanced organic fertiliser at half the manufacturer’s recommended rate. Look for NPK 5-5-5 or similar balanced formulation. Scratch it into the soil surface within the drip line and water in thoroughly. Do not pile fertiliser against the cane bases — gooseberry feeder roots are shallow and spread to the drip line, not concentrated at the crown.
Stage 3 (second season): resume normal feeding. Apply a high-potassium fertiliser in early spring to support fruit set and cane development. Top-dress with 5 centimetres of well-rotted garden compost in autumn to build soil organic matter for the following year. By this point the root system should be fully functional and capable of handling standard nutrient loads.
The key principle throughout: underfeeding a recovering bush slows growth but rarely kills it. Overfeeding kills by osmotic stress on roots that cannot regulate uptake. Start at half-rate and increase only when the bush shows it can handle it through active, healthy new growth. For the full annual feeding schedule and seasonal care calendar, see the complete gooseberry plant care guide.
When to Replace Instead of Recover
Not every bush can be saved, and the honest assessment is sometimes the most useful one. Replacement is the right call when the crown cambium is brown on all sides, root rot has destroyed more than 60 percent of the root system, or cane blight has girdled multiple main canes at the base. A new bare-root gooseberry costs $8 to 15 and crops within two seasons. A bush in year two of recovery may still produce less than half the yield of a healthy plant — and carries a reservoir of disease that threatens its neighbours.
If you replace, choose a mildew-resistant cultivar — Invicta for all-round disease resistance, Captivator for mildew tolerance with heavy crops, Jubilee for humid climates. Plant in a fresh location if possible, or replace the top 30 centimetres of soil in the planting hole to remove accumulated fungal spores and depleted nutrients. Do not plant a new gooseberry in the exact spot where root-rot killed the previous one without soil replacement.
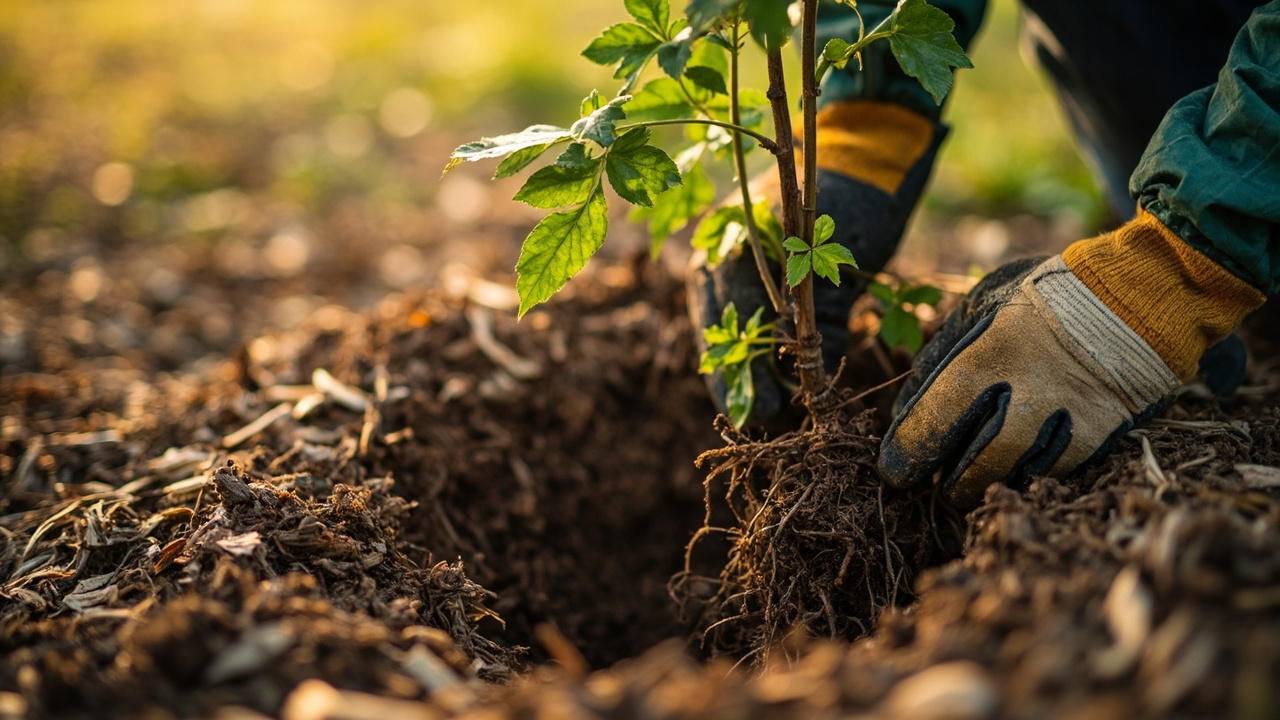
Autumn is the best planting time for bare-root stock — the roots establish in cool, moist soil over winter and surge into growth at spring bud break. Container-grown plants can go in any time the ground is not frozen or waterlogged. Water deeply after planting, mulch with wood chips, and resist the urge to let the new bush fruit in its first season — remove flower clusters to direct energy into root and cane establishment.