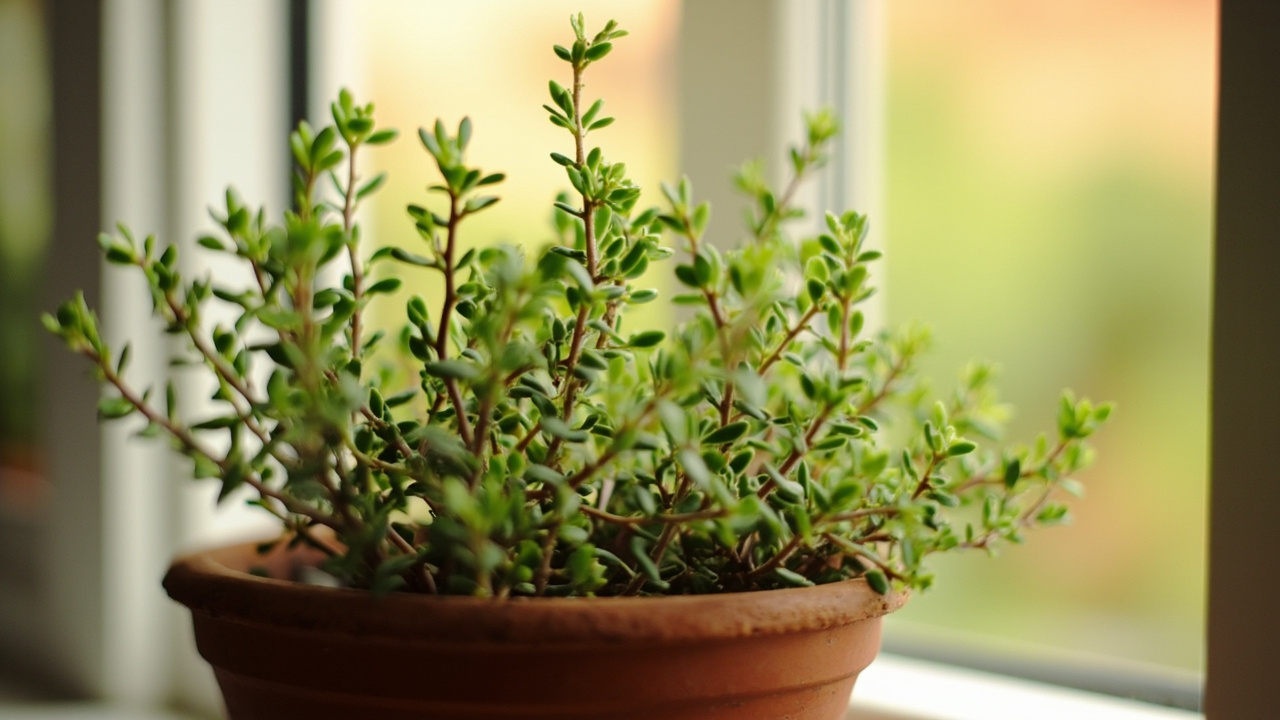
Thyme that has gone leggy — thin stems, bare centers, leaves clustered only at the tips — is one of the most common failures indoor herb growers face, and it is almost always a light problem disguised as a watering or nutrient issue. The good news is that leggy thyme can usually be corrected with a combination of harder pruning, better exposure, and patience. The honest caveat is that pruning cannot shorten internodes that have already elongated; it can only stimulate new compact growth below the cut.
This guide walks you through what leggy growth actually means at the stem level, the five most common causes ranked by likelihood, a concrete recovery protocol you can start today, and how to decide when a plant is too far gone to save and should be propagated from cuttings instead.
What “leggy” actually means for thyme: internodes, light hunger, and bare centers
When your thyme stretches into thin, bare stems with leaves only at the tips, the plant is telling you it cannot get enough light to sustain compact growth — and no amount of water or fertilizer will reverse the problem until you fix exposure first. Leggy thyme is not a disease. It is a structural confession: the stem is elongating its internodes, pushing foliage toward whatever light source exists, and abandoning leaves along the lower stem because those shaded cells cost more energy than they return.
Healthy thyme grown in full sun produces internodes — the gaps between leaf sets — of 5 to 10 millimetres. Stretched indoor thyme routinely reaches 25 to 40 millimetres between nodes, and the stem turns from supple green to thin and wiry. The lower leaves yellow and drop, leaving a bare woody shank with a tuft of foliage at the top. Missouri Botanical Garden notes that Mediterranean herbs like thyme are among the fastest plants to etiolate indoors because their photosynthetic machinery is calibrated for open-sky irradiance, not the filtered light behind glass. Both English thyme (Thymus vulgaris) and lemon thyme (Thymus citriodorus) show the same stretching response, though the upright cultivars etiolate faster than creeping or ground cover forms.
The bare-center pattern matters because it tells you how long the problem has been building. If only the lowest third of the stem is bare, the plant has been light-starved for roughly two to four weeks. If the bare zone runs halfway up or higher, you are looking at a month or more of insufficient exposure, and recovery will take longer because the plant has already cannibalized its lower leaf buds.
Understanding this mechanism matters because it explains why the most common fixes — watering less, adding fertilizer, moving the pot six inches to the left — do nothing. Thyme does not stretch because it is overwatered. It stretches because every cell in that stem is trying to close the gap between itself and adequate photosynthetically active radiation. The concentration of thymol and carvacrol — the volatile compounds that give thyme its essential oil — actually declines in leggy stems because the plant is spending its metabolic budget on stem elongation rather than secondary metabolite production.
The five causes of leggy, sparse, or stalled thyme — ranked by likelihood
1. Insufficient light — the dominant cause, responsible for roughly 80 percent of leggy thyme cases. Thyme needs a minimum of six hours of direct sun daily; eight to ten is better. A south-facing window in the Northern Hemisphere delivers roughly 1,000 to 2,500 foot-candles in direct sun — adequate in summer but marginal in winter when day length drops below ten hours. East- and west-facing windows rarely exceed four hours of direct exposure, and north-facing windows provide almost none. If your thyme sits more than 30 centimetres back from the glass, you have effectively halved the light it receives.
2. Over-fertilization, especially with high-nitrogen feeds. Thyme evolved in lean, sandy Mediterranean soils and needs almost no supplemental fertilizer. When you feed it with a balanced or nitrogen-heavy fertiliser, the plant produces soft, sappy growth that stretches even faster than the light alone would cause. University of Minnesota Extension warns that over-fertilized herbs sacrifice essential oil concentration for rapid cell expansion — you get a bigger plant that tastes weaker and collapses under its own weight.
3. Overwatering combined with poor drainage. This cause masquerades as leggy growth because chronically wet roots produce a plant that looks sparse and weak-stemmed. But the real damage is below the soil line: root rot reduces the root system’s ability to take up water and nutrients, so the above-ground growth slows while the few remaining stems stretch unevenly. If your thyme’s stems feel soft rather than wiry, and the soil stays damp for more than three days after watering, overwatering — not light — may be your primary problem. Compare with our thyme turning brown and dying guide for the full root-rot diagnostic.
4. Rootbound container conditions. Thyme tolerates being slightly pot-bound better than most herbs, but once roots circle the inside of the pot densely and push out through the drainage holes, the plant can no longer access enough water or nutrients to support vigorous top growth. The result is a plant that looks stalled — not obviously leggy, but producing very few new stems and slowly thinning from the center outward. If your thyme has lived in the same pot for two or more seasons without repotting, lift the root ball and check.
5. Winter dormancy mistaken for decline. English thyme (Thymus vulgaris) goes semi-dormant when soil temperatures drop below 7 °C. Growth slows to near-zero, older leaves may bronze at the edges, and the plant can look sparse and unproductive. This is normal. Unlike fruit trees that require chill hours to set buds, thyme simply pauses — but the pause still weakens the root system if you force growth with fertilizer or extra water during dormancy, producing the genuinely leggy growth you see when the plant finally breaks dormancy in spring with depleted reserves.
How to fix leggy thyme: pruning, light correction, and root work
Start with pruning. Using clean, sharp secateurs, cut each leggy stem back by one-third to one-half, making your cut just above a visible leaf node — the small bump where a pair of leaves emerges from the stem. Thyme sprouts reliably from green wood and from partially woody stems as long as you do not cut into fully brown, brittle sections. The RHS recommends pruning in early spring or just after the summer flush of growth, but leggy indoor thyme can be cut back whenever you notice the stretching. Remove all bare woody sections that have no green foliage within 5 centimetres of the cut point.
After pruning, move the plant to the brightest available position immediately. Outdoors, that means a spot with unobstructed southern exposure and at least eight hours of direct sun. Indoors, place the thyme on a south-facing windowsill no more than 15 centimetres from the glass. If natural light is insufficient — and for most indoor growers in temperate latitudes, it is from October through March — add a full-spectrum LED grow light positioned 20 to 30 centimetres above the plant and run it for 14 to 16 hours per day. This single change produces more compact growth than any pruning regimen alone.
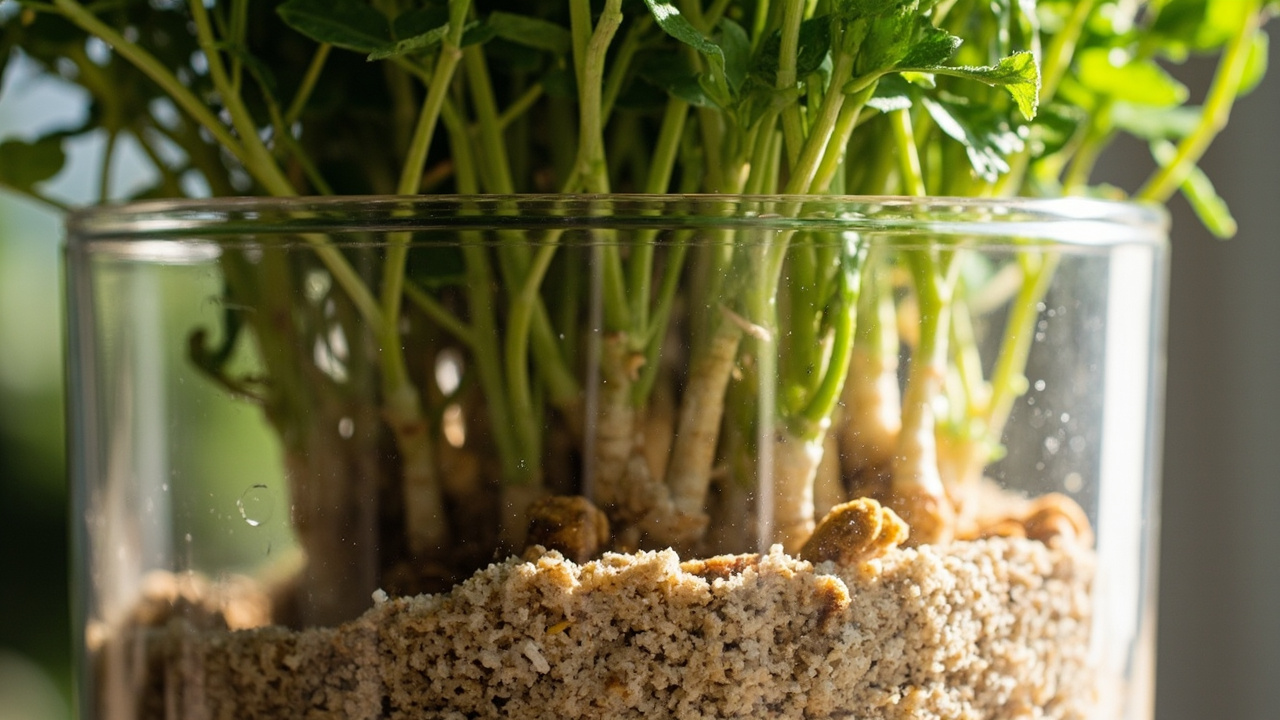
Check the root zone next. Slide the root ball out of the pot and examine the roots. Healthy thyme roots are pale and fibrous. If you see dark, mushy, or foul-smelling roots, trim them back to healthy tissue, repot into fresh sandy-loam mix — roughly one part compost, two parts coarse sand, one part perlite — and withhold water for five days to let cut roots callus. If the roots are tightly circling but otherwise healthy, move the plant up one pot size (no more than 5 centimetres larger in diameter) and tease the outer roots loose before repotting. Our thyme pruning and harvesting guide covers the post-pruning recovery timeline in detail.
Withhold fertilizer entirely for the first six weeks after corrective pruning. Thyme’s natural growth habit in lean soil is compact and bushy; adding nutrients at this stage encourages the same soft, sappy growth you are trying to eliminate. Water only when the top 3 centimetres of soil feel dry to the touch. In most indoor environments, this means watering every five to seven days in summer and every ten to fourteen days in winter. The goal is to keep the root zone in well-drained conditions — never saturated, never bone-dry — mimicking the drought-tolerant regime thyme experiences on its native Mediterranean hillsides.
Expect the first visible new growth within two to three weeks if light and pruning were the primary corrections. New shoots emerge from nodes just below your cut points and from the crown of the plant at soil level. These new stems should show shorter internodes and denser foliage if the light correction is adequate. If new growth still stretches within three weeks, your light source is still insufficient — move the grow light closer or extend the photoperiod by two hours.
When to propagate instead of revive: reading the woody-stem signals
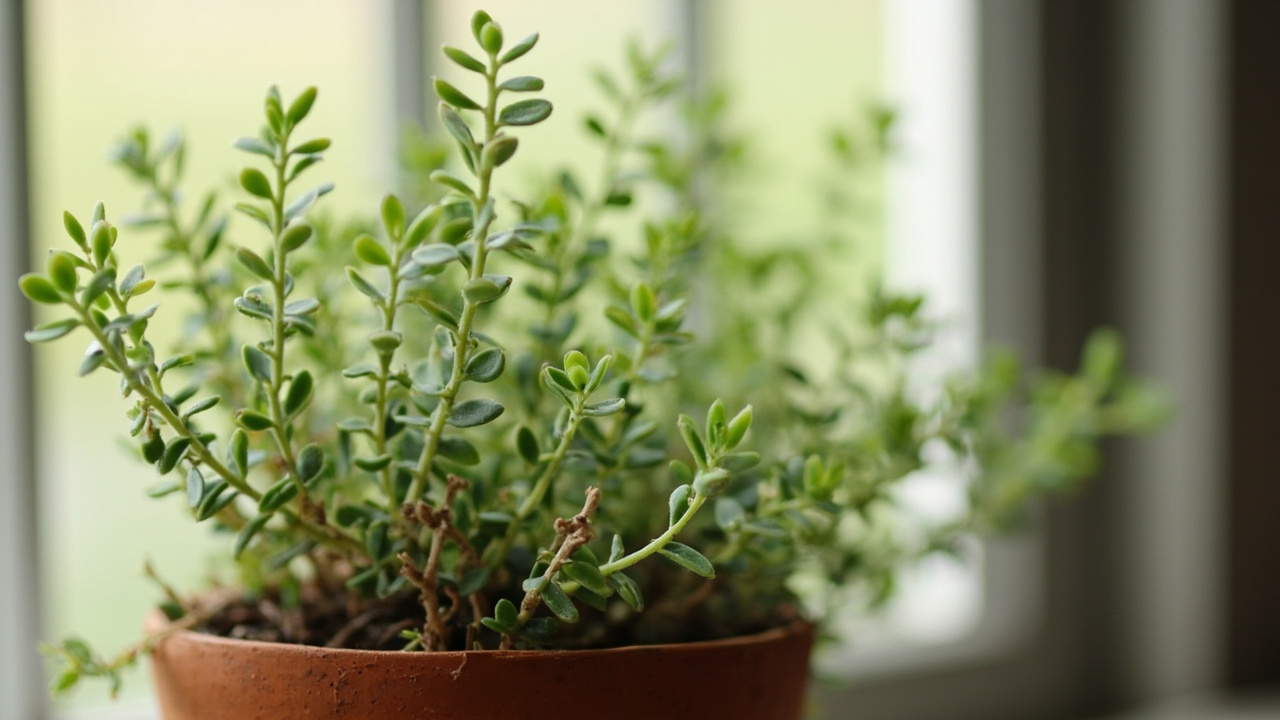
Some leggy thyme cannot be pruned back to health. The test is simple: scratch the surface of each stem with your thumbnail. Green tissue underneath means the stem is alive and capable of resprouting. Brown, dry tissue all the way through means that section is dead and will never produce new growth. If more than two-thirds of the stem length tests brown, pruning back to viable green wood would leave you with little more than a stump — and thyme does not resprout reliably from old, fully woody stems that have been bare for more than one growing season.
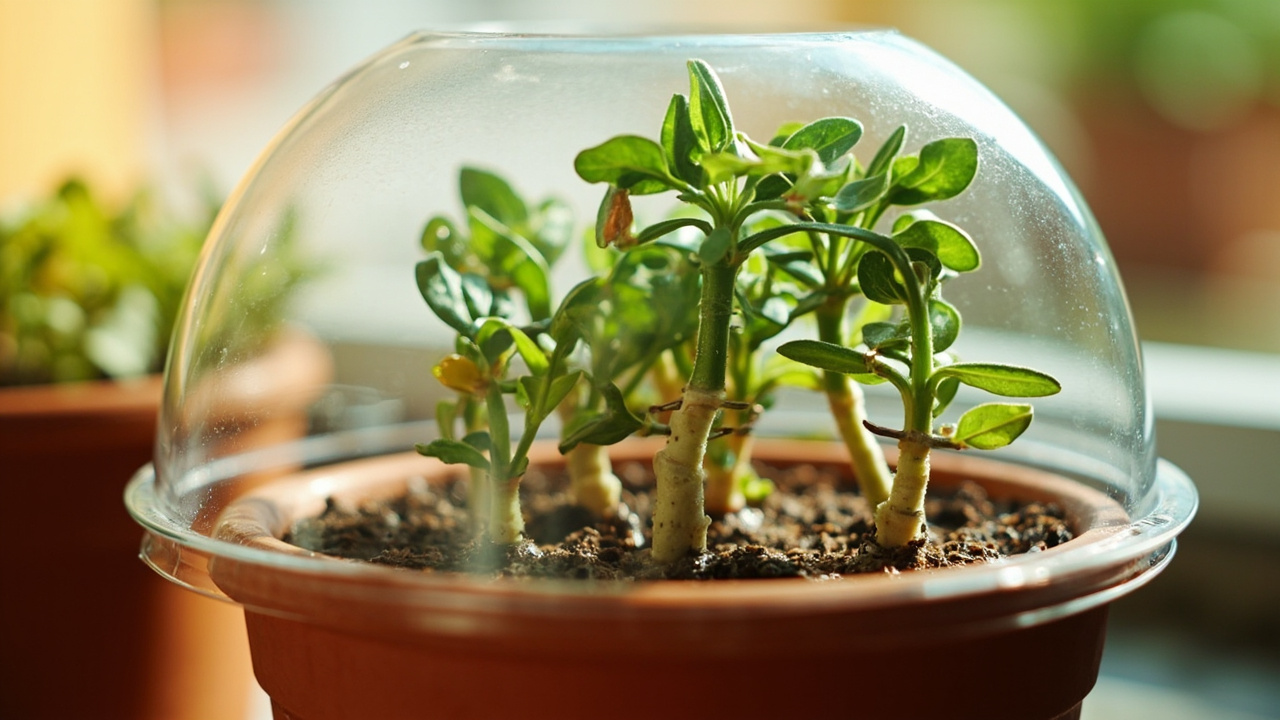
When the scratch test fails across most of the plant, propagation from stem cuttings is the realistic path. Select three to five of the healthiest green shoot tips — ideally 8 to 10 centimetres long — and strip the lower leaves to expose at least two nodal zones. Place the cuttings in a well-draining propagation mix of equal parts perlite and coir, keep them under bright indirect light, and maintain consistent moisture without waterlogging. Rooting typically occurs within three to four weeks. Our thyme propagation guide walks through the full cutting-to-pot timeline including the division method for older clumps.
Propagation has a second advantage beyond rescuing a failing plant: it resets the clock. A four-year-old thyme plant that has been leggy for two seasons is simply past its productive prime. Mediterranean perennial herbs naturally decline after three to four years as the woody base expands and the center opens up. Taking cuttings from the best remaining green growth gives you genetically identical plants that will produce compact, vigorous growth for another full cycle.
The honest limit is this: pruning stimulates new growth from existing buds, but it cannot shorten internodes that have already elongated. The leggy section of stem remains leggy forever. If the overall shape of the plant is too sparse or too tall after a hard prune, you are better off propagating fresh plants and composting the old one than waiting for a transformation that will not come.
Preventing leggy thyme: the light-and-pruning routine that keeps bushes compact
Prevention starts with accepting that thyme’s light requirement is non-negotiable. Outdoors in a temperate climate, plant thyme in the sunniest bed you have — not the convenient one near the kitchen door. Six hours of direct sun is the floor; eight to ten is the target. In coastal or high-latitude regions where summer overcast is common, choose the most exposed site available and resist the temptation to crowd thyme behind taller companion plants. Even partial shade from a neighbouring rosemary or tomato plant can tip thyme into etiolation over the course of a single cloudy month.
Indoor thyme requires a seasonal light strategy. From April through September, a south-facing windowsill in the Northern Hemisphere may provide enough direct sun to keep growth compact. From October through March, supplement with a grow light on a timer for 14 to 16 hours daily. Rotate the pot a quarter turn every three to four days so all sides receive equal exposure — thyme bends visibly toward unilateral light sources, and without rotation you get the lopsided, one-sided lean that precedes full etiolation.
Prune thyme twice per year regardless of how it looks. The first cut comes in early spring just as new growth begins — remove one-third of the previous season’s growth to keep the plant bushy and delay woody buildup. The second cut comes in midsummer after flowering, trimming back spent flower stems and any branches that have started stretching toward shade. This twice-yearly schedule keeps the plant in a vegetative, branching mode and prevents the single-season stretch that turns a compact bush into a bare-legged specimen. Harvesting thyme regularly for culinary use — drying the cuttings for winter cooking — doubles as structural pruning because it removes apical dominance and forces lateral branching. The optimal harvest window is just before flowering, when stem essential oil concentration peaks and the drying process preserves the most flavour. For the full seasonal pruning calendar and overwintering strategy, see our thyme light and watering guide.
Keep the root zone lean. Thyme planted in rich compost or heavily amended soil produces fast, weak growth that collapses into legginess within weeks. The ideal mix is sharply drained sandy loam — nutrient-poor and mineral-heavy: roughly 40 percent coarse sand, 30 percent compost, and 30 percent perlite or fine gravel. In containers, use unglazed terracotta rather than plastic — the porous walls wick away excess moisture and keep root conditions closer to the thyme’s native rocky hillside. A 2-to-3-centimetre layer of gravel mulch on the soil surface reduces humidity around the lower stems and improves air circulation, both of which discourage the soft rot that often accompanies leggy growth. Repot every two to three years, not because thyme demands fresh nutrients, but because compacted soil retains too much water and slowly suffocates the root system.
Indoor thyme and grow lights: making the windowsill work
If you are growing thyme indoors year-round, accept that natural window light alone is almost never enough to keep the plant compact through winter. A south-facing window in London, Seattle, or Toronto delivers roughly one-quarter to one-third of the outdoor summer irradiance from November through February. Thyme responds to this deficit by stretching, and no repositioning within the room will close the gap.
The minimum effective setup is a full-spectrum LED panel rated at 30 to 50 watts, positioned 20 to 30 centimetres above the plant canopy. Look for a colour temperature of 5000 to 6500 Kelvin — the cool-white range that mimics midday sun — and a PPFD (photosynthetic photon flux density) of at least 200 µmol/m²/s at the leaf surface. Run the light on a timer for 14 hours in summer and 16 hours in winter to compensate for the shorter natural photoperiod. Compact fluorescent fixtures work in a pinch but deliver roughly 40 percent less usable PAR per watt, which means you need the bulb within 15 centimetres of the foliage to achieve the same effect.
Monitor the plant’s response weekly. Compact new growth with internodes under 10 millimetres means the light is adequate. Stems that continue stretching after two weeks under the lamp need either closer positioning or a higher-output fixture. Yellowing lower leaves under a grow light usually indicate the photoperiod is too long — thyme needs a dark period of at least eight hours for respiration, and running lights 24 hours stresses the plant as severely as insufficient light does.
The practical reality is that indoor thyme requires more attention to light than almost any other culinary herb you are likely to grow. Basil, mint, and cilantro tolerate lower light levels and still produce usable harvests. Thyme does not compromise: give it abundant light and it rewards you with dense, aromatic growth that attracts pollinators and bee-friendly insects when placed near an open window; give it anything less and it stretches, thins, and slowly declines. If you cannot provide a grow light for the dark months, consider treating indoor thyme as a seasonal plant — grow it outdoors from spring through autumn in ornamental or culinary beds, harvest heavily during the peak window just before flowering when essential oil concentration peaks, dry the cuttings for winter use, and propagate fresh perennial plants the following spring rather than fighting a losing battle against winter light levels.