Thyme is one of the few herbs that thrives on neglect — give it full sun, lean soil, and infrequent water, and it rewards you with woody stems of aromatic leaves for years. Unlike basil, which bolts and dies after a single season, or mint, which spreads aggressively and exhausts its pot, thyme (Thymus vulgaris) is a true perennial shrub native to the Mediterranean coast. Its low, woody growth habit and drought-tolerant physiology make it fundamentally different from the soft-stemmed annuals that dominate kitchen windowsills.
What Makes Thyme Different from Other Kitchen Herbs
The key distinction is structural. Basil and cilantro grow fast, flower fast, and die fast. Thyme grows slowly, develops woody stems that persist through winter, and returns stronger each spring. This means the care calendar looks nothing like what you’d follow for a summer annual. You’re not racing against a bolting clock — you’re managing a long-lived plant that rewards patience.
Thymol, the essential oil that gives thyme its sharp, earthy aroma, concentrates in tiny glandular trichomes on the leaf surface. Carvacrol, a closely related compound, works synergistically with thymol to create the plant’s natural defense against drought and herbivores. These compounds are what make thyme one of the most potent culinary herbs per gram — a little goes a long way in the kitchen. The same compounds have documented antimicrobial properties, which is why thyme has been used in food preservation for centuries.
For the home grower, the practical takeaway is simple: thyme is not a fussy plant, but it has non-negotiable requirements. Full sun, excellent drainage, and restraint with the watering can. Get those three right, and thyme is one of the easiest perennials you’ll ever grow — more like rosemary than basil. Get them wrong, and the plant declines quietly — root rot from overwatering is the #1 killer, and it often goes unnoticed until the stems turn brown and the plant collapses.
Light Requirements: Why Thyme Demands Full Sun
Thyme needs a minimum of six to eight hours of direct sunlight per day. This is not a suggestion — it’s the threshold between a compact, aromatic plant and a leggy, flavorless one. In its native Mediterranean habitat, thyme grows on rocky, south-facing slopes with unobstructed sun from morning until evening. Replicating that intensity indoors is the single biggest challenge for windowsill growers.
A south-facing windowsill is the minimum viable location for indoor thyme. East-facing windows can work in summer but fall short in winter when day length drops below ten hours. West-facing windows deliver hot afternoon light but miss the gentle morning spectrum that fuels compact growth. North-facing windows, even bright ones, will not provide enough intensity — the plant will stretch toward the light, produce thin pale stems, and lose most of its essential oil concentration within weeks.
If your home lacks a south-facing window, a full-spectrum grow light positioned six to eight inches above the plant for fourteen hours a day is a reliable substitute. LED panels in the 5000K to 6500K range mimic the color temperature of midday sun — the same approach recommended in the indoor herb grow light guide. The University of Minnesota Extension notes that supplemental lighting is not optional for winter herb growing above the 40th parallel — the angle of the sun simply doesn’t deliver enough photosynthetically active radiation through glass to sustain Mediterranean herbs.
Outdoors, thyme is less forgiving of shade than many gardeners assume. Partial shade — even dappled afternoon shade from a nearby tree — reduces flowering, slows growth, and increases susceptibility to fungal disease by keeping the foliage damp longer after rain. Plant thyme in the sunniest spot in your garden bed or container grouping. If you’re growing in containers, rotate the pot a quarter turn every few days to prevent the plant from leaning toward the light source. In full sun, thyme produces clusters of small pink or purple flowers in early summer that are strongly bee-friendly and attract pollinator species — a valuable addition to any garden ecosystem.
Watering and Soil: The Lean-Mix Rule
Overwatering kills more thyme plants than any other single cause. Thyme’s root system is fine and shallow, evolved to absorb brief moisture from rocky crevices and then endure weeks of drought. In a standard potting mix that stays damp, those roots suffocate and rot within days. The plant’s leaves may look fine for a week or two while the root system collapses underground — by the time the stems turn brown, the damage is irreversible.
The rule is simple: water only when the top inch of bone-dry. For most indoor containers in average home conditions, this means every seven to ten days in summer and every fourteen to twenty-one days in winter. Outdoor containers in full sun may need water every three to five days in peak summer. The best test is the finger method — push your finger into the soil up to the first knuckle. If you feel any moisture, wait. Thyme prefers to be slightly too dry rather than slightly too wet.
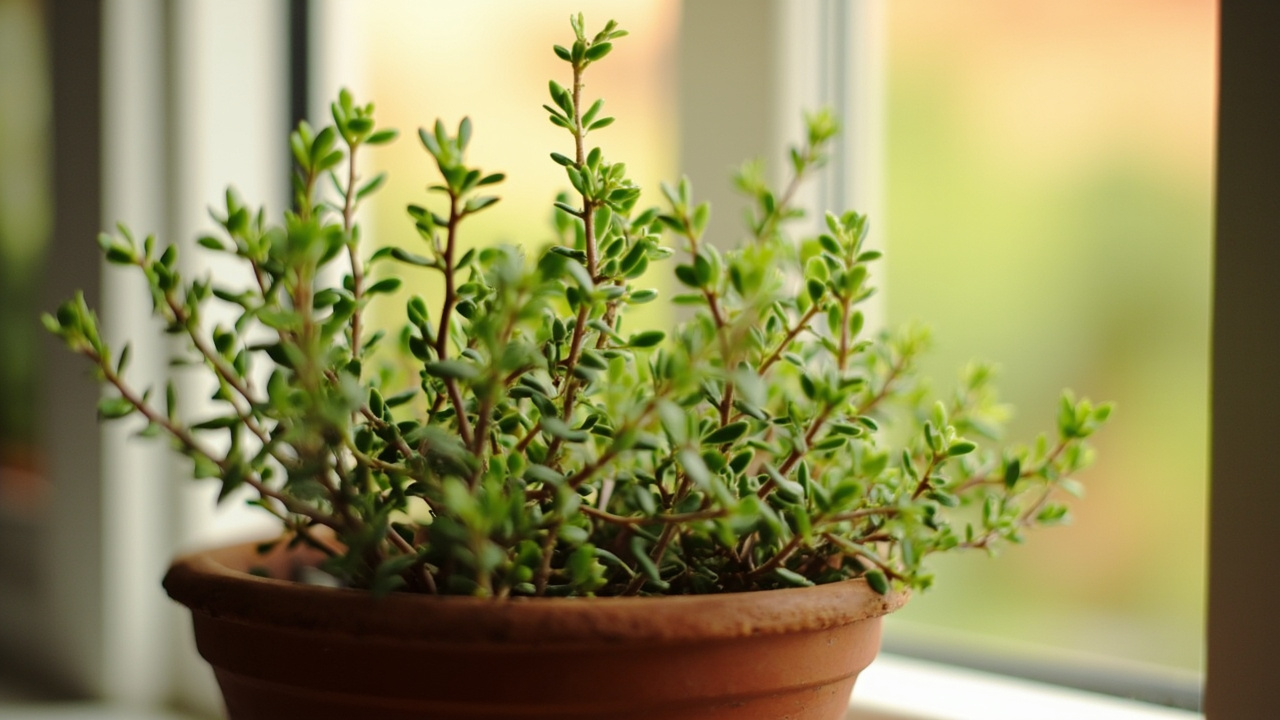
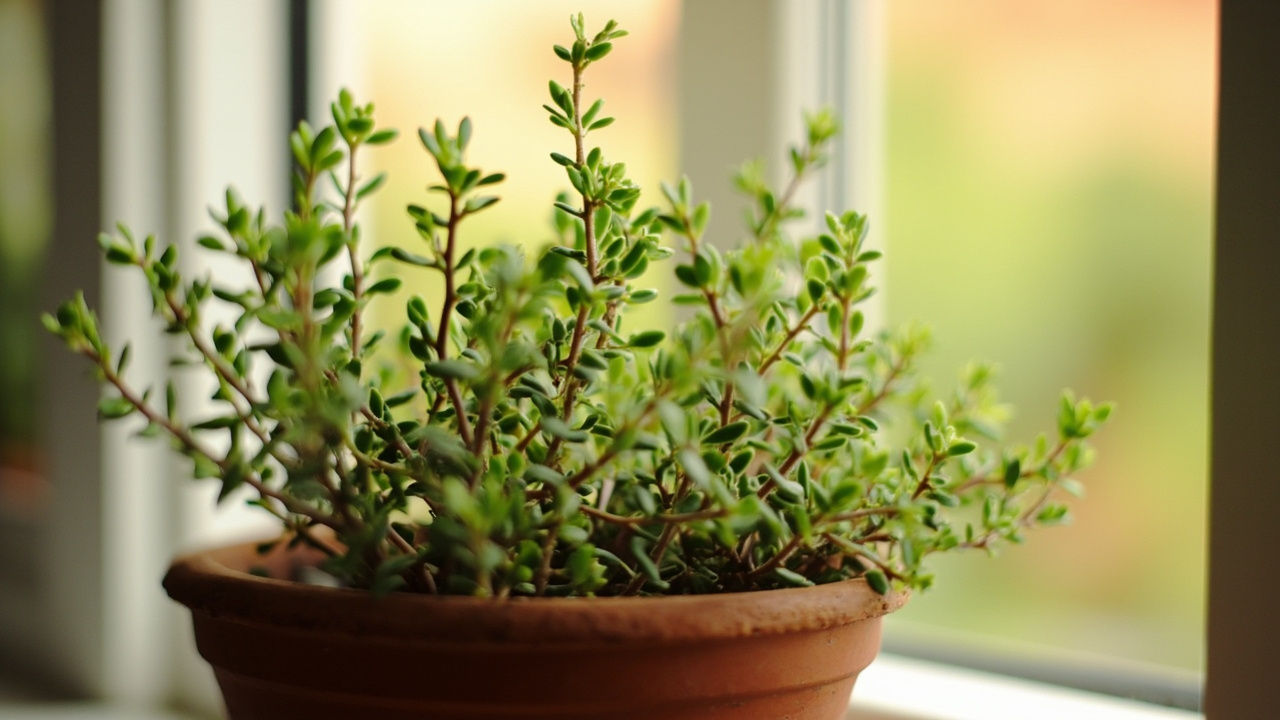
Soil mix matters as much as watering frequency. A standard peat-based potting mix holds too much water for thyme. Instead, use a well-drained sandy loam mix: two parts coarse sand or perlite, one part standard potting soil, and one part fine gravel or pumice. The goal is a mix that drains completely within seconds of watering — if water pools on the surface for more than a moment, the ratio needs more mineral content. Terracotta pots are the ideal container because the porous clay wicks moisture away from the root zone, further reducing the risk of waterlogging. Good air circulation through the soil structure is as important as the mix itself — compacted soil suffocates roots even in a lean blend.
Fertilizer is another area where less is more. Thyme evolved in nutrient-poor rocky soils and performs best in lean conditions. A single application of diluted liquid fertilizer at half strength in early spring is sufficient for the entire growing season. Over-fertilization produces rapid, soft growth that is more susceptible to pests and has lower essential oil concentration — the leaves look lush but taste weak. Missouri Botanical Garden recommends against any fertilization after mid-summer, as late-season soft growth is more vulnerable to winter damage.
Humidity is rarely a problem for thyme. Unlike tropical herbs that demand 50-60% relative humidity, thyme prefers dry air. Average home humidity of 30-40% is ideal. If you’re growing thyme on a windowsill above a kitchen sink where steam accumulates, move it to a drier location. Persistent moisture on the foliage in still air creates the conditions for powdery mildew and leaf spot.
Varieties: Choosing the Right Thyme for Your Space
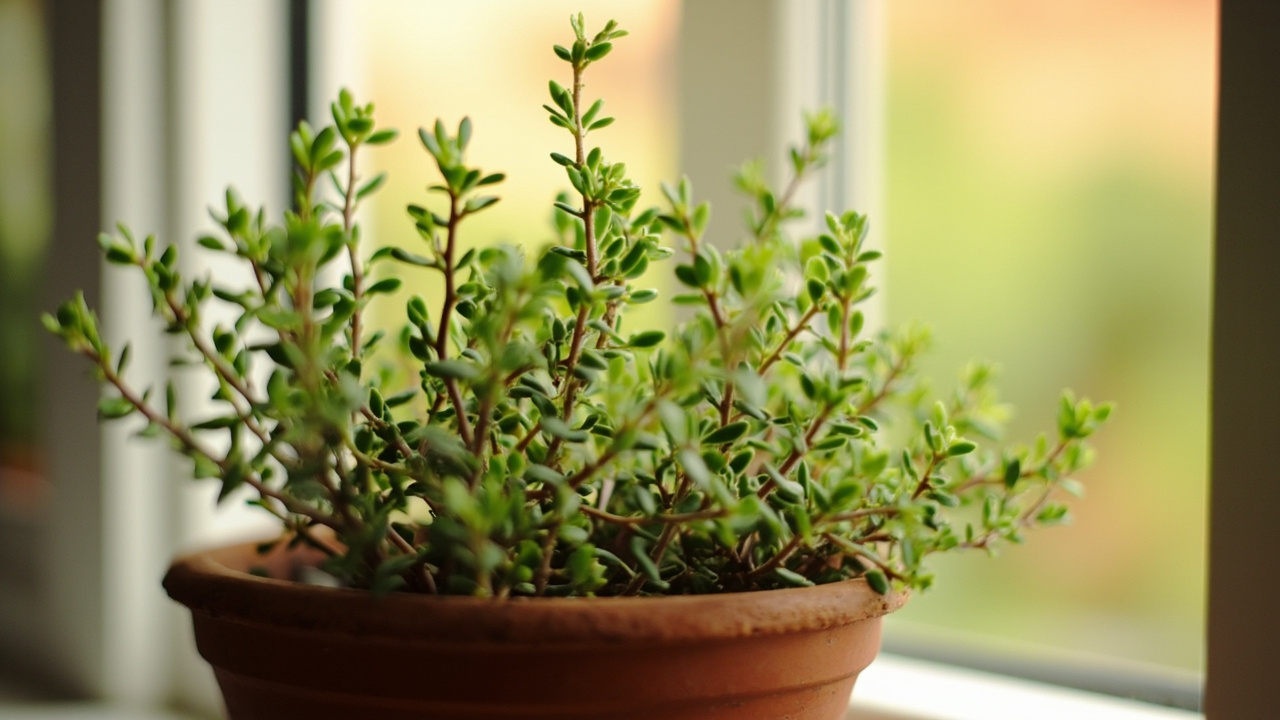
English thyme (Thymus vulgaris) is the standard culinary variety — compact, upright, with small dark green leaves and the highest thymol concentration. It grows six to twelve inches tall and works equally well in outdoor garden beds and indoor containers. If you’re growing thyme primarily for cooking, this is the variety to start with. Cultivars like ‘German Winter’ and ‘French Summer’ offer slightly different cold hardiness and leaf flavor profiles, but the core growing requirements are identical. English thyme needs approximately 800 to 1,000 chill hours over winter to flower vigorously the following spring — most temperate climates meet this threshold naturally.
Lemon thyme (Thymus citriodorus) is a hybrid with a distinct citrus note from citral compounds in the leaves. It’s slightly less cold-hardy than English thyme and tends to grow a bit taller — ten to eighteen inches at maturity. The flavor pairs exceptionally well with fish, chicken, and roasted vegetables. Lemon thyme is also more ornamental, with brighter green leaves and a tendency to trail slightly at the edges of containers. It requires the same full sun and lean soil as English thyme but is marginally more sensitive to overwatering.
Creeping thyme (Thymus serpyllum) is a low-growing ground cover that rarely exceeds three inches in height. It’s primarily ornamental — used between stepping stones, in rock gardens, or as a living mulch — but the leaves are edible and carry a milder version of the classic thyme flavor. Creeping thyme is the most cold-hardy of the three, surviving winters in USDA zone 4 with snow cover. It’s not well-suited to indoor container growing because its trailing habit needs horizontal space that a windowsill can’t provide.
Woolly thyme (Thymus pseudolanuginosus) and caraway thyme (Thymus herba-barona) are niche varieties worth mentioning for collectors. Woolly thyme has soft, fuzzy leaves and is almost entirely ornamental. Caraway thyme smells remarkably like caraway seeds and is used in specialty baking. Both are slower-growing and less widely available than English or lemon thyme. For a first-time grower, English thyme remains the most forgiving and versatile choice.
Pruning and Harvesting: Keeping Thyme Productive Year-Round
The best time to harvest thyme is in the morning, after the dew has dried but before the midday heat drives the essential oils deeper into the plant. This is when thymol concentration peaks in the leaf surface glands. Cut stems with clean scissors or pinch them off with your fingers — never tear or rip, as damaged tissue invites fungal entry. Harvest from the outer and upper portions of the plant first, leaving the inner woody framework intact.
Never remove more than one-third of the plant’s total growth in a single harvest. Thyme recovers from cutting by pushing new growth from dormant buds along the remaining stems. If you cut too far back into bare wood — wood that has no leaves — those buds may not activate, and the stem will die back. The rule of thumb: always cut just above a visible pair of leaves, and always leave at least four to six inches of green growth on each stem.
Annual pruning in early spring is essential for preventing the plant from becoming a bare, woody skeleton. By year three or four, thyme naturally develops thick woody stems with leaves only at the tips. A hard prune in early spring — cutting back by half — stimulates fresh growth from lower buds. The Royal Horticultural Society recommends doing this just as new growth begins to appear, typically in March in the Northern Hemisphere. Don’t prune in late autumn; fresh cuts that don’t have time to heal before dormancy are entry points for winter rot.
The optimal harvest window is just before flowering, when essential oil concentration peaks. For drying, bundle five to eight stems together and hang them upside down in a warm, dry, well-ventilated space with good air circulation out of direct sunlight. Thyme dries faster than most herbs — usually within seven to fourteen days. Once the leaves crumble easily between your fingers, strip them from the stems and store in an airtight container away from light. Properly dried thyme retains usable flavor for up to a year, though the peak essential oil content is in the first six months. After the harvest window passes, a light top-dressing of compost around the base of outdoor plants can support a second flush of growth.
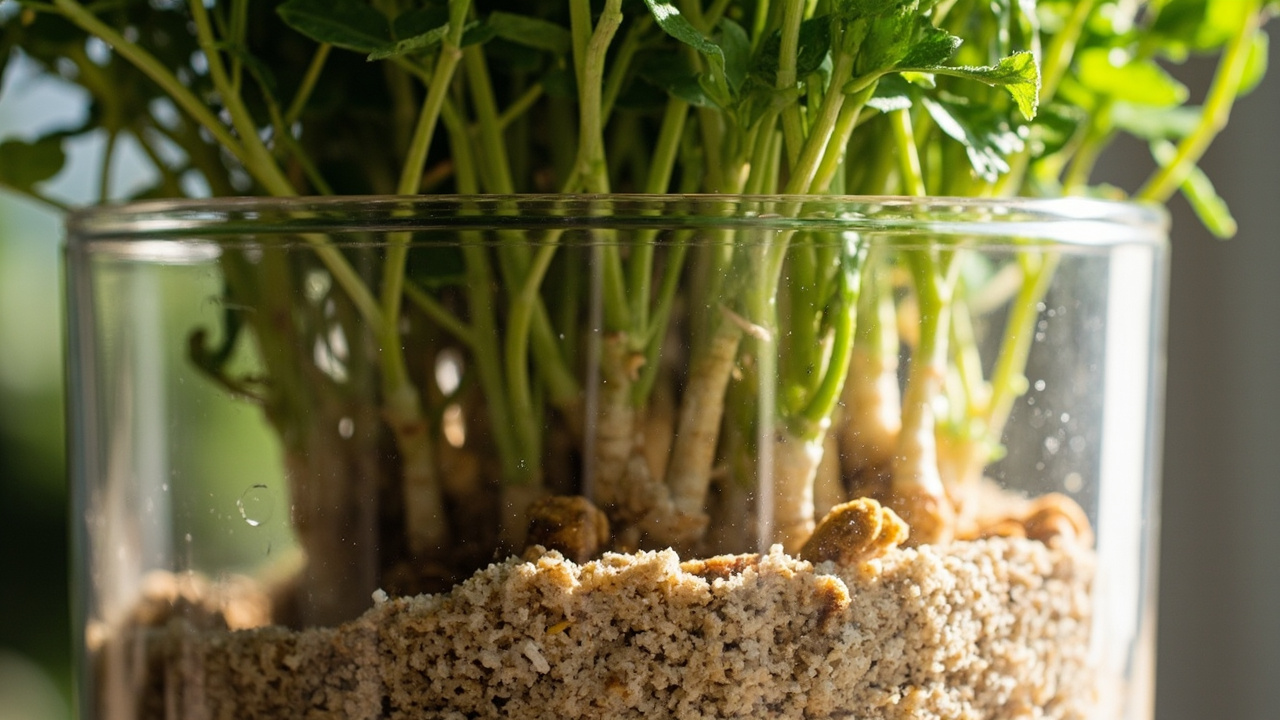
Fresh thyme keeps remarkably well on the counter. Place cut stems in a glass of water like a bouquet, cover loosely with a plastic bag, and refrigerate. Treated this way, fresh thyme stays usable for up to two weeks. Alternatively, wrap unwashed sprigs in a damp paper towel and store in a sealed bag in the crisper drawer.
Overwintering and Long-Term Care
Thyme is hardy in USDA zones 5 through 9, but container-grown plants are more vulnerable than in-ground plantings because their roots are exposed to air temperature on all sides. A thyme plant in the ground might survive zone 5 winter; the same plant in a container may not survive zone 7. The solution is either to insulate the container with bubble wrap or burlap, or to move the plant indoors before the first frost.
Indoor winter care is a different regime from summer. The plant will enter partial dormancy — growth slows or stops, and water requirements drop sharply. Reduce watering to once every two to three weeks, and stop fertilizing entirely. Place the plant in your sunniest window. Expect some leaf drop; this is normal dormancy behavior, not a sign of decline. The plant will resume active growth in spring when day length increases and temperatures rise.
After three to four years, even well-cared-for thyme plants develop thick, bare woody centers with foliage only at the stem tips. This is the natural aging trajectory of the species. At this point, you have two options: rejuvenation pruning or propagation. Rejuvenation pruning involves cutting the plant back to within two to three inches of the soil line in early spring. This is aggressive, and not all plants recover — but those that do produce a flush of new growth that carries the plant for another three to four years.
The more reliable long-term strategy is to propagate new plants from stem cuttings every two to three years and phase out the aging parent. A four-year-old thyme plant that has been well-maintained will have produced dozens of stems suitable for cutting — the same stem cutting method that works for other perennial herbs applies to thyme. This is how commercial herb operations maintain continuous production — they rotate stock on a three-year cycle rather than trying to keep individual plants productive indefinitely.
Propagation: Stem Cuttings, Division, and Seed
Stem cuttings are the fastest and most reliable method of propagating thyme. Take a three to four inch cutting from a healthy non-flowering stem in late spring or early spring. Strip the leaves from the lower half, dip the cut end in rooting hormone (optional but improves success rate), and insert it into a moist mix of perlite and peat. Keep the mix barely damp — not wet — in bright indirect light. Roots typically emerge in two to three weeks. Once the cutting resists a gentle tug, it has rooted and can be potted into the standard lean mix.
Division works well for mature plants that have developed multiple crowns. In early spring, remove the plant from its pot, gently tease apart the root ball into two or three sections, and pot each section separately. Water lightly and keep out of direct sun for a week while the disturbed roots recover. Division is less stressful on the parent plant than rejuvenation pruning and produces instant full-sized plants. The downside is that you’re limited by the number of crowns the parent has developed.
Growing thyme from seed is possible but slow and unreliable. Thyme seeds are tiny, germination is erratic (two to four weeks), and seedlings grow very slowly for the first two months. Cornell Cooperative Extension notes that seed-grown thyme doesn’t reach harvestable size for three to four months after germination. For a home cook who wants sprigs this month, a nursery plant or a cutting from a friend is a far better starting point. Seeds make sense only if you’re growing a large quantity of plants for ground cover or market sale.
One often-overlooked propagation method is layering: bend a low-growing stem to the soil surface, pin it down with a wire staple, and cover the pinned section with a thin layer of soil. The buried section will root within four to six weeks. Once rooted, sever the new plant from the parent and pot it separately. Layering has the highest success rate of any method because the stem remains attached to the parent plant while rooting — there’s no transplant shock, no wilting period, and no special humidity dome required.