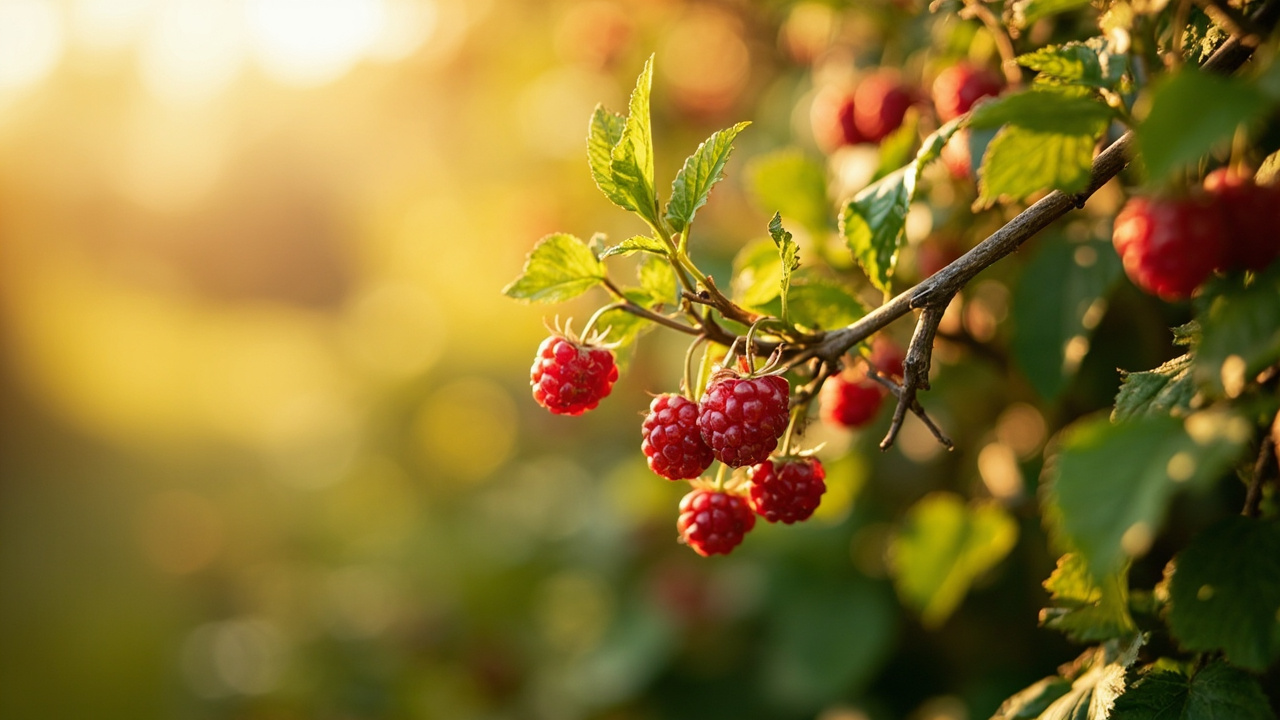
Your raspberry canes are in hand and the bed is prepped, but the difference between a plant that thrives and one that struggles usually comes down to three decisions you make in the first thirty minutes: soaking, depth, and spacing.
Get these right and the cane roots quickly, sends up vigorous primocanes by midsummer, and sets the foundation for a strong harvest next season. This guide walks you through every step — from bare-root planting and soil prep to trellis setup and first-year care.
When to Plant Raspberry Canes for Strong Root Establishment
The ideal planting window is early spring, as soon as the soil is workable but while the canes are still dormant. Soil temperatures above 10°C (50°F) trigger root growth, and planting at this stage gives the cane six to eight weeks of cool, moist conditions to establish before summer heat. The cane needs at least six hours of sunlight per day during this period to fuel primocane growth.
Most varieties need 200-800 chill hours over winter to fruit properly. In warm climates with mild winters, late-winter planting — February or early March — works equally well.
Avoid planting when the ground is waterlogged or frozen. Saturated soil compacts around the roots and suffocates them, while frozen ground prevents proper contact between root and soil particles.
If your canes arrive during a cold snap, store them in a cool garage at 2-4°C (35-40°F) with damp roots wrapped in newspaper and plant within five days.
Container-grown plants are more forgiving on timing because the root ball stays intact, but even they perform best when planted before active growth begins.
A potted raspberry set into warm soil in late May will survive but spends the first month recovering. If you are growing on a patio or balcony, choose a thornless variety like Raspberry Shortcake to keep harvesting manageable.
Established container plants are also easier to propagate by tip layering, a simple propagation method for expanding your patch in the second year.
How to Prepare the Soil and Choose Between Ground vs Container
Raspberries demand well-drained, acidic soil with a pH between 5.5 and 6.5. Below 5.5, the roots struggle to absorb phosphorus; above 6.5, iron chlorosis turns the leaves yellow between the veins.
The Cornell Cooperative Extension recommends testing soil pH at least two weeks before planting. Elemental sulfur lowers pH; pelletized lime raises it, but raspberries rarely need the latter. Work two to three inches of compost into the top eight inches of soil to improve drainage.
Avoid fresh manure when preparing the bed — it burns young roots and introduces weed seeds. The goal is a loose, crumbly structure that holds together briefly then breaks apart when poked. For heavy clay, add coarse sand or pumice along with the compost to prevent waterlogging, which leads to root rot in raspberries faster than almost any other cause.
Ground planting produces the highest yields because roots can spread freely and send up root suckers to fill the row. A raised bed works equally well, especially in areas with poor native soil, and gives you full control over the growing medium.
Fill a raised bed with 60% topsoil, 30% compost, and 10% coarse sand or pumice. If cane borers have been a problem in your area, a raised bed with fresh soil gives you a cleaner start.
Container planting suits patios, balconies, and gardeners with heavy clay or persistent root-rot issues. Choose a pot at least 40 cm (16 inches) deep and wide — raspberries develop a fibrous root system that needs room to spread.
Use the same well-drained soil mix with multiple drain holes. A half whiskey barrel or a 20-liter fabric grow bag both work well.
The trade-off is water management. Pot-bound raspberries dry out faster in summer and need water every one to two days in hot spells. In-ground plantings typically need water only every five to seven days. If growing in containers, mulch with two inches of straw or shredded bark to slow evaporation.
Step-by-Step: Planting Bare-Root Raspberry Canes
Bare-root canes are the standard way raspberries are sold: dormant plants with washed roots, no soil attached. They are cheaper, ship better, and establish faster than potted plants once in the ground. The key is rehydrating them before they go into the soil.
Soak the bare-root canes in room-temperature water for one to two hours. This rescues canes that dried out in transit — hydrated roots make immediate contact with soil moisture. Do not soak for more than four hours; prolonged submersion deprives roots of oxygen and causes root rot.
Dig a hole wide enough to spread the roots without bending them — typically 20-25 cm (8-10 inches) across and 15 cm (6 inches) deep. Mound a small cone of acidic soil in the bottom center and drape the roots over it, spreading them evenly in all directions.
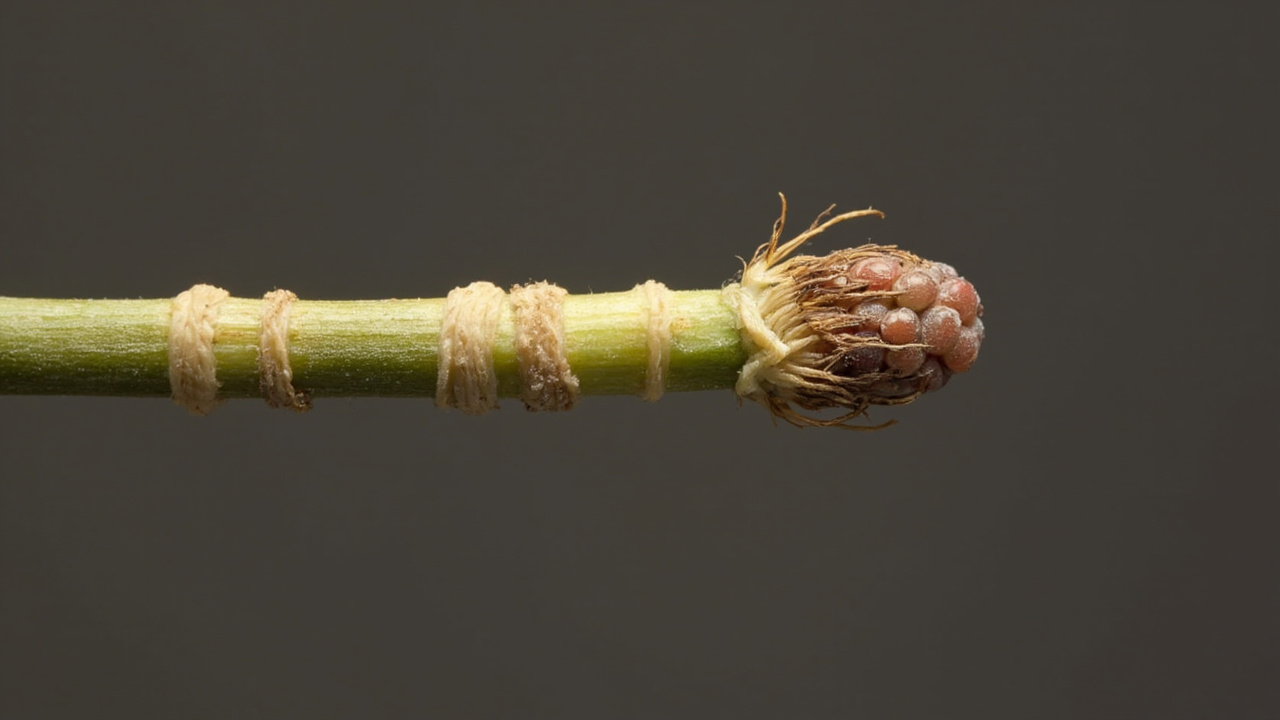
The crown, where the roots meet the cane, should sit exactly at soil level. This is the single most critical depth cue: planting the crown more than 5 cm (2 inches) below the surface is the number one reason new raspberry plantings fail. Bury it too deep and the dormant buds cannot push through to form primocanes in spring.
Backfill with soil, firming gently to eliminate air pockets. Water slowly with 3-4 liters (1 gallon) per cane to settle the soil. After the water drains, check the crown depth again — settling can pull the cane deeper and you may need to lift it back.
Space summer-bearing floricane varieties 60 cm (24 inches) apart in rows 2.4-3.0 meters (8-10 feet) apart. Everbearing primocane varieties go slightly closer at 45-50 cm (18-20 inches) within the row. Self-fertile varieties do not need a pollination partner, but planting two different cultivars nearby can increase drupelet set and improve harvest size.
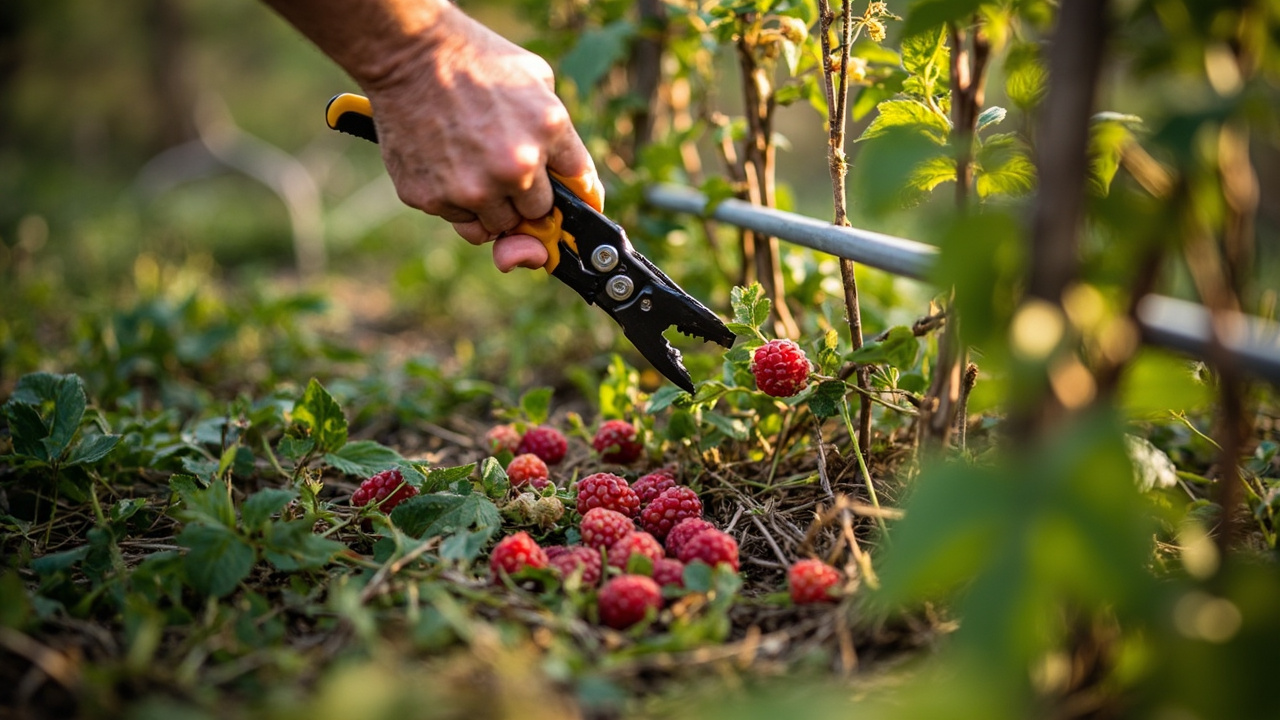
If planting multiple rows, orient them north-south so both sides receive even sun. Cut each newly planted cane back to about 15-20 cm (6-8 inches) above the ground — this redirects energy from top growth into root development.
Trellis Design and Installation for Raspberry Canes
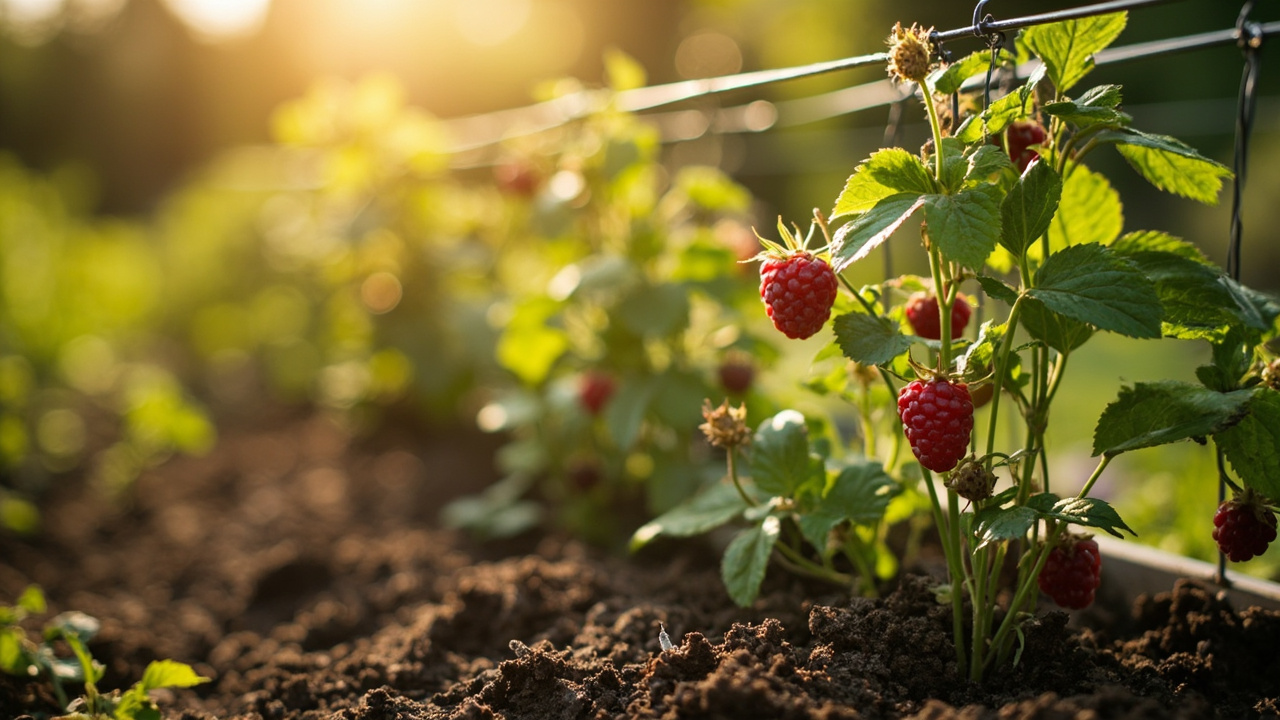
Raspberry canes grow fast and top-heavy. Without support, primocanes arch outward by midsummer, fruit-laden branches snap in wind, and the row becomes a tangled mess that is impossible to harvest cleanly. A trellis is not optional for raspberries — it is part of the planting, not an afterthought.
The simplest design is the single-wire trellis: set sturdy posts 2.4 meters (8 feet) tall at each end of the row and every 3-4 meters (10-13 feet) in between. Bury posts 60 cm (24 inches) deep .
Run galvanized wire at 90 cm (36 inches) and a second wire at 150 cm (5 feet). Tie canes to the wires with soft plant tape, spacing them 10-15 cm (4-6 inches) apart.
A stronger option is the T-trellis, which uses cross-arms at the top of each post to hold two parallel wires 60 cm (24 inches) apart. This design cages the canes between the wires, reducing the need for individual tying and allowing primocanes to grow upright through the center.
The Oregon State University Extension recommends the T-trellis for summer-bearing varieties that produce heavy floricane loads, and it also makes bird netting much easier to drape over the row at harvest time.
Install the trellis within the first month after planting, before primocanes exceed 60 cm (24 inches). Waiting until canes are tall and floppy makes training harder and risks snapping the brittle stems. For container raspberries, a single sturdy stake attached to the pot rim is sufficient.
Check wire tension each spring — frost heave can loosen posts and sagging wires allow canes to droop. Tighten or replace hardware before new growth begins so the trellis is ready when the primocanes shoot upward in April.
First-Year Care: Mulching, Watering, and What Not to Do
The first six to eight weeks after planting are about moisture management. Water newly planted canes deeply once or twice per week, delivering 4-5 liters (1-1.5 gallons) per plant. The goal is consistent moisture without waterlogging — if the top 3 cm (1 inch) of soil near the crown feels dry, it is time to water.
Apply a 5-8 cm (2-3 inch) layer of organic mulch around each cane. Straw, shredded leaves, shredded bark, or well-rotted wood chips all work. Keep mulch 5 cm (2 inches) away from the cane — piled mulch traps moisture against the stem and invites spur blight and cane blight. Mulch also discourages aphid colonies and reduces spider mite habitat by keeping the root zone cooler.
Mulch suppresses weeds, moderates soil temperature, and slows evaporation. In hot climates, a thick mulch layer also prevents sunscald on exposed soil and protects shallow roots from overheating.
Do not fertilize at planting time. Fresh roots are sensitive to concentrated nutrients, and early nitrogen pushes leafy top growth at the expense of root establishment. Wait until the second spring before applying a balanced fertilizer. For timing and ratios once the plant is established, see our raspberry light and soil requirements page.
Resist the urge to let first-year canes fruit. If your everbearing variety produces berries on the primocanes in late summer, you can allow a light harvest in year one, but remove any flower clusters that appear on summer-bearing varieties.
The plant needs to direct all its energy into the root system and cane structure this year; fruiting too early weakens the plant and reduces yields for the next five to seven years. For variety-specific guidance on which type you are growing, check our raspberry varieties guide.
By the end of the first season, a well-planted cane should have produced two to three healthy primocanes reaching at least 1 meter (3 feet) in height, a visible crown at soil level, and a trellis that keeps everything upright. Light pruning of damaged or weak canes in late winter sets the stage for stronger floricane development in year two.
Those canes will overwinter, become floricanes in year two, and produce your first real harvest. The work you do in the first thirty minutes pays off across the entire life of the plant. For a full overview of the growing cycle, see our raspberry plant care guide.
Turn That PDF Into a Spreadsheet in Minutes
You've seen how to do it manually — now let the tool handle the heavy lifting. Upload your bank statement and get Excel, CSV, or QBO in a few clicks.
Try It Free