Most dying Echeveria can be saved. The key word is most. If your plant has soft yellow leaves, a spongy stem, and the telltale sour smell of root rot, the odds are still in your favor — provided the rot has not consumed more than half the stem base.
Echeveria are remarkably resilient succulents. A rosette with even a centimeter of healthy stem tissue can regenerate an entire root system within three to four weeks. The transplant shock of surgery is less damaging than the rot itself. Even a rootbound plant with compact, fibrous roots can recover if the rot is caught early. Unlike monocarpic succulents that die after flowering, most Echeveria cultivars can be rescued repeatedly.
But the rescue has to be surgical, not gentle. Half-measures — trimming a few roots, repotting into fresh soil, hoping for the best — almost always fail because the fungal colony regrows from the tissue you left behind. Before you start, you need to make an honest triage decision. If the rosette has detached from the stem entirely, the plant is not salvageable as a whole.
If the stem is soft and dark for more than 70 percent of its length from the soil line upward, the plant is beyond recovery. You can still try leaf cuttings from any firm, healthy leaves remaining on the rosette. If the stem is firm at any point — even a small section near the rosette base — proceed with surgery.
For the diagnostic steps that lead to this point, see our Echeveria leaves turning yellow guide. For distinguishing root rot from thirst, see our curling and soft leaves guide. Both overwatering and underwatering produce similar leaf symptoms — the soil moisture test is what separates them.
Is Your Echeveria Worth Saving? The Triage Decision
The first question is not how to save your Echeveria. It is whether you should. Root rot progresses fast, and a plant that was salvageable a week ago may be past the point of no return today. The triage is straightforward: unpotted the plant, wash the soil from the roots, and examine the stem from the soil line upward.
Healthy Echeveria stem is firm, pale green to tan, and shows no dark streaks. Rotted stem is dark brown to black, yields to light pressure, and may show internal brown streaks when you make a small test cut. If the rot is confined to the roots and the lower centimeter of stem, the prognosis is good.
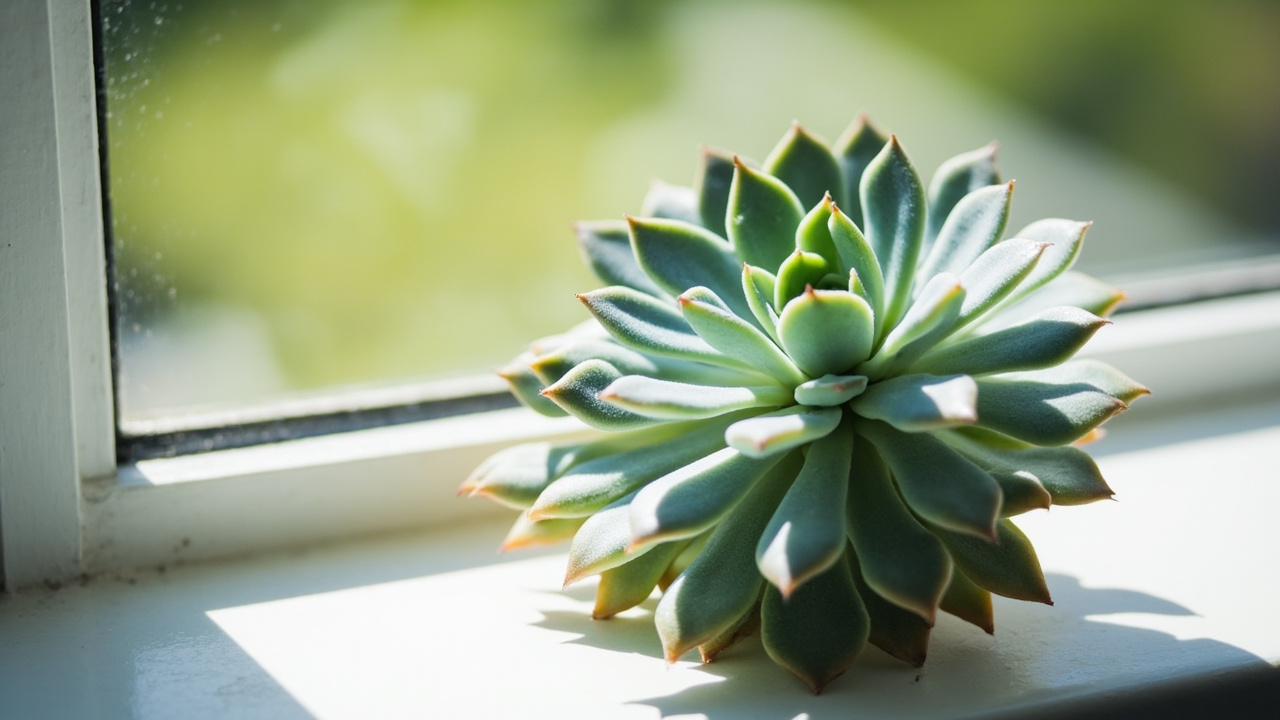
Trim back to healthy fibrous tissue and proceed. The plant will produce new adventitious roots from the cut stem surface within two to three weeks in warm conditions. An east-facing windowsill with bright indirect light provides the warmth and light that accelerate root initiation without the scorch or bleaching risk of direct afternoon sun.
If the rot extends more than one-third of the way up the stem but the upper stem is still firm, the prognosis is fair. Recovery takes longer because the remaining stem must produce adventitious roots from a higher point. The growing medium must be bone dry during this extended recovery to prevent re-infection.
If the rot has reached the rosette itself — visible as dark, soft tissue where the lowest leaves attach — the plant is not salvageable as a whole unit. The translucent, water-soaked appearance of rotted tissue is unmistakable once you have seen it. The leaf tip and base will show the first signs of decucculation as the plant abandons the affected leaves.
Do not attempt rescue during active dormancy from December through February unless the rot is visibly advancing day by day. A dormant Echeveria has minimal metabolic activity and will not produce new roots for weeks even in ideal conditions. If the plant is stable enough to wait, keep it dry and cool. Perform the surgery in early spring when rising temperatures trigger active growth.
What You Need: Tools and Materials for Echeveria Surgery
Gather everything before you start. The surgery itself takes 15 to 20 minutes, but you need to complete it in one session without leaving the plant unpotted while you search for supplies. You need a sharp, sterile blade — a fresh box-cutter blade or a scalpel is ideal. You need isopropyl alcohol at 70 percent for sterilizing the blade between cuts.
You need a clean, flat surface covered with newspaper. You need fresh dry mineral substrate — the 5:1:1 pumice-to-organic-to-scoria gritty mix is standard for Echeveria. You need a clean terracotta pot with drain holes, one size smaller than the original pot. Overpotting retains too much moisture during recovery. You need a warm, dry, well-ventilated spot for callusing — not direct sun, not a closed container.
The RHS recommends against using rooting hormone on Echeveria stem cuttings. Unlike many succulents, Echeveria produce adventitious roots readily from fresh stem tissue. Rooting hormone powders often contain fungicides that can damage the delicate root initials. If you want to use a rooting aid, a dilute hydrogen peroxide solution at 3 percent applied to the cut surface provides antifungal protection without inhibiting root growth.
Do not use cinnamon, sulfur powder, or any desiccant on the wound. These slow callusing and increase the risk of the cut surface drying too deeply for root initials to form. Optional but helpful: a small desk fan for air circulation during callusing, and a spray bottle for the light misting protocol during re-rooting.
The spray bottle is used only after roots have appeared — not before. For the right substrate composition, see our Echeveria soil mix guide. A well-aerated gritty mix with pumice and scoria provides the drainage that re-rooting plants need. The mineral substrate should feel loose and gritty — not compacted or waterlogged.
Step-by-Step Root Rot Surgery: Unpot, Inspect, Cut
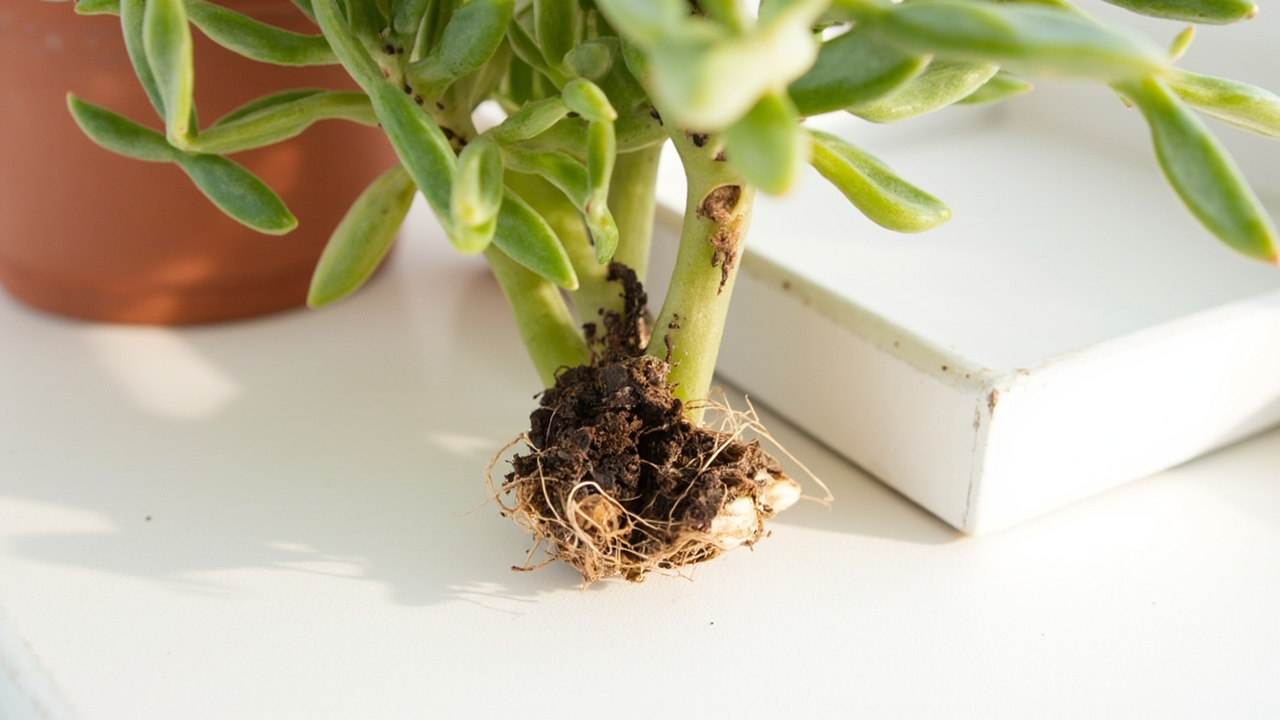
Step one: remove the plant from its pot. If the root system is heavily rotted, the plant may come out easily because the roots that once anchored it have disintegrated. If the pot is terracotta, tapping the sides gently helps release the root ball. Do not pull by the rosette — grip the stem base gently or tip the pot upside down.
Step two: wash all soil from the roots under lukewarm running water. Use your fingers to work apart the root mass. Rotted roots will fall away on their own, and you need to see the full extent of the damage. Healthy roots are white or pale tan, firm, and fibrous.
Rotted roots are dark brown to black, soft, and may disintegrate when touched. Remove all rotted roots by hand first, then trim remaining suspect roots back to healthy white tissue with your sterile blade. Sterilize the blade with alcohol between each cut to avoid spreading the fungal colony to healthy tissue.
Remove all rotted roots by hand first, then trim remaining suspect roots back to healthy white tissue with your sterile blade. Step three: examine the stem. Starting at the soil line, look for dark discoloration, soft spots, or a sour smell. Make a small horizontal cut at the lowest point where you suspect rot. If the tissue inside is pale green-white with no brown streaks, you have found healthy tissue.
If you see brown streaks or the cut surface oozes moisture, cut another centimeter higher. Repeat until you reach clean, dry, uniformly pale tissue. This is your cut line. Make a single clean cut at a slight angle — the angle increases the surface area from which roots will emerge and prevents water from pooling on a flat cut. Step four: inspect the rosette base where the lowest leaves attach.
If any leaf attachments show darkening or softness, gently remove those leaves and check the stem tissue beneath. Rot can hide under leaf attachments and regrow from that protected pocket. If the rosette base itself is compromised — meaning the growing point at the center is soft or dark — the plant cannot be saved.
Compost it and take leaf cuttings from any firm upper leaves as a last resort. Each healthy leaf with an intact base can produce a new rosette through propagation. Even a dying plant can yield dozens of pups if enough leaves are viable. The mother leaf shrivels as the new seedling establishes its own root system.
Callusing and Re-Rooting: The Critical 72-Hour Window
After surgery, the cut stem must form a dry, hardened layer — a callus — before it goes into soil. Without a callus, the open wound absorbs moisture from the substrate and re-invades with the same fungal pathogens that caused the original rot. Place the trimmed Echeveria in a warm, dry, well-ventilated location out of direct sunlight. A shelf near a window with bright indirect light works well.
Do not place the plant on a heat mat or in a closed propagation box. Excessive heat or humidity slows callusing and encourages fungal growth. The callusing period is 48 to 72 hours in typical indoor conditions — 20 to 25 degrees Celsius, 40 to 60 percent humidity. In cooler or more humid environments, extend to four or five days.
The callus is ready when the cut surface is dry to the touch, slightly hardened, and has turned from green-white to a pale tan color. Do not rush this period. Re-rooting a plant with an incomplete callus is the single most common reason rescue attempts fail after otherwise successful surgery. Once callused, plant the stem in dry mineral substrate.
Use a pot one size smaller than the original. A pot that is too large holds moisture in the unused soil volume and increases the risk of re-infection. Insert the stem just deep enough that the plant stands upright on its own, typically one to two centimeters below the soil surface.
Do not water. Place the pot in bright indirect light with good air circulation. Some shade during the hottest part of the day prevents additional sun stress on the weakened plant. Wait five to seven days before the first watering.
The bone-dry mineral substrate encourages the stem to search for moisture by producing roots. A grow light positioned 10 inches above the rosette provides consistent light without the heat stress of a south-facing windowsill.
The first watering should be minimal — just enough to create slight humidity around the stem base. The easiest method is the bottom-soak: place the pot in a shallow tray of water for five minutes, allowing moisture to wick up through the drain holes. Remove and let drain completely.
Repeat this minimal watering once every seven to ten days for the first four weeks. Do not soak the rosette. Do not mist the leaves. For the full propagation context, see our Echeveria propagation guide.
The same callusing and rooting principles apply to both propagation and rescue surgery. Leaf cuttings from a dying plant root more slowly than those from a healthy mother, but the success rate is still 40 to 60 percent. The key variables are temperature, humidity, and the health of the mother leaf at harvest.
Recovery Timeline: What to Expect Week by Week
Week one after re-rooting: no visible change. The plant may look slightly more wilted as it uses stored leaf moisture to fuel root initiation. This is normal. Do not increase watering. Week two: tiny white or pale pink bumps — root initials — should appear at the cut stem base if you gently brush away the top layer of substrate.
This is the first sign of success. Continue minimal watering every seven to ten days. The mild water stress of dry substrate encourages the stem to produce roots rather than rot. Resist the urge to check progress by unpotted — the fragile root initials detach easily.
Drought-adapted succulents like Echeveria actually root faster when slightly stressed than when overwatered. The decucculation process — where the plant sacrifices lower leaves to fuel root growth — is normal and not a cause for alarm.
Week three to four: root initials develop into visible white roots that begin branching into the substrate. The lower leaves may continue to thin as the plant redirects energy to root growth. The upper leaves should remain firm. At this point, you can increase watering slightly — a ten-minute bottom-soak every seven days is appropriate.
Week five to six: the root system is established enough to support the plant normally. The first new leaf may appear at the rosette center. Transition gradually to the standard soak-and-dry watering schedule. The leaf plumpness test — waiting until lower leaves wrinkle slightly — is your best guide. Avoid top dressing or disturbing the substrate during this phase; the new roots are shallow and easily damaged.
The first new leaf may appear at the rosette center. Transition gradually to the standard soak-and-dry watering schedule. Week seven to twelve: the plant resumes normal growth. New leaves emerge from the rosette center, the lower damaged leaves are reabsorbed or can be gently removed, and the rosette returns to its compact form. Full recovery takes two to three months.
During this entire period, keep the plant in bright indirect light, avoid fertilizing, and resist the urge to overwater. Insufficient light during recovery causes etiolation — stretched, weak growth that compromises the rosette structure permanently. The San Marcos Growers notes that overwatered rescue plants almost always die from the second rot, not the first.
If at any point during weeks one through four the rosette begins to soften further, the stem darkens above the soil line, or a sour smell returns, the rescue has failed. Each healthy offset you harvest from the mother plant before composting it is a genetic continuation — treat them as the priority.
Unpotted immediately and reassess. If the stem is still firm above the original cut line, you can re-cut higher, re-callus, and try again. If the stem has softened further, take leaf cuttings from any remaining healthy leaves and start fresh. For the complete care reference, see our Echeveria plant care complete guide.
When Rescue Fails: Stem Cutting and Last-Chance Propagation
When the mother plant cannot be saved, the genetics are not necessarily lost. Echeveria propagate reliably from individual leaves, and a rosette that is dying from root rot often still has firm, healthy leaves in its upper two-thirds. Gently twist individual leaves from the stem, working from the bottom upward. Each leaf should come away cleanly with the base intact — a torn or crushed leaf will not propagate.
Select only leaves that are firm, plump, and show no signs of yellowing, softness, or pest damage. Place the harvested leaves on a sheet of dry newspaper in bright indirect light. Let them callus for two to three days, then transfer to a tray of dry mineral substrate. Do not insert the leaves into the soil — lay them on top.
Mist the substrate surface lightly every three to four days. Do not mist the leaves directly — water droplets damage farina and cause leaf rot. Roots and a tiny rosette will emerge from the leaf base within two to four weeks.
The mother leaf provides nutrients until the new plantlet is self-sufficient. The emerging pup will show the characteristic spiral rosette form of a healthy Echeveria within six to eight weeks. Even a north-facing windowsill can work for leaf propagation if supplemented with a grow light.
Roots and a tiny rosette will emerge from the leaf base within two to four weeks. Once the new rosette is visible and the mother leaf has withered, pot the baby plant individually in a small terracotta container with mineral mix. Leaf propagation from a dying Echeveria has a lower success rate than from a healthy plant — typically 40 to 60 percent of leaves produce viable plantlets.
But even a 40 percent success rate from a rosette with twenty usable leaves gives you eight new plants. It is always worth attempting propagation before composting a dying Echeveria. The CSSA emergency care guidelines recommend keeping the propagated plantlets in slightly higher humidity than you would for mature Echeveria — a clear plastic container with ventilation holes works well for the first four to six weeks.
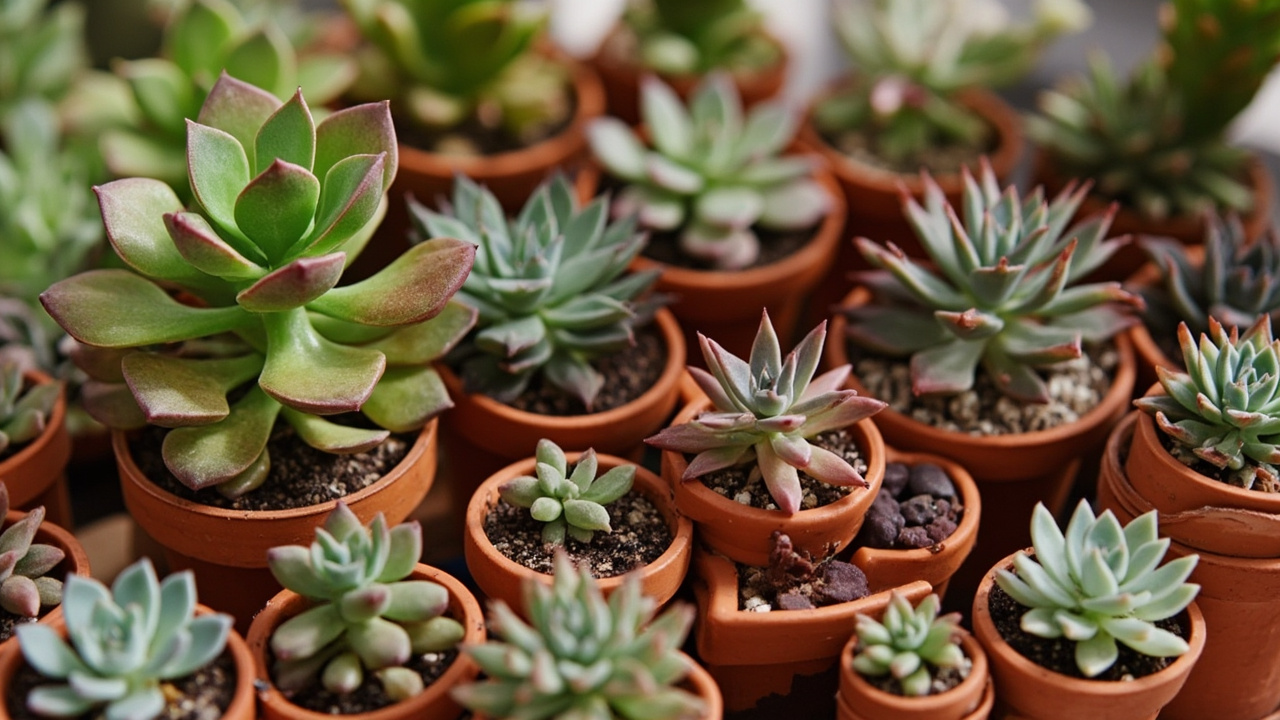
Once the plantlets have established roots and show active growth, transition them to the same dry, bright conditions that mature Echeveria prefer. By the following growing season, the plantlets will be indistinguishable from plants grown from healthy parent stock. For a detailed propagation reference that covers both leaf and stem cutting methods, see our haworthia propagation guide — the techniques are identical for Echeveria.
Rescuing a dying Echeveria is not guaranteed, but it is almost always worth attempting. The surgery takes fifteen minutes, the materials cost almost nothing, and the plant that emerges three months later — compact, rooted, and growing strongly — is one of the most satisfying outcomes in succulent growing. The key is to act fast, cut clean, wait through the callusing period, and resist the urge to overwater during recovery. The same surgical approach works for agave, aloe, and other rosette succulents facing advanced root rot.