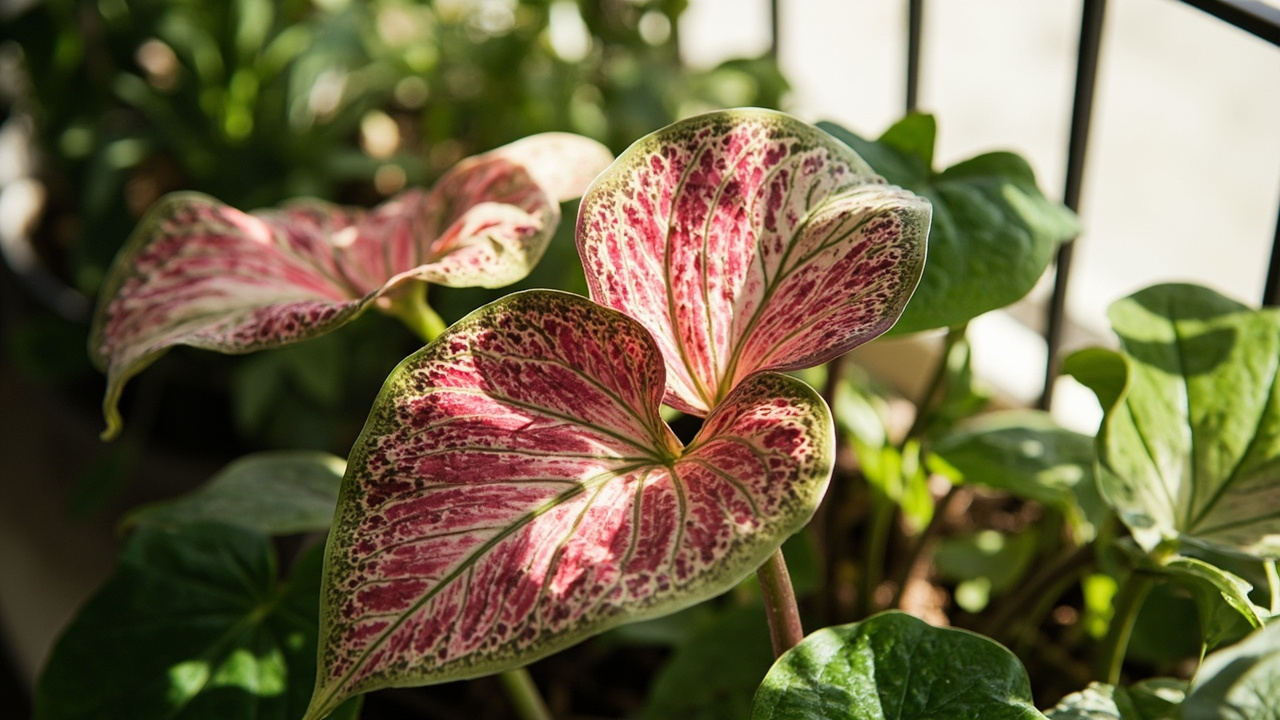
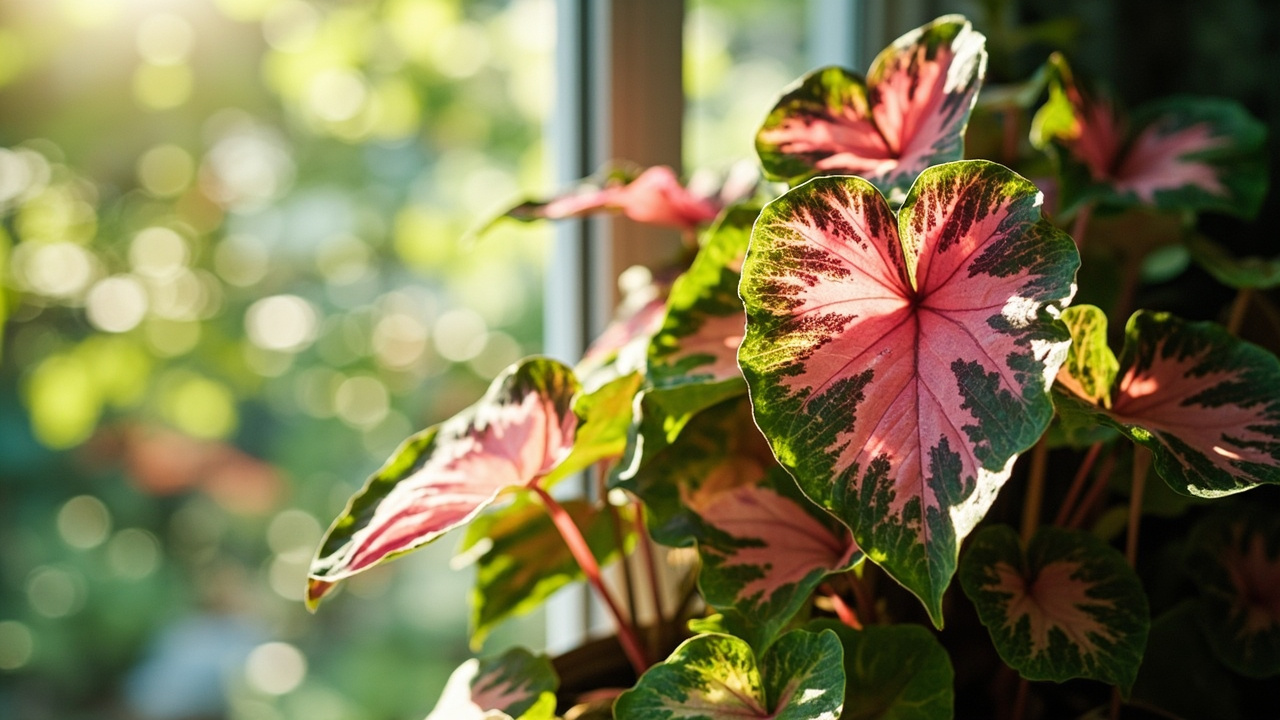
A yellow caladium leaf is either the end of a normal life cycle or the first warning that the plant is going into decline. The difference is in the pattern: old bottom leaves yellowing while new leaves push up from below is fine. New growth yellowing, or leaves yellowing from the middle outward, is not. This guide walks you through the diagnostic order so you can tell them apart and act on the real problem. Caladium leaves are broad blades attached by a petiole to the crown, and the yellowing pattern — where it starts and how it spreads — tells you which organ system is under stress.
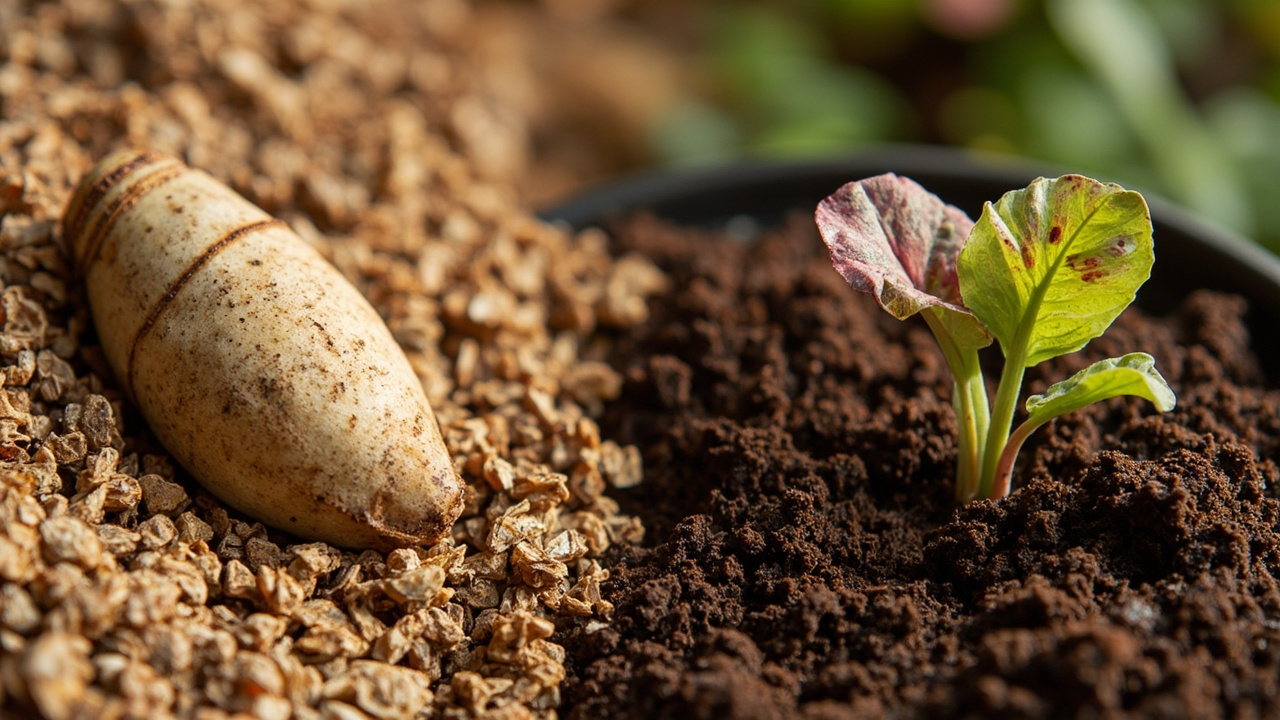
Caladiums are frost-tender aroids whose tuber anatomy makes them uniquely sensitive to care mistakes. The tuber stores carbohydrate reserves and each node along the rhizome can produce an offset or daughter plant.
Most indoor caladium yellowing comes down to one cause — the one least considered: watering on a schedule instead of checking the soil. Other causes (nutrient shortage, dormancy onset, dry air) look different once you know what to match the pattern to. Caladiums are frost-tender aroids native to tropical South America, and their yellowing response is almost always a climate mismatch. Chlorophyll breakdown is the biochemical endpoint of every yellowing cause — whether the trigger is overwatering, underwatering, sunburn, or nutrient deficiency, the result is the same: chlorophyll degrades faster than it is replaced, and the leaf loses its green pigment.
What Aqualogi recommends: start with the soil touch test before you change anything. If the first knuckle feels wet, overwatering is the likely cause and the fix is waiting. If the soil is light and dry all the way through, underwatering is the cause and the fix is a slow soak. For the full watering protocol, see our caladium watering guide.
When caladium yellowing is normal — older leaves and dormancy
Not every yellow caladium leaf is a crisis. Indoor caladiums shed their oldest leaves naturally as new ones emerge from the centre. The distinction matters: normal senescence is slow (one leaf every 1-2 weeks), bottom-up, and happens while the plant is actively growing new foliage. This natural leaf drop is part of the caladium’s annual rhythm, not a disease signal.
Normal senescence — oldest leaves yellow one at a time
On a healthy indoor caladium, the oldest leaves at the bottom of the plant turn from green to pale yellow over 7-10 days. The leaf softens, then dries and curls at the edges. That leaf is finished — the plant pulled its nutrients back into the tuber before letting go. Cut the dead leaf at the soil line with bypass secateur and watch for the next new leaf emerging from the centre. If new leaves are still pushing up, the yellowing is normal. This process is called senescence, and it is the plant’s way of recycling nitrogen and potassium from aging tissue.
Dormancy flush — whole plant yellows in 2-4 weeks
Caladiums indoors go dormant when the tuber decides to rest. The trigger is usually shorter days and cooler temperatures (below 18°C/65°F for several weeks) but can also happen if the plant has been growing without rest for 6-8 months. During dormancy, 80-90% of the leaves yellow within 2-4 weeks. New leaf production stops. This is not failure — the plant is storing energy in the tuber. Do not water a dormant caladium on schedule. Check the pot monthly; water only when the soil is dry halfway down. For the full dormancy protocol, see our caladium dormancy care article.
The one question test
Is new growth still emerging? If yes, the yellowing is likely normal senescence or a minor stress the plant is handling. If no — and the plant has gone more than 4 weeks without a new leaf while yellowing spreads — the problem is overwatering, nutrient shortage, or root damage.
A yellow caladium leaf is rarely a single-problem signal. The plant is a frost-tender aroid whose tuber stores energy for the season, and yellowing can originate from soil moisture, light imbalance, nutrient availability, or pathogen attack in the root zone. The key is tracing the symptom back to its cause before acting — because the fix for one cause makes another worse.
Caladium leaves lose chlorophyll gradually as they age, and the petiole develops an abscission layer at its base that severs nutrient flow. This natural senescence is accompanied by a drop in leaf turgor as the plant reclaims nitrogen and potassium from the dying tissue. Understanding this process helps you distinguish normal leaf turnover from a distress signal that requires intervention.
Overwatering caladium yellowing — the most common indoor cause
Overwatering is the single most common cause of indoor caladium yellowing. The pattern is distinctive and differs from every other cause — once you learn to read it, the fix is straightforward. This is where most caladiums die: the tuber sits in waterlogged soil and develops Pythium or Phytophthora root rot, and by the time the leaves yellow the damage is already below ground.
The pattern — oldest leaves first, yellowing from the bottom up
Overwatering caladium yellowing starts with the two or three oldest leaves at the base. They turn a uniform pale yellow (not gold, not spotted) over 7-14 days. The yellowing moves upward progressively. Unlike drought, the leaves do not curl or crisp. The stems at the soil line feel soft, and the pot feels heavy days after watering. The soil smells musty or sour when you dig a finger in — not the clean earth smell of healthy potting mix.
The soil check — wet at the first knuckle plus old-leaf yellowing
Stick a clean finger into the soil up to the first knuckle (roughly 2-3 cm). If the soil feels wet, sticky, or cold at that depth — and the yellow leaves are at the bottom — you are overwatering. This is the diagnostic that splits “just needs water” from “the roots are suffocating.” On a caladium care guide schedule (water when the top inch dries), the first knuckle should feel dry or barely damp before you water again.
The fix — skip watering, unpot, and check roots
Stop watering. Wait 3-5 days, then unpot the caladium gently. Healthy roots are white or light tan, firm, and smell clean. Rotted roots are dark brown to black, slippery, and smell sour. Trim rotted roots back to healthy tissue with sterilised scissors. Repot in fresh, dry mix (60% peat or coir, 30% perlite, 10% bark) and do not water for another 3 days to let any root wounds callus. The key is fast drainage — caladium tubers cannot survive in waterlogged soil.
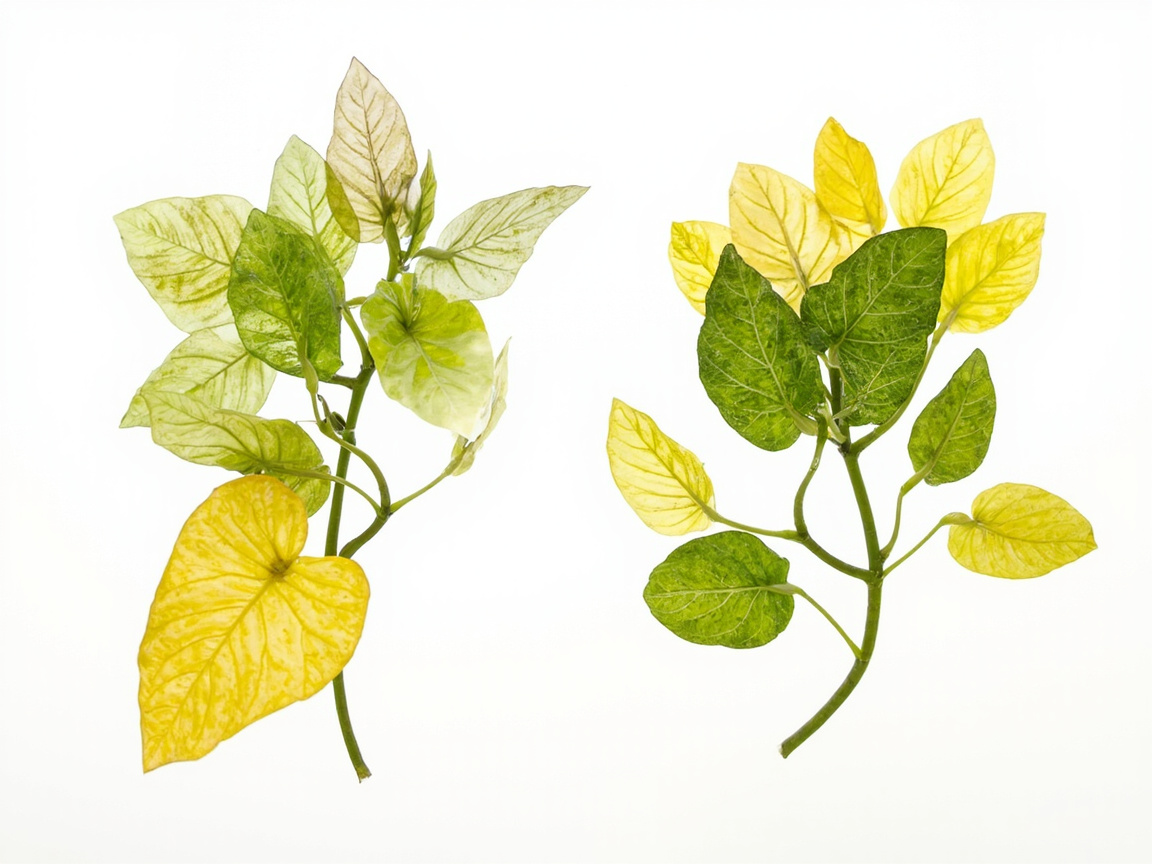
The most important diagnostic for caladium yellowing is the tuber itself. A healthy caladium tuber stores carbohydrates and water throughout the growing season, and when conditions are right it produces offsets — small daughter plants that emerge from axillary buds near the crown. Each offset carries enough stored energy to establish independently. If the tuber is firm and the soil is well-draining, the yellowing is likely environmental rather than structural.
When the soil stays wet for more than a few days, Pythium and Phytophthora pathogens colonize the root zone and begin digesting the tuber from the outside in. These water molds thrive in saturated soil and produce zoospores that swim through the soil water to infect root tissue. The yellowing that follows is not awater-deficient response — it is the plant shutting down tissues that are no longer receiving water because the roots are dead. A firm tuber pressed gently through the soil surface confirms the plant is still viable; a soft tuber means the rot has progressed too far.
Underwatering and dry air — caladium yellowing from edges inward
Underwatering caladium yellowing looks different from overwatering: the leaf margins turn yellow first, the leaf curls inward or downward to reduce surface area, and the soil pulls away from the pot edges. This is much easier to fix than overwatering — a thorough soak usually reverses it within hours.
The pattern — edges yellow first, leaves wilt/curl inward
On an underwatered caladium, the edges of multiple leaves (not just the oldest) turn pale yellow within 3-5 days of the last dry period. The leaves curl inward or fold along the midrib to reduce exposed surface area. The soil is light and dusty, and the pot lifts with almost no weight. Caladium leaves are thin and have high transpiration rates, so they lose water quickly when the soil is dry. Turgor pressure inside each leaf cell drops first — the cells lose water and the leaf goes limp — then chlorophyll degradation follows as the plant reallocates resources away from dying tissue.
The soil check — dry all the way through
Stick a wooden chopstick or skewer into the soil to the bottom of the pot. Pull it out: if the bottom section comes out dry and clean, the pot is dry all the way through. That is the confirmation. The soil pulling away from the pot edges (a visible gap) is the early sign you can catch before serious wilting occurs.
The fix — slow soak, not flood
Water an underwatered caladium slowly. Flooding a bone-dry peat-heavy mix causes water to run down the sides and out the bottom without penetrating the root ball. Instead, set the pot in a tray of room-temperature water for 30-45 minutes and let the soil wick water up from the bottom. The soil should feel moist throughout when you test again. Resume a caladium watering guide schedule (check every 3-4 days in spring/summer, every 7-10 days in winter) and water when the top 2 inches feel dry.
Light levels also play a role in caladium yellowing. When the plant receives too much direct sunlight, the leaf surface can suffer photoinhibition — excess light energy damages the photosynthetic apparatus faster than it can be repaired, and the leaf tissue bleaches and yellows from the center outward. This is different from underwatering yellowing, which starts at the leaf margins as crispy brown edges. Proper bright indirect light — equivalent to what a north-facing window or a shaded south-facing window provides — keeps the chlorophyll stable and the leaf color vivid.
The plant also responds to daylength and photoperiod changes. As daylight shortens in autumn, caladiums naturally reduce photosynthetic activity and begin pulling nutrients back into the tuber. The apical dominance of new growth weakens, and the plant shifts energy from leaf production to storage. This is the same trigger that initiates dormancy in spring-planted bulbs. If you keep your caladium under consistent artificial light year-round, it may not enter full dormancy — which is fine, but it does require continued watering and feeding.
Caladium sunburn yellowing — pale washed-out leaves from too much light
Too much direct sun bleaches caladium leaves from vibrant colour to pale green-yellow within 7-10 days of exposure. Unlike nutrient or water problems, the leaves are firm and turgid — they simply lose their pigment. Caladiums are understory plants by evolution, and their leaves are adapted to bright indirect light, not direct sun. A leaf scorch injury from excessive light is permanent on affected tissue but the plant will produce new leaves in the correct light conditions.
The pattern — pale washed-out yellow, not deep gold
Sunburn caladium leaves turn a pale, washed-out green-yellow, not the deep uniform gold of overwatering. On fancy-leaved varieties, the white, pink, or red centre patches bleach to cream-white or pale yellow first. The edges may develop a reddish tint as the plant tries to protect exposed tissue with red anthocyanin pigment. This is a sun stress response, not a disease.
Where to look — leaves closest to the window
Sunburn on an indoor caladium hits the leaves nearest the window first and most severely. Leaves at the back of the canopy stay healthy while the front leaves pale up. If the yellowing is concentrated on the south-facing side of the plant, light is the cause. Move the plant 6-12 inches back from the window or install a sheer curtain.
The fix — move back from the glass in afternoon
Move the plant 2-4 feet back from the window, or hang a sheer curtain during the 3 hours around solar noon. The bleached leaves will never regain colour — cut them at the soil line and let new growth replace them. New leaves that emerge in reduced light will show full colour. For optimal light levels, see our caladium light requirements guide.
Caladium nutrient deficiency yellowing — new leaves yellow with green veins
When a caladium is underfed during active growth, the first sign is usually yellowing on newer leaves while older leaves stay green. The pattern is the inverse of overwatering and points to a shortage — most commonly nitrogen, sometimes magnesium. Indoor caladiums in peat-heavy mix deplete nutrients within 6-10 weeks if not replenished with a balanced fertilizer.
The pattern — newer leaves yellow first, veins stay green
Nitrogen shortage on an indoor caladium shows as uniform yellow on the newest 3-5 leaves while the older leaves below remain green and healthy. Magnesium shortage is more specific: the newer leaves turn yellow between the veins while the veins themselves stay bright green. Both patterns distinguish nutrient deficiency from overwatering (older leaves first) and underwatering (edges first). The contrast between leaf age and symptom location is your primary diagnostic clue.
The most common cause — nitrogen from underfeeding in active growth
Indoor caladiums growing in peat-heavy mix run out of nitrogen within 6-10 weeks of the last feeding if not replenished. The mistake is not underfeeding itself — it is stopping feeding after summer and expecting the mix to keep supplying nutrients through winter. A caladium still actively growing in January needs feeding even if it is receiving less light. Feed a dilute balanced liquid fertilizer every 2-3 weeks during the growing season. Daylength and photoperiod matter here too: a caladium on a south-facing windowsill with 14-hour days in January is still photosynthesising and needs nutrients, while one in a low-light corner is barely growing and can skip a feeding without harm.
The fix — feed dilute balanced NPK, do not over-correct
Feed a half-strength balanced NPK (10-10-10 or 15-15-15) once, then switch to citrus-specific 2-1-1 or a balanced houseplant feed at half strength monthly during active growth. Do not double the dose to catch up — overfeeding burns fine roots and causes worse yellowing than the original shortage. If magnesium is the issue, run an Epsom salts flush (1 teaspoon per gallon of water) once and monitor for greening over the following 3-4 weeks.
Beyond soil moisture and light, nutrient deficiency is a frequent driver of caladium yellowing. When the soil is not a well-draining mix, nutrients leach away rapidly and the plant cannot maintain chlorophyll production in older leaves. The result is interveinal chlorosis — the leaf veins stay green while the tissue between them yellows — a classic sign of magnesium or iron deficiency in acid-loving foliage plants. The petiole of each affected leaf may also develop epinasty ( downward bending) as the plant attempts to reorient its remaining green foliage toward available light.
In some cases, yellowing is not a disease at all but part of the caladium’s natural lifecycle. Mature caladiums with extensive rhizome networks produce daughter plant offsets along the rhizome during peak growing season. These offsets draw resources from the mother plant, which can cause older leaves to yellow as the tubers shift energy toward new growth. This is especially common in container-grown caladiums where root space is limited and the plant prioritizes offset formation over leaf maintenance. If the plant is otherwise healthy and new leaves continue to emerge, yellowing of the oldest leaves is normal attrition, not a sign of distress.
When managing caladium yellowing, the tuber must remain firm throughout. A soft or mushy tuber indicates advanced root rot that no amount of cultural correction can reverse — in that case the plant should be discarded and the soil replaced. For a detailed protocol on diagnosing and treating caladium root rot, see the companion save-dying caladium guide.
Caladium root rot yellowing — when the plant is past saving
Root rot is the final stage of prolonged overwatering — when the tuber itself has begun to decay. The signs are unmistakable: the plant yellows rapidly, the stem base is mushy, and the pot smells sour even when dry. At this point, Pythium or Phytophthora pathogens have colonized the tuber, and the plant cannot recover through repotting alone.
The emergency signs — pot smell, mushy stem, all leaves yellowing at once
Root rot yellowing on a caladium takes all leaves at once (not bottom-up like overwatering). The leaves do not droop — they yellow and stand upright for days as the stem rots internally. Press the stem at the soil line: a rotted stem yields under gentle pressure and may feel hollow. The pot smells sour even when the soil surface is dry. At this stage, the damage has spread to the tuber.
The rescue attempt — unpot, trim rot, repot in dry mix
Unpot immediately. Gently wash away soil and cut away all soft, dark tissue — roots and tuber — until only firm, healthy white tissue remains. Dust the cut surfaces with cinnamon powder or sulphur fungicide. Repot in dry, well-draining mix (60% perlite-heavy) and do not water for 7-10 days. New growth emerging within 2-3 weeks indicates recovery.
The honest limit — toss if tuber is soft or smells
Soft tuber = plant is past saving. If the entire tuber yields to gentle pressure or smells sour when cut, discard it. The pot and soil go in the bin too — do not reuse potting mix from a rooted caladium. Buy a new tuber from a clean source and start over. There is no rescue for a fully rotted tuber, and keeping one near other plants risks spreading fungal spores.
The single most important lesson from every cause of caladium yellowing is the same: check the soil before you act. Yellow leaves are a symptom, not a diagnosis. The soil tells you whether the problem is water, light, or nutrients. Without that information, every treatment is a guess.
Understanding yellowing also helps with propagation timing. The best time to divide offsets or daughter plants is just as the plant exits dormancy and the crown begins sending up new shoots. At that point, the axillary buds are actively dividing, the hypocotyl is swelling with stored energy, and any cuts made to separate pups will callus quickly in warm, moist conditions. Waiting until the plant is fully dormant risks damaging the rhizome during division, and trying to propagate during active growth wastes the plant’s energy on wound healing rather than root development.
From Bank Statement to QuickBooks-Ready File
That manual cleanup you just read about? This tool skips it. Turn your PDF into QBO for QuickBooks without storing your data anywhere.
Start Converting