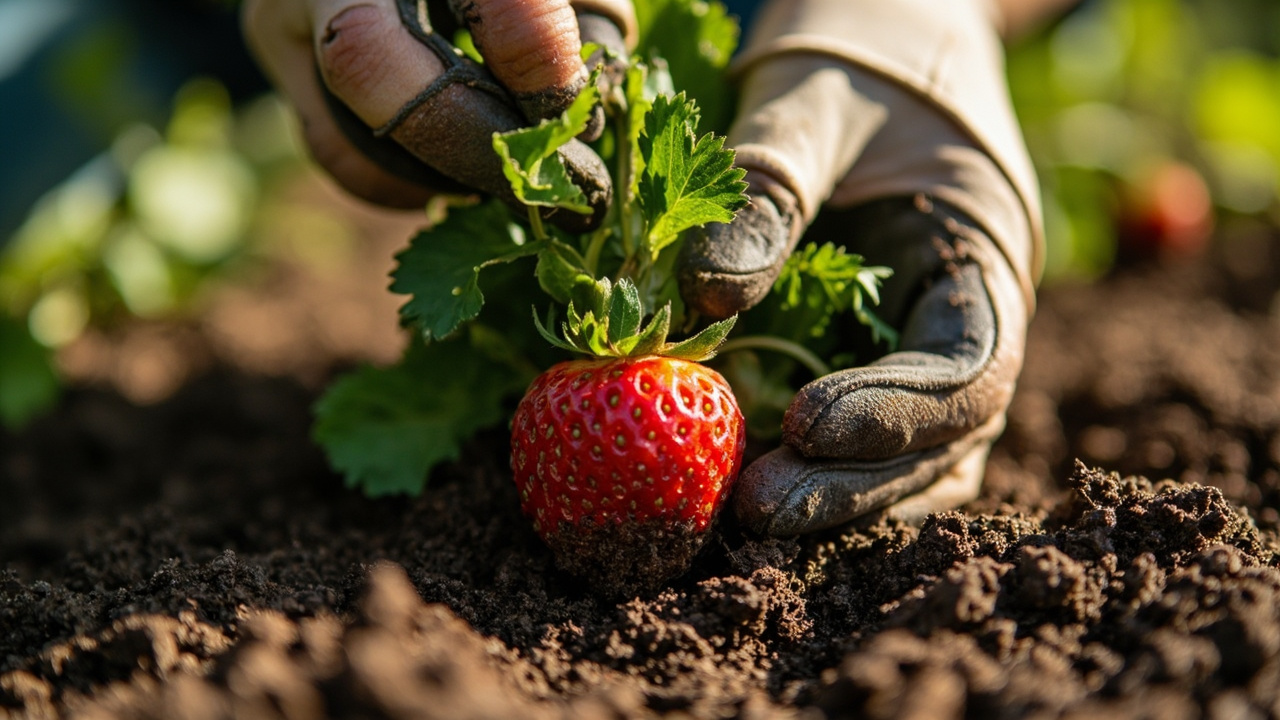

The single most common reason newly planted strawberries die is planting depth — too deep and the crown rots, too shallow and the roots dry out, and the margin between the two is less than an inch. The crown is the thick stem from which all leaves, flowers, and runners emerge. It needs to sit precisely at the soil surface, half in air and half in soil. Get this wrong and no amount of watering, fertilizing, or pest control will save the plant.
Timing matters almost as much as technique. Bare-root crowns planted after mid-May will not fruit in the current season, and fall-planted crowns in cold-winter regions need heavy mulch or they freeze. You have roughly 4 to 6 weeks in spring and another 2 to 3 weeks in early fall to get them in the ground. This page tells you which window applies to your variety and climate, then walks through the full planting procedure. For ongoing care after establishment, see our strawberry watering guide. For variety selection, see our strawberry varieties guide.
Timing — When to Plant
The universal strawberry planting window is early spring, as soon as the soil is workable and the risk of hard frost has passed — typically mid-March to mid-May. Spring planting gives the entire growing season for the plant to establish, build crown mass, and store carbohydrates for the following year’s fruit. June-bearing varieties planted in early spring produce their first full harvest the next summer. Day-neutral and everbearing varieties planted in spring often produce a light crop in late summer, though many growers remove these first flowers to direct energy into root development. Choose a planting site that receives full sun from the start — the more sunlight available during establishment, the stronger the root system.
Fall planting (late August through September) works in regions with mild winters (USDA zones 7 to 10). The crowns establish in cool, moist autumn weather and fruit heavily the following spring — often 2 to 3 weeks earlier than spring-planted crowns. The risk is winter kill: a sudden cold snap before dormancy can freeze the flower buds that formed in autumn. In harsh-winter regions, overwintering fall-planted strawberries requires 4 to 6 inches of mulch cover.
Variety type changes the timing. June-bearing strawberries are the most cold-tolerant and can be planted as early as the soil can be worked. Day-neutral varieties are the most cold-sensitive and should be planted only after the soil warms above 50°F (10°C). Everbearing varieties fall between the two: plant them at the same time as June-bearing. If you miss the spring window, hold bare-root crowns in a refrigerator (32 to 35°F) wrapped in damp paper towels and plant in late August.
Crown Depth — The Half-Inch Rule
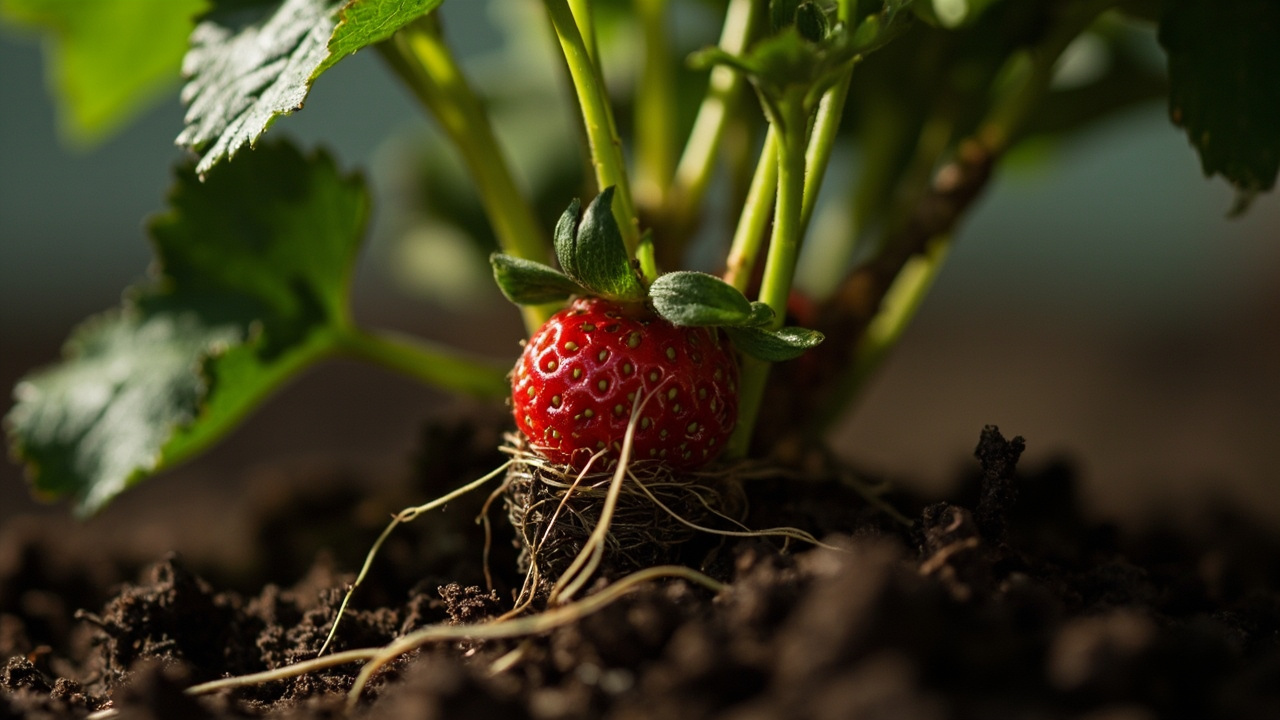
The crown must sit precisely at the soil surface. The top where leaf buds emerge should be visible above the soil line, and the base where roots emerge should be buried no more than half an inch. Plant the crown a full inch below the surface and the fleshy tissue rots within 2 to 3 weeks as moisture accumulates around the leaf buds. Plant it on the surface with roots exposed and the root tips desiccate within days.
The crown is a compact mass of meristematic tissue — actively dividing cells — and it is highly susceptible to fungal infection when buried in moist soil. At the same time, the uppermost roots emerge from the crown base and need soil contact to establish. The half-inch burial satisfies both requirements. For bare-root crowns, look for the color change on the crown: the buried portion is pale tan, the exposed portion is green or reddish. Plant so the soil surface sits exactly at this line. For potted transplants, the crown is already at the correct depth in the pot — transplant it so the potting mix surface aligns with the garden soil surface.
Shape the planting bed so the crown sits on a slight mound — no more than 1 inch above the surrounding soil level. The mound sheds water away from the crown while keeping the root zone moist. In heavy clay soils, this mound is essential to prevent root rot from standing water. In sandy soils it is optional but beneficial during establishment. Before planting, work the soil to a depth of 8 inches and mix in 2 to 3 inches of aged compost to improve soil structure and drainage.
Spacing and Layout
In a matted-row system (runners allowed to root), plant crowns 18 to 24 inches apart in rows 3 to 4 feet apart. Each crown produces 4 to 8 rooted runners in the first season, creating a dense mat. Matted rows produce more total fruit but smaller individual berries. This system works well for June-bearing varieties where the goal is total yield for preserving.
In a hill system (all runners removed), plant crowns 12 to 15 inches apart in double or triple rows. Without runners competing for energy, each crown channels everything into fruit production, yielding fewer but significantly larger berries. Hill systems require snipping runners every 7 to 10 days during summer. For day-neutral and everbearing varieties grown for fresh eating, the hill system is the better choice.
For containers, plant one strawberry per 12-inch pot, or three plants in an 18-inch container. Strawberry towers need one plant per pocket with pockets at least 8 inches apart. Two strawberry plants in a pot smaller than 12 inches will both underproduce because the root zone cannot support two full canopies. Raised beds offer the best compromise: staggered double rows, 12 inches between plants within a row and 18 inches between rows. Allow 2 to 3 runners per crown to root between plants, then trim the rest. For runner management after planting, see our strawberry runner propagation guide.
Step-by-Step: Bare-Root Planting
Bare-root crowns are the most economical option and establish faster than potted transplants because the root system has not been constrained by a container. They look alarming when they arrive — dried-looking roots and a dormant crown — but they respond quickly once in the ground.
Step 1: Soak bare-root crowns in room-temperature water for 1 to 2 hours before planting. The roots should feel pliable, not brittle. Do not soak for more than 4 hours. While they soak, prepare the bed by working the soil to 8 inches and mixing in 2 to 3 inches of aged compost. Check that soil pH is between 5.5 and 6.5 — strawberries need slightly acidic soil for proper nutrient uptake and fruit set.
Step 2: Dig a hole 6 to 8 inches deep and wide enough to spread the roots without bending them. Create a small soil cone at the bottom. Drape the roots over the cone so they fan outward and downward. The crown should sit at the soil surface when roots are spread. Backfill, firming gently to eliminate air pockets while keeping the crown at the surface. Trim any roots longer than 4 inches — long roots fold and create air pockets.
Step 3: Water immediately with 1 quart of water per plant to settle the soil. Apply a 1-inch layer of straw or pine needle mulch around the base, keeping mulch 1 inch away from the crown. Mulch in contact with the crown traps moisture and invites rot. Water every 2 to 3 days for the first 2 weeks, then transition to the regular rhythm covered in our strawberry watering guide. For plants in full sun, new leaf growth should appear within 7 to 14 days.
Step-by-Step: Potted Transplants
Potted transplants establish with less visible shock because the root system is already active. The trade-off is that they are often root-bound, with roots circling the inside of the pot. If planted without loosening, these circling roots continue to circle instead of branching into the surrounding soil, limiting the root zone and reducing drought tolerance.
Step 1: Water the potted plant thoroughly 1 hour before transplanting. Remove it from the pot by supporting the crown base and inverting the pot — never pull by the leaves. If roots are circling densely, score the root ball with a clean knife in 3 to 4 places, cutting 1/4 inch deep. This forces roots to branch outward from the cut points.
Step 2: Dig a hole twice the width and the same depth as the root ball. The crown must end up at the soil surface — measure before settling the plant. Backfill with excavated soil mixed with a handful of compost, firm gently, and water immediately. Transplant shock typically appears as wilting and stalled growth for 5 to 7 days. For transplants purchased in flower, remove all flowers and fruit for the first 4 to 6 weeks to direct energy into root and crown development.
Step 3: After planting, place the transplant in a spot that receives full sun — at least 6 hours of direct sun daily, with some afternoon shade in hot climates. If the transplant shows signs of etiolation (thin, pale, stretching growth) after a week, it is not receiving enough light for photosynthesis. Consider supplementing with a grow light or moving to a sunnier position. For more on light requirements, see our strawberry light requirements page.
The First 2 Weeks After Planting
The establishment window determines whether the plant thrives or survives. Water every 2 to 3 days for bare-root crowns and every 3 to 4 days for potted transplants. The goal is evenly moist soil in the top 4 inches where new roots are growing. Do not fertilize during establishment — nitrogen salts stress fragile new roots. Wait until you see active new leaf growth (typically 10 to 14 days) before applying fertilizer at half strength.
Mulch goes on after the first watering settles the soil. Straw, pine needles, or shredded leaves at 1 to 2 inches deep conserve moisture, suppress weeds, and keep fruit clean. Keep mulch pulled back 1 inch from the crown. Check under the mulch every few days for pale, pointed new leaves emerging from the crown — this signals that establishment is underway. If no growth after 14 days, check crown depth (the most likely culprit) and soil moisture.
What NOT to do: do not let soil dry out, do not overwater (saturated soil kills the crown), do not apply full-strength fertilizer, and do not allow weeds to establish. After the 2-week window, transition to ongoing care in our strawberry watering guide and our strawberry light requirements page.
Turn PDF Bank Statements Into Workable Spreadsheets
Your bank statement is a mess of numbers, but your books shouldn't be. Use our converter to get Excel, CSV, or QBO files — ready for QuickBooks.
Try It Free Now