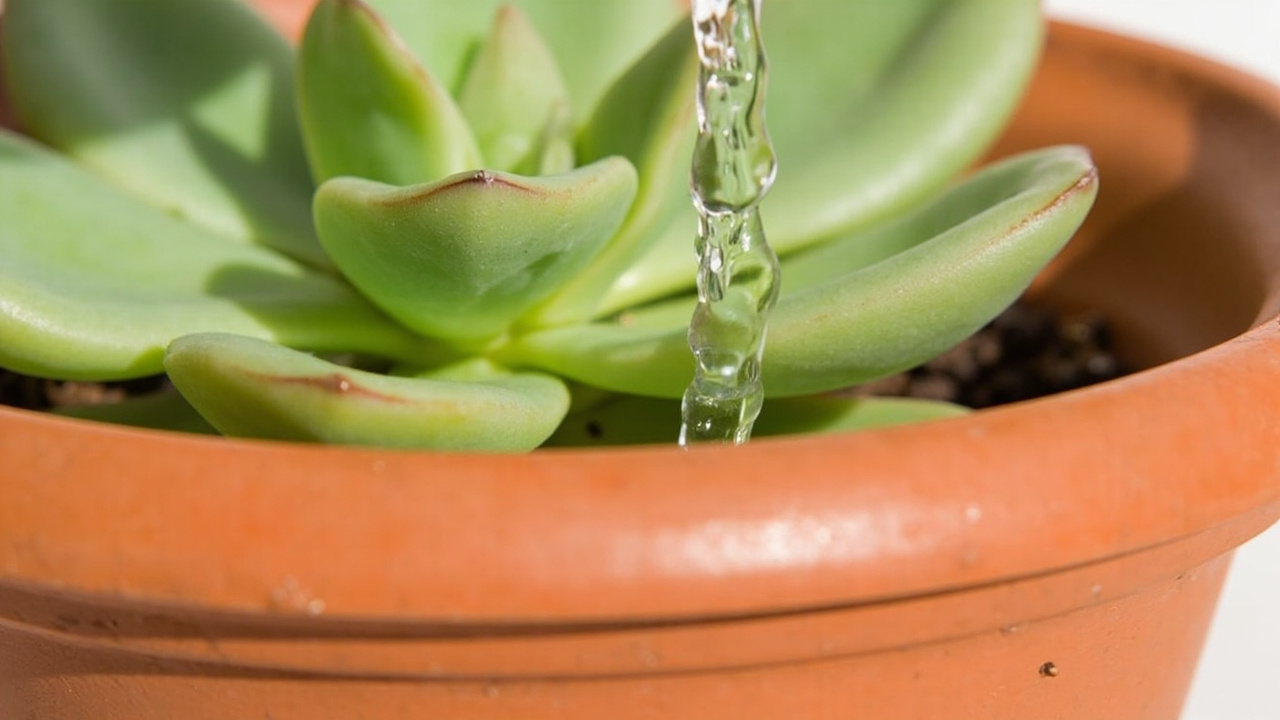
Regular potting soil is the wrong medium for succulents. It stays too wet, compacts too fast, and excludes air from the root zone for days after every watering. The result is the single most common killer of indoor succulents: root rot that starts below the soil line while the plant still looks healthy above it. The fix is not watering less often. The fix is using soil that drains fast enough that the roots get both water and oxygen.
Standard potting mixes are designed for tropical houseplants. They contain peat or coir to hold moisture, fine particles that compact over time, and sometimes water-retaining gels. For a pothos or a peace lily, this is ideal. For a succulent, it creates a root zone that stays saturated for a week or more after a single watering. Succulent roots are fine and shallow — they are adapted to absorb water quickly during brief rains and then dry out. They are not adapted to constant moisture, and they begin to die within 48–72 hours in waterlogged soil.
This guide covers why regular soil fails, what mix ratios actually work, which amendments are worth the money, how to choose the right pot, and how to repot without setting your plant back.
Why Regular Potting Soil Kills Succulents
The mechanism is straightforward. Peat and coir are hydrophilic — they absorb and hold many times their weight in water. When you water a peat-based mix, the peat particles swell and hold moisture for days. Meanwhile, the fine organic particles compact, squeezing out air pores. The soil surface may feel dry, but 3 cm down it is still saturated. Succulent roots sitting in that wet zone cannot get oxygen. Root cells die, and the dead tissue becomes entry points for anaerobic bacteria and fungi, particularly pythium and fusarium. The rot spreads upward from the roots into the stem, and by the time you see mushy leaves at the base, the damage is advanced.
The failure mode is invisible for weeks. The plant continues to photosynthesize using water stored in its leaves, so it looks fine above ground. Meanwhile, the root system is shrinking. When the roots can no longer support the plant, the decline is sudden — the stem softens, the plant topples, and the leaves collapse. At this point, rescue requires cutting above the rot and rerooting the crown. Prevention starts with the soil.
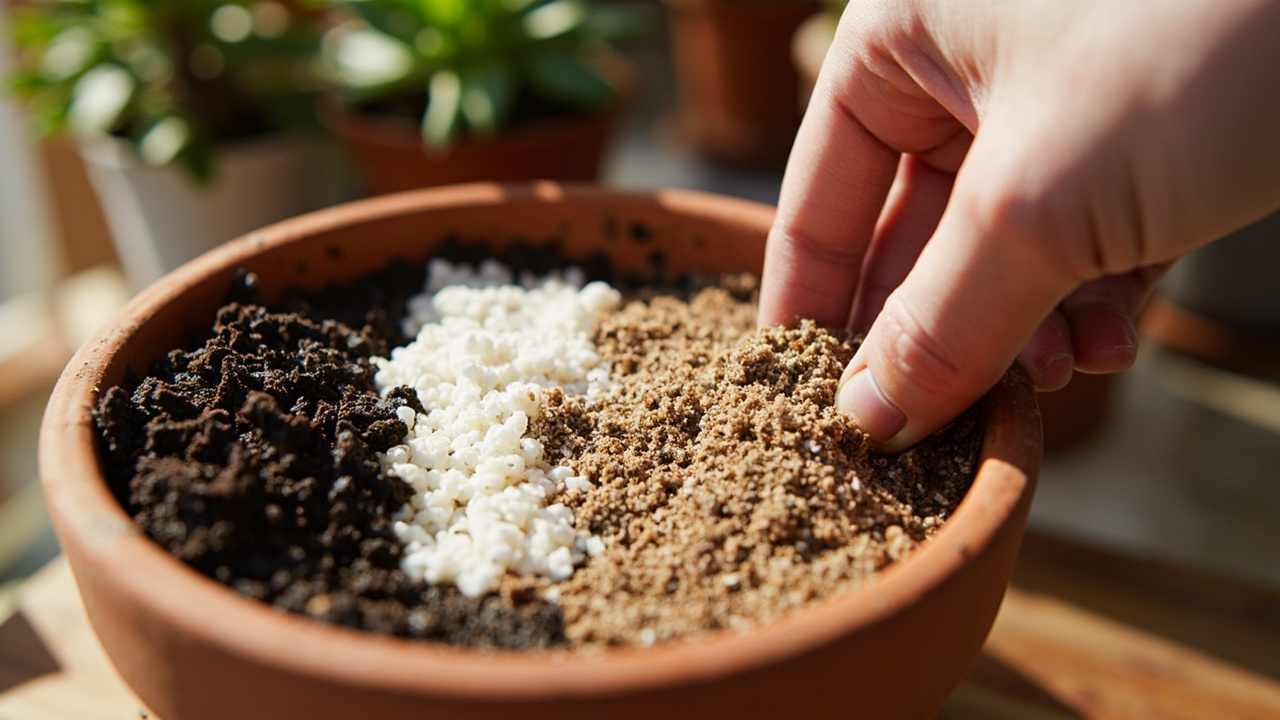
The Ideal Succulent Soil Mix: Ratios That Work
The goal is a mix that drains completely within seconds of watering, dries out within 3–7 days in a warm room, and stays loose enough that air reaches the roots between waterings. A reliable starting formula:
1 part potting soil : 1 part perlite : 1 part coarse sand
The potting soil provides organic structure and minimal nutrient retention. The perlite creates air pockets and speeds drainage. The coarse sand adds weight and prevents compaction. Do not use fine play sand — it fills in the air gaps instead of creating them. Use horticultural coarse sand, poultry grit, or aquarium gravel with a 2–5 mm grain size.
The Base Formula
Mix one part standard potting soil (any brand without added moisture-retaining gel) with one part perlite and one part coarse sand. Test it: water should flow through within 5–10 seconds, and the mix should feel gritty and loose, not spongy. If it holds together when squeezed, add more perlite.
For Humid Climates
If you live in a humid environment where the soil takes longer to dry, increase the mineral ratio to 1:2:1 (potting soil:perlite:sand) or even 1:3:1. The more inorganic material, the faster the dry-down. In tropical climates, some growers use 100% inorganic mix (pumice or akadama with a thin top layer of soil).
For Sensitive Species
Lithops, conophytum, and other highly moisture-sensitive succulents need 80–90% inorganic material. A mix of 1 part soil to 4 parts pumice or coarse perlite works well. These species are adapted to almost pure mineral substrates in habitat and will rot quickly in any mix that retains moisture.
The watering frequency changes with the mix — gritty soil dries faster, which means more frequent watering in summer. That is not a drawback; it is the mechanism that keeps roots healthy. For more on adjusting your watering to match the soil, see the watering guide.
Amendments: Perlite vs Pumice vs Coarse Sand
Three main inorganic amendments work for succulent soil, and each has trade-offs.
Perlite is the most accessible and cheapest. It is lightweight volcanic glass that creates excellent air pockets. The downside: it floats to the surface over time as you water, and the fine dust is irritating to lungs and eyes during mixing. Use a mask and dampen it before handling. Perlite is the right choice for most beginners and for hanging planters where weight matters.
Pumice is heavier, does not float, and holds a small amount of moisture on its surface while still draining freely. It is the preferred amendment for serious succulent growers and for heavy-rooted plants that need anchoring. The downside: it costs 2–4× more than perlite and is harder to find in some regions. If you can get it, use it — it is the most durable and stable option.
Coarse sand (2–5 mm grain) adds weight and prevents compaction. It does not create air pockets the way perlite or pumice do, so it is a supplement, not a replacement. The honest trade-off: sand-heavy mixes are heavy, which matters for large pots or shelves. Do not use beach sand — the salt content damages roots.
Alternatives worth considering: Turface (calcined clay, used for baseball infields) is excellent for moisture-sensitive species. Chicken grit (crushed granite) is cheap and effective for adding weight and drainage. Akadama (Japanese clay granules) is premium-priced but ideal for specimen succulents. For most indoor growers, perlite and coarse sand from a garden center are sufficient. Matching the soil to the light conditions matters — plants in brighter positions with higher light requirements use water faster and tolerate grittier mixes more easily.
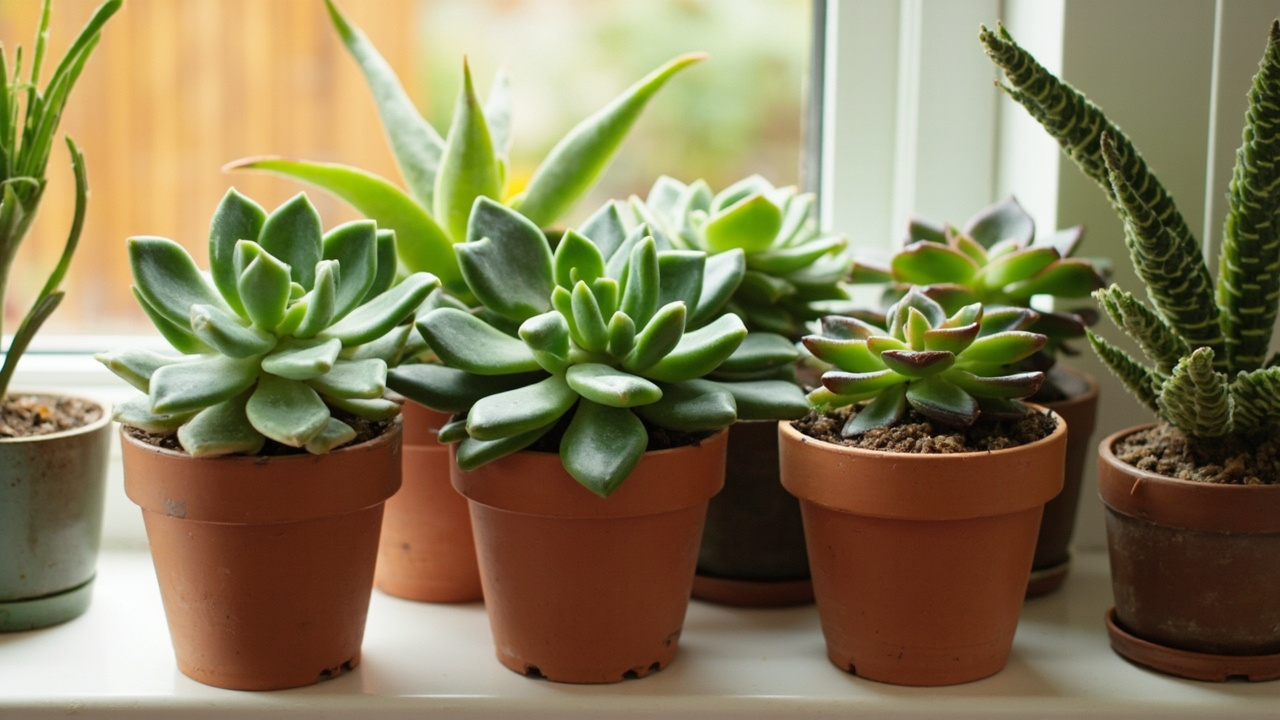
Pot Selection and Setup
Soil is only half the equation. The pot determines how fast the soil dries.
Terracotta (unglazed clay) is the best default. It is porous — moisture evaporates through the pot wall, which accelerates dry-down from the sides as well as the surface. This is why succulents in terracotta need more frequent watering than those in plastic. The trade-off is a shorter watering interval, but the root zone is healthier. Terracotta also provides weight that prevents top-heavy rosettes from tipping.
Plastic and glazed ceramic are non-porous. Moisture only exits through drainage holes and the soil surface, so the soil stays wet longer. If you use these materials, increase the mineral ratio of your mix by one part and always ensure drainage holes are present.
Drainage holes are non-negotiable. Every succulent pot must have at least one hole in the bottom. Cachepots without holes are fine as decorative outer covers, but the inner pot must drain. A pot without holes turns the bottom layer into a permanent water reservoir regardless of soil composition.
The gravel-at-the-bottom debate: a layer of gravel or broken pottery at the pot base does not improve drainage. It raises the water table and reduces the total soil volume available to roots. Fill the entire pot with your gritty mix. The only exception is covering a large drainage hole with a mesh screen to prevent soil washing out.
Pot size matters. A pot that is too large holds excess soil that stays wet far longer than the roots can use. Choose a pot 2–5 cm wider in diameter than the plant’s root ball. When in doubt, go smaller — succulents tolerate being slightly rootbound, and the soil dries faster in a snug pot. For a full guide on diagnosing soil-related common problems, see the problems article.
How to Repot a Succulent Without Damaging Roots
When to Repot
Repot when the plant has outgrown the pot (roots circling the bottom, plant lifting out of the soil), when the soil has compacted and no longer drains, or when you purchased a plant in dense nursery mix. The best time is early spring at the start of active growth. Avoid repotting during dormancy unless the plant is in active decline from root rot.
Removing Old Soil and Trimming Roots
Remove the plant from its pot and gently shake or rinse off the old soil. Inspect the roots: trim any that are brown, black, papery, or mushy with clean scissors or a blade. Healthy succulent roots are white or tan and firm. If you trimmed more than a third of the root mass, let the plant dry in open air for 2–3 days before repotting — this lets the cut roots callus and reduces the risk of infection.
Potting and Aftercare
- Place a mesh screen over the drainage hole of the clean pot.
- Add a thin layer of gritty mix to the bottom.
- Position the plant at the same depth it was growing before — do not bury the stem.
- Fill around the roots with dry gritty mix, gently tapping the pot to settle the soil. Do not compress it by hand.
- Do not water for 5–7 days. This waiting period lets any damaged roots heal and prevents rot in fresh cuts.
- After the waiting period, water normally using the soak-and-dry method.
The most common repotting mistake is watering immediately. Freshly repotted succulents have micro-abrasions on their roots from handling, and wet soil introduces pathogens directly into open tissue. The dry waiting period is not optional. For a practical example of the same process applied to a specific species, the jade plant soil mix guide walks through repotting Crassula ovata step by step.