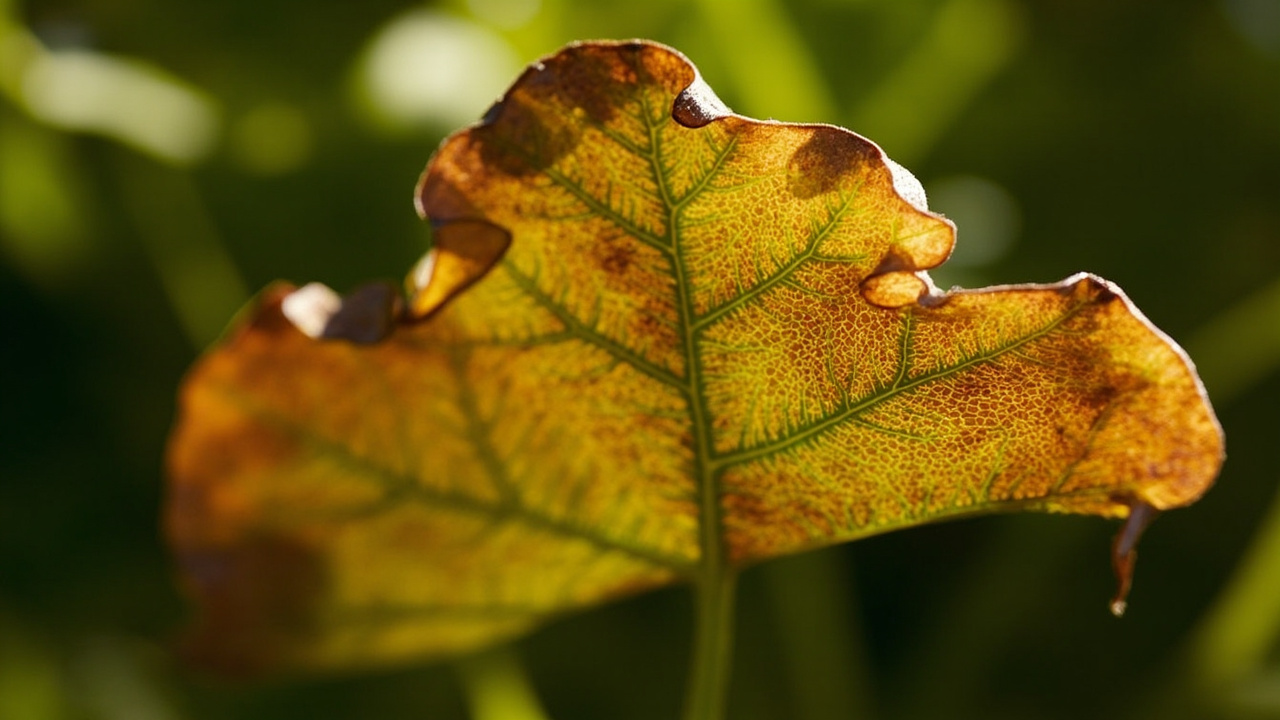

Crispy brown edges on a croton leaf are not a disease — they are a signal. Four environmental stressors produce four distinct brown-edge patterns: low humidity, fluoride toxicity, salt buildup, and sunburn. Each produces a different visual signature and each points to a different fix.
The diagnostic is a pattern match based on leaf texture, location of brown patches, and care history. Once the pattern is identified, the fix is straightforward: raise humidity above 50%, switch to rainwater, flush the soil quarterly, or move the plant back from the window.
This guide walks the four brown-leaf patterns, the fix for each, and the prevention protocol that keeps new growth green. The goal is to stop the browning within 1 week of the fix and see clean new growth within 3-4 weeks.
The Four Causes of Brown Croton Leaves
Low humidity: crispy brown margins advancing inward from leaf edges. The brown is dry and papery, not soft. Affects all leaves equally and worsens in winter when indoor humidity drops below 40%. The croton plant care guide covers the full humidity-band system.
Fluoride toxicity: tan-to-brown margins on new growth, distinct from the brown tips of low humidity. Caused by fluoride and chlorine in municipal tap water accumulating in leaf margins over 6-8 weeks.
Older leaves remain green while new growth emerges with brown edges already present — this asymmetry is the diagnostic signal that separates fluoride damage from humidity damage.
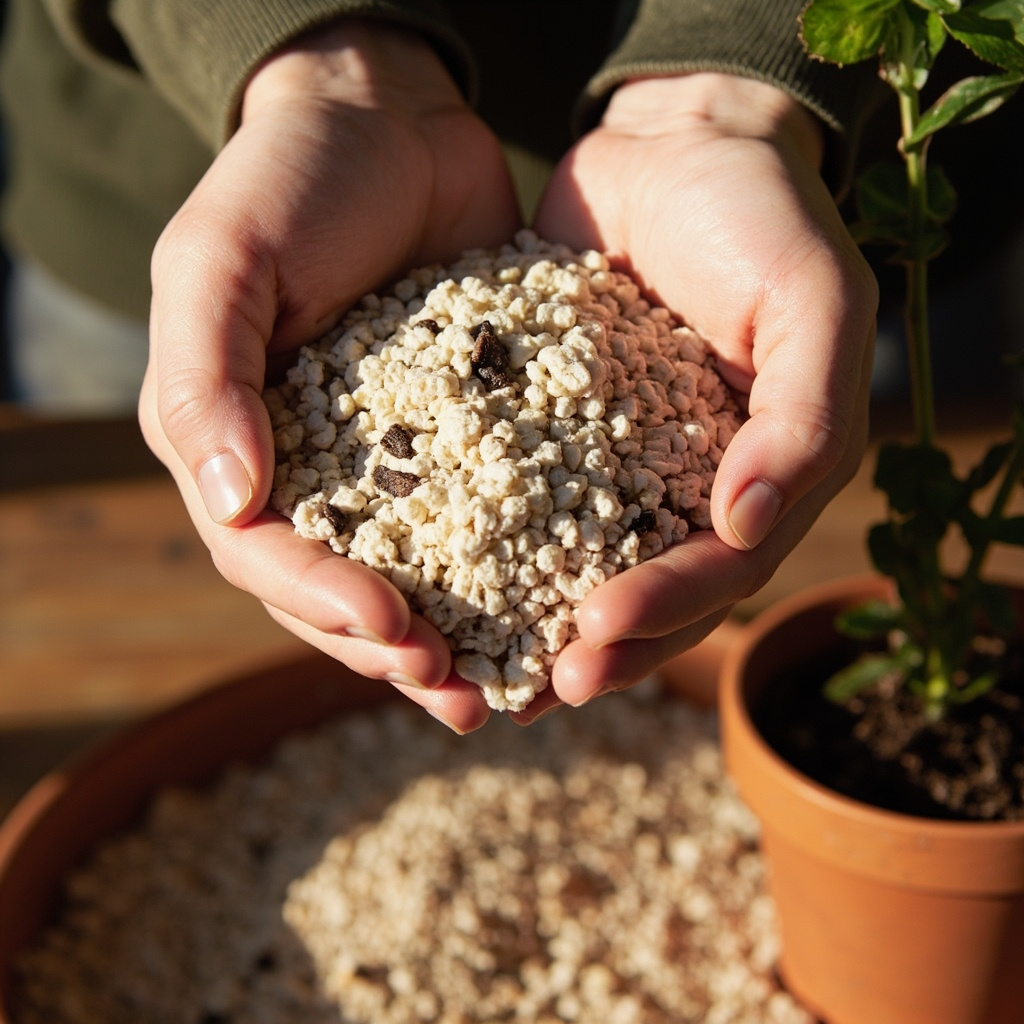
Salt buildup: crispy brown edges accompanied by a fine white crust on the soil surface. Fertilizer salts concentrate in the root zone, pull moisture from roots via osmosis, and burn leaf margins from the inside out. The white crust on soil gives this one away immediately.
Sunburn: tan-to-white papery patches on the upper leaf surface closest to the glass. Unlike the other three, sunburn is not margin-specific — it appears as irregular patches where direct sun hit the leaf for extended periods. Lower leaves remain green.
Low Humidity: The Crispy Margin Signal
Crotons are tropical understory plants adapted to 60-80% relative humidity. Indoor humidity in heated homes drops to 20-40% in winter. Below 40%, leaf margins lose water faster than roots can replace it, and margin cells die.
The fix: raise ambient humidity to 50-70%. A pebble tray under the pot raises local humidity by 10-15%. A room humidifier set to 60% is the most reliable fix.
Grouping plants together creates a shared microclimate that raises local humidity by 5-10%. Misting is not a humidity fix — it raises humidity for 10-15 minutes before returning to baseline. Repeated wetting of leaf surfaces increases the risk of fungal leaf spot.
Turn That PDF Into a Spreadsheet in Minutes
You've seen how to do it manually — now let the tool handle the heavy lifting. Upload your bank statement and get Excel, CSV, or QBO in a few clicks.
Try It FreeFluoride Toxicity: The Tap-Water Margin Burn
Crotons are moderately sensitive to fluoride and chlorine in municipal tap water. Fluoride accumulates in leaf margins and causes tan-to-brown necrosis that advances inward. The signal appears on new growth first because new leaves pull the most water from the root zone.
The fix: switch to rainwater, distilled water, or filtered water. If tap water must be used, let it sit uncovered for 24 hours before watering so chlorine off-gasses.
Fluoride does not off-gas — only time and soil flushing reduce its concentration. Flush the soil every 4-6 weeks by running plain, lukewarm water through the pot at 4x the pot volume.

Salt Buildup: The Fertilizer Crust Signal
Fertilizer salts dissolve in soil water and are taken up by roots. When evapotranspiration exceeds water input, salts concentrate in the soil solution. At high concentrations, they pull moisture out of root cells via osmosis — causing root burn, leaf-margin burn, and a white crust on the soil surface.
Every croton variety responds differently to environmental stress, but all share the same fundamental sensitivity to humidity fluctuations and water quality. The most popular cultivars — Petra, Gold Dust, Mammy, and Eleanor Roosevelt — each have slightly different light and humidity requirements, but the four-brown-leaf diagnostic applies universally across the Codiaeum variegatum species complex.
The key to preventing brown leaf margins lies in consistency. Crotons are not forgiving of sudden environmental changes — moving a plant from a bright bathroom to a dim bedroom, or switching from tap water to rainwater without a transition period, can trigger simultaneous browning from multiple causes. Gradual adjustment over 2-3 weeks gives the plant time to acclimate its new growth to changing conditions.
The fix: flush the soil every 4-6 weeks and reduce fertilizer frequency. The croton watering guide walks the full seasonal cadence including the quarterly flush.
If the crust is visible, scrape off the top 1/2 inch of crusty soil and replace with fresh mix. Then flush with 4x pot volume of lukewarm water. New growth emerges clean within 3-4 weeks.
Sunburn: The Tan-Patch Signal
Direct sun through south-facing glass between 11 AM and 3 PM in late spring and summer pushes leaf surface temperature past 38°C (100°F). The result: tan-to-white papery patches on the upper leaf surface closest to the glass. Lower leaves remain green.
The fix: move the plant 12-24 inches (30-60 cm) back from south-facing glass, or use a sheer curtain to cut irradiance by 30-40%. The croton light requirements guide walks the exposure-per-cultivar limits.
Do not prune sunburned leaves until the plant has pushed out 2-3 new leaves — damaged leaves still contribute photosynthate during recovery.
Prevention and Long-Term Leaf Health
Once you have identified the cause of brown leaf margins and applied the correct fix, the focus shifts to prevention — keeping new leaves emerging clean and fully colored throughout the growing season. The key is consistent environmental management rather than reactive intervention.
Humidity management is the single most important preventive measure. Crotons adapted to 60-80% relative humidity will show crispy leaf margins whenever ambient humidity drops below 40% for extended periods. A pebble tray under the pot raises local humidity by 10-15%, and grouping plants together creates a shared microclimate that further elevates ambient moisture. A room humidifier set to 60% is the most reliable fix for dry indoor environments. Misting is ineffective as a humidity strategy because it raises humidity for only 10-15 minutes before returning to baseline, and repeated wetting of leaf surfaces increases the risk of fungal leaf spot and bacterial infection.
Water quality matters enormously for croton foliage health. Fluoride and chlorine in municipal tap water accumulate in leaf margins over weeks and months, causing tan-to-brown necrosis that advances inward from the edge. Switching to rainwater, distilled water, or filtered water eliminates this problem entirely. If tap water must be used, let it sit uncovered for 24 hours before watering so chlorine off-gasses — fluoride does not off-gas, and only time and soil flushing reduce its concentration.
Soil flushing should be part of a quarterly maintenance routine. Run 4x the pot volume of lukewarm water through the soil slowly, allowing it to drain freely from the bottom. This removes accumulated fertilizer salts and prevents the white crust that signals severe salt buildup. Between flushes, reduce fertilizer frequency to once every 3-4 weeks during active growth and stop feeding entirely during winter dormancy. The chlorophyll in new leaves depends on adequate magnesium and iron — if you notice interveinal chlorosis (green veins with yellowing between them), switch to a chelated iron supplement and ensure the soil pH stays in the acidic range of 5.5-6.5.
Light exposure determines both color intensity and burn risk. Crotons in bright indirect light develop the most vivid coloration — deep reds, oranges, and yellows are photoperiod-dependent expressions of anthocyanin pigments that protect the chlorophyll from excess light energy. In low-light conditions, the plant produces less anthocyanin and the leaves fade toward green. Conversely, direct south-facing glass exposure between 11 AM and 3 PM in late spring and summer pushes leaf surface temperature past 38°C (100°F), causing tan-to-white papery patches. The fix is to move the plant 12-24 inches back from the window or use a sheer curtain to cut irradiance by 30-40%. Do not prune sunburned leaves until the plant has produced 2-3 new healthy leaves — damaged leaves still contribute photosynthate during recovery.
The photoperiod also influences leaf color development. Longer days in summer trigger increased anthocyanin production, which is why croton foliage appears most vibrant during the peak growing season. In winter, shorter days and lower light intensity cause gradual color fade — this is normal and reversible when spring returns. Never confuse seasonal color fade with a care problem; the plant is responding appropriately to reduced light availability.
Varietal Differences in Brown-Leaf Susceptibility
Not all croton cultivars respond identically to environmental stress. Petra, with its bold red and green variegation, is particularly sensitive to low humidity and will show crispy margins first among a mixed collection. Gold Dust crotons, with their smaller speckled leaves, tolerate slightly lower humidity but are more susceptible to fluoride toxicity because the smaller leaf surface area concentrates mineral deposits more rapidly. Mammy crotons are the hardiest of the common cultivars, tolerating a wider humidity range while maintaining their deep red coloration. Eleanor Roosevelt, with its broad golden-yellow leaves, is the most sun-sensitive and develops tan patches quickest when exposed to direct afternoon light.
Understanding your specific cultivar helps you calibrate the diagnostic. A Petra showing brown margins in January is almost certainly a humidity problem. A Gold Dust with the same symptom in March, especially if new growth is affected, points more strongly to fluoride or salt buildup. The same four-signal framework applies to all varieties, but the priority ranking of causes shifts depending on which cultivar you are growing and the seasonal context.
Fixes and Prevention: Keeping Edges Green
Humidity below 40% → raise to 50-70%. Tap-water browning → switch to rainwater/distilled. White crust on soil → flush and reduce fertilizer. Tan patches → move back from glass or add sheer curtain.
Prevention: use terracotta pots (which wick excess moisture), water with rainwater or distilled when possible, flush soil quarterly, and maintain 50-70% humidity.
Leaf-droppage and leaf-browning often co-occur because the same environmental stress can trigger both responses. The croton leaves dropping guide walks the full leaf-loss diagnostic map.
Brown edges without leaf drop = humidity, fluoride, or salt. Brown edges with leaf drop = likely overwatering or root rot underneath.
Source: University of Florida IFAS Extension’s Codiaeum variegatum notes and the Royal Horticultural Society’s humidity-and-watering guidance, which together name fluoride sensitivity and sustained relative humidity below 50% as the leading causes of brown croton leaf margins indoors.
The principles behind this four-cause diagnostic apply broadly across indoor foliage care. Many common houseplants share the same humidity and water-quality sensitivities as crotons, which is why growers who master this framework find it transfers to plants like spider plants, peace lilies, and prayer plants. The key differentiator for crotons is the speed and visibility of damage — they show problems early and dramatically, making them an excellent teacher plant for learning to read leaf signals.
For comprehensive care guidance including propagation techniques, soil selection, and sunlight requirements, see our croton plant care guide. The propagation and repotting sections cover how to maintain a healthy specimen through seasonal cycles, while the soil and watering chapters explain why drainage and growing medium choice directly affect leaf margin health.
Understanding how your croton propagates is also relevant to leaf health — new cuttings take time to establish roots and may show temporary margin browning during the rooting phase before recoveri ng fully. Proper propagation technique minimizes stress and helps new plants develop healthy leaf margins from the start.
Good soil drainage is equally critical. A fast-draining potting mix prevents water from lingering around the root zone, which reduces the risk of root rot and allows the plant to cycle through wet and dry periods more naturally. When soil drainage is poor, even correct watering practices can lead to sustained moisture around the roots, triggering the same browning symptoms as overwatering.