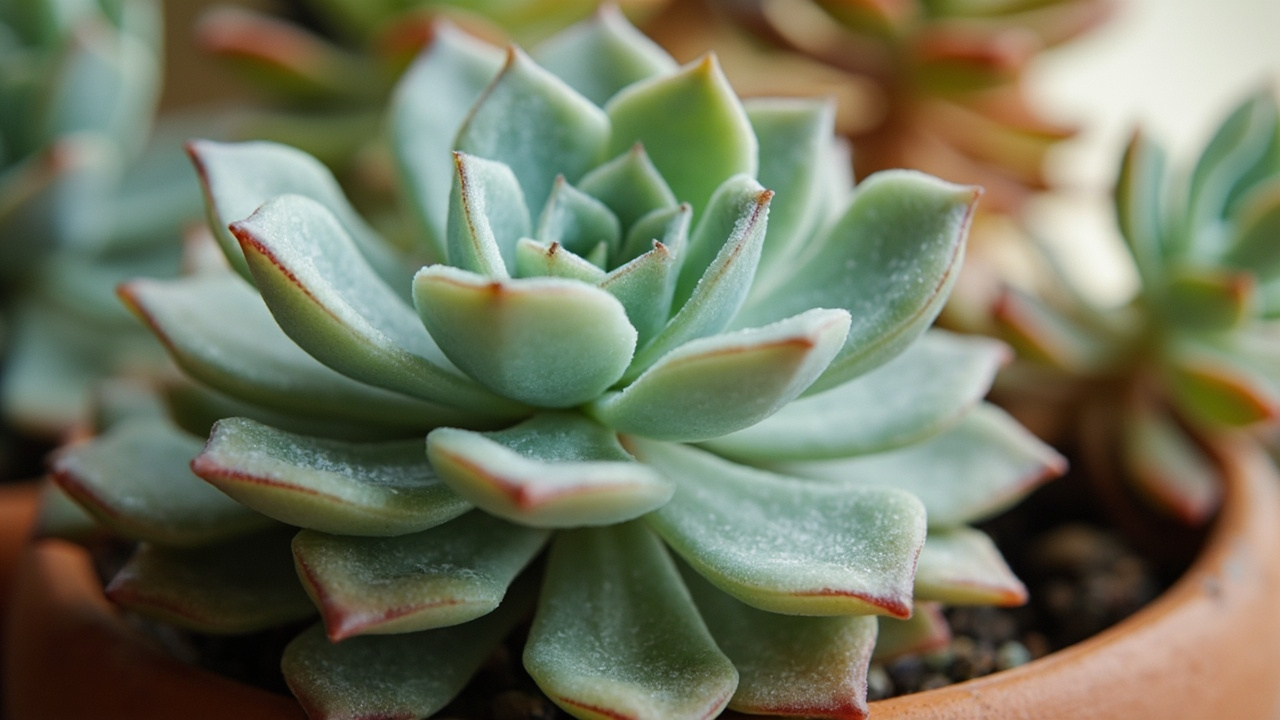
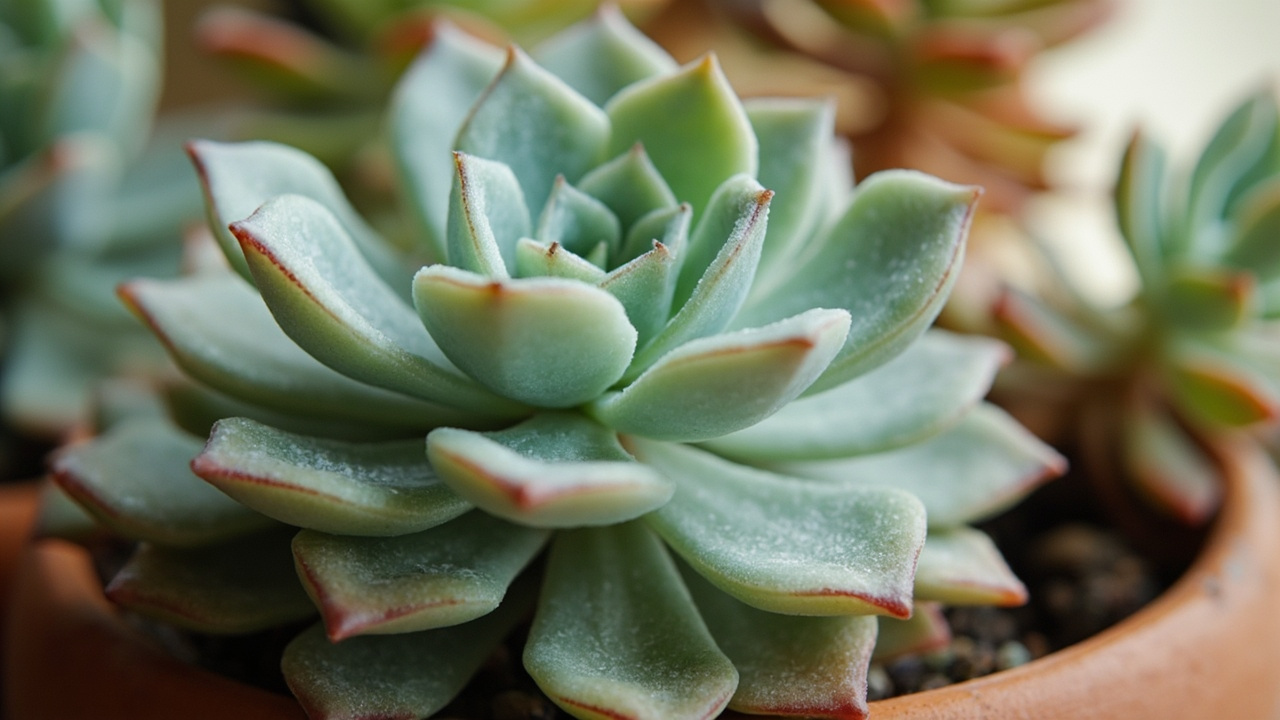
Echeveria is the most recognizable succulent genus on the planet. A tight rosette of fleshy, often powdery-coated leaves sits low and symmetrical like a living piece of geometry. The genus contains over 150 species and hundreds of hybrids, ranging from the pale blue Mexican snowball (Echeveria elegans) to the pink-tipped Echeveria pulidonis and the almost white Echeveria laui.
Most Echeveria sold as houseplants are compact rosette-formers that stay under 15 cm in diameter. This makes them ideal for windowsills, terrariums, and mixed succulent arrangements. What separates Echeveria from other succulent genera is the combination of a shallow fibrous root system, a thick water-storing leaf structure coated in farina, and a monocarpic life cycle in some species.
These three traits dictate everything about how much light they need, how often they should be watered, and what happens when things go wrong. This guide covers the full care cycle for the most commonly grown Echeveria species. If you are new to succulents generally, the Aqualogi succulent care guide covers the family-level basics.
What Makes Echeveria Different from Other Succulents
Echeveria belongs to the Crassulaceae family, the same family as jade plants, kalanchoe, agave, and sedum. But unlike jade plants (which grow into woody shrubs) or sedum (which trail or spread horizontally), Echeveria forms a compact, symmetrical rosette on a short stem that elongates only with age or insufficient light.
The spiral leaf arrangement is a distinctive genus trait. Each new leaf emerges at a precise angle from the center, creating the geometric pattern that makes every species instantly recognizable. This same spiral structure is why Echeveria is more drought-tolerant than aloe — the tight form reduces surface area and water loss simultaneously.
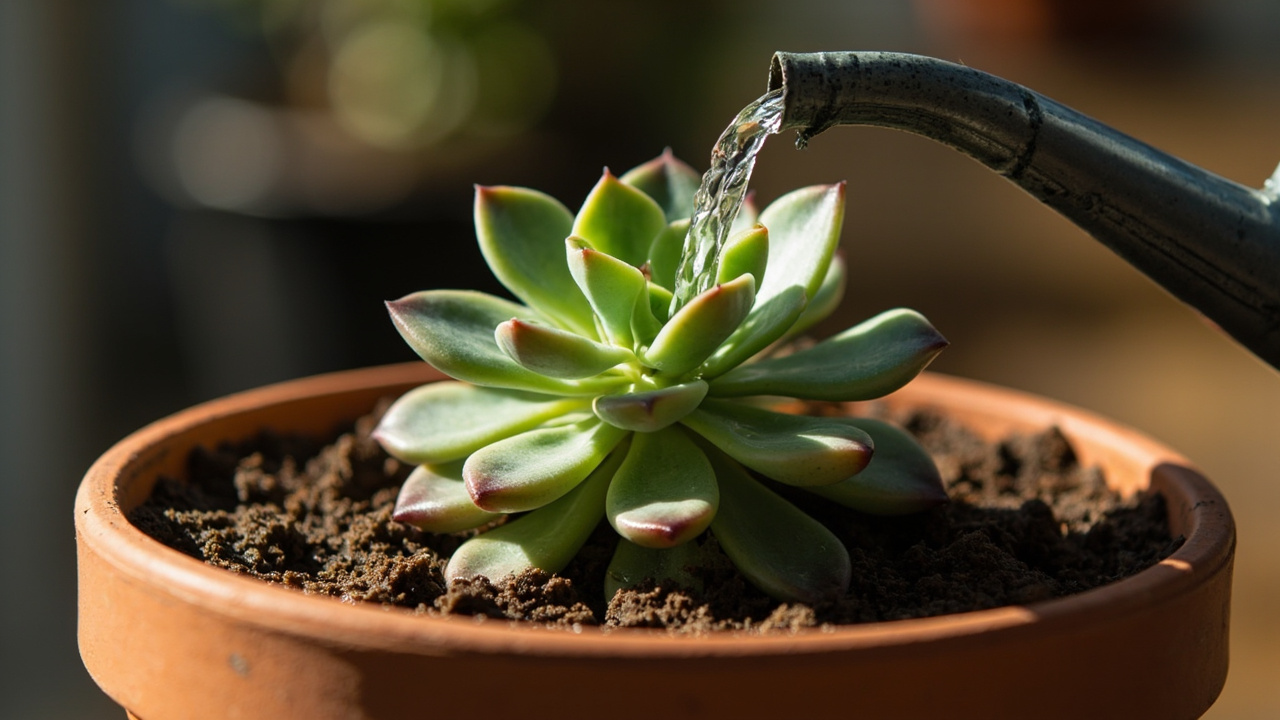
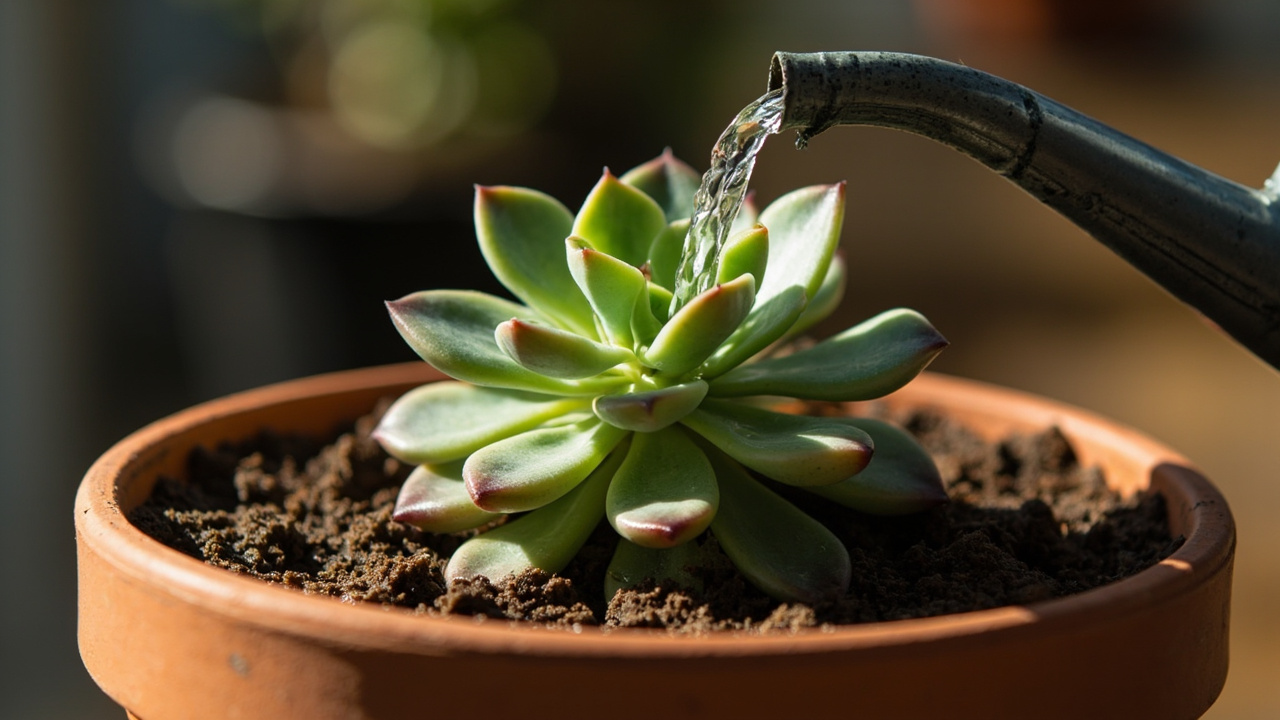
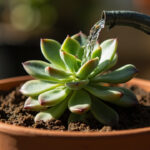
The rosette structure is not decorative. It is a water-capture adaptation. Leaves angle downward to channel rainwater toward the center of the plant and down to the roots. This is why overhead watering in small amounts does almost nothing for an Echeveria — the water runs off the waxy leaf surface before reaching the root zone.
The farina coating on Echeveria leaves is another genus-specific trait that matters for care. This powdery, waxy layer reflects UV light, reduces water loss, and protects the leaf surface from pests. It is easily smudged by touching the leaves, and it does not regenerate on damaged areas. Once the farina is wiped off, that patch of leaf is permanently more vulnerable to sunburn and dehydration.
This is the reason experienced growers handle Echeveria as little as possible. Never wipe the leaves with neem oil or leaf-shine products. The damage is permanent and increases every other risk the plant faces.
Some Echeveria species are monocarpic — the main rosette dies after it produces a flower stalk. Echeveria elegans and Echeveria pulidonis are not monocarpic and will live for many years with proper care. But some Echeveria runyonii cultivars will eventually send up a tall flower spike, set seed, and then slowly decline. The plant almost always produces offsets around the base before the mother rosette dies, so the colony continues.
Light Requirements: Full Sun, Bright Indirect, and the Etiolation Threshold
Echeveria needs more light than almost any other common houseplant succulent. The minimum for maintaining a compact rosette is six hours of bright indirect light per day. A south facing window in the Northern Hemisphere, or a west-facing window with at least four hours of direct sun, meets this baseline.
Below this threshold, the rosette begins to stretch. The stem elongates, the leaves space apart, and the tight symmetry that makes Echeveria attractive is lost. This stretching is called etiolation, and it is irreversible without beheading the plant. The detailed Echeveria light guide covers grow light specifications and seasonal adjustment schedules.
The etiolation threshold varies by species. Echeveria elegans and Echeveria laui are the most light-demanding — they begin stretching within two weeks of sub-optimal light. Echeveria pulidonis and Echeveria pulvinata are slightly more tolerant of lower light, maintaining form for three to four weeks before visible stretching begins.
If you are growing Echeveria indoors without a south facing window, a full-spectrum grow light positioned 15 to 20 cm above the plant for 12 to 14 hours per day will maintain compact growth. The target is 40 to 60 watts of actual power draw, full-spectrum white (4000K to 6500K), on a timer.
Too much direct sun is also a risk, particularly for plants grown indoors or in a nursery under shade cloth. Echeveria exposed to sudden full sun will develop sun stress patches within two to three days. These appear as brown or white dead spots on the upper leaf surface and are permanent. Affected leaves may wilt slightly before the discoloration becomes visible — this is the earliest warning sign.
The fix is gradual acclimation: increase direct sun exposure by one hour per day over a week until the plant tolerates the full duration. The farina coating provides some natural UV protection, which is why handling the leaves increases sunburn risk.
Watering Echeveria: The Soak-and-Dry Method by Season
The single most common cause of Echeveria death is overwatering. The second most common is underwatering that goes unrecognized because the plant looks deceptively healthy while slowly consuming its own leaf reserves. The soak-and-dry method solves both problems: water thoroughly until it runs out of the drainage hole, then do not water again until the soil is completely dry and the leaves show the first sign of slight softening.
The leaf-plumpness test is more reliable than a calendar for determining when to water. Gently press a lower leaf between your thumb and forefinger. A well-hydrated Echeveria leaf feels firm and full, like a grape. A thirsty Echeveria leaf gives slightly under pressure and feels less taut, like a grape that has been in the fridge for a few days.
Water at the first sign of softening — not when the leaf is visibly wrinkled, because by that point the plant has already been stressed. The complete Echeveria watering guide includes a seasonal calendar for both hemispheres.
In spring and summer (the active growing season), a potted Echeveria in a bright window typically needs watering every 7 to 10 days. In fall and winter (dormancy), the interval stretches to every 3 to 6 weeks depending on indoor temperature and humidity. The key variable is not the calendar — it is soil moisture.
If the soil is still damp from the previous watering, wait. Echeveria roots rot quickly in waterlogged soil, and root rot is the fastest killer of the genus. When in doubt, wait another three days.
Decucculation — the permanent loss of stored water in the leaves that makes them thin and papery — is a sign that the interval between waterings has been stretched too far. It is the opposite failure mode from overwatering but produces a similarly unhappy plant.
Soil Mix and Potting: The 5:1:1 Mineral Ratio That Prevents Rot
Echeveria needs a soil mix that drains almost instantly and stays loose enough for the shallow root system to spread without resistance. Standard potting soil retains too much water and will kill an Echeveria within weeks. The target mix is 5 parts inorganic mineral material (pumice, perlite, or coarse sand), 1 part coarse horticultural grit, and 1 part sifted pine bark fines.
This 5:1:1 ratio provides enough organic matter to hold minimal moisture while the mineral component ensures rapid drainage and root-zone aeration. The Echeveria soil mix guide includes three recipe variations for different climates and a pot-sizing chart by species.
Terracotta pots are the best container choice for Echeveria because the porous clay wicks moisture away from the soil, reducing the risk of overwatering. The pot should have a drainage hole and should be only 2 to 3 cm wider in diameter than the rosette. An oversized pot holds too much wet soil relative to the root mass and is the most common hidden cause of chronic overwatering.
Repot every 12 to 18 months to refresh the soil and inspect the roots. When repotting, remove the lower dried leaves, check the stem for any soft or dark patches, and trim dead roots before placing the plant in fresh mix.
This annual inspection catches root rot before it becomes visible above the soil line. Expect mild transplant shock for one to two weeks after repotting — slight leaf softening and reduced growth are normal. The plant will resume active growth once the root system re-establishes in the new growing medium.
Popular Echeveria Varieties: Elegans, Pulidonis, Laui, and More
Echeveria elegans, the Mexican snowball, is the most widely available species. It is a compact, pale blue-green rosette that produces pink flower stalks in late spring. It is the best beginner Echeveria because it is forgiving of occasional overwatering and propagates readily from leaf cuttings.
Echeveria pulidonis has pointed, red-tipped leaves and a slightly larger rosette that reaches 12 to 15 cm. It is more light-demanding than elegans and shows etiolation faster in low-light conditions. Echeveria laui is the most sought-after species for collectors — an almost white rosette with a thick farina coating that makes it look like carved soapstone.
Echeveria laui is also the slowest-growing and most expensive common Echeveria. It is the most sensitive to overwatering and should be watered on the dry side even during the growing season.
Echeveria perle von nurnberg is a hybrid with dusty purple-pink leaves and excellent cold tolerance for the genus. Some specimens show variegated patterning — cream or yellow sectors that make each rosette unique. Echeveria gibbiflora is the giant of the genus, with rosettes reaching 30 cm across and tall flower arches that bloom in winter.
The Echeveria varieties guide covers 12 common species with identification photos and care difficulty ratings. Each species entry includes mature rosette diameter, cold hardiness, and propagation success rate.
How to Propagate Echeveria from Leaves, Stems, and Offsets
Echeveria propagation is one of the most reliable in the succulent world. Leaf cuttings are the simplest method: select a healthy lower leaf, twist it gently from the stem with a clean sideways motion, and let the wound callus for two to three days in open air. Place the callused leaf on top of dry succulent soil in bright indirect light. Do not bury it, do not water it.
Within two to four weeks, tiny pink roots will emerge from the cut end, followed by a miniature rosette. Mist the soil surface lightly only after roots appear. The mother leaf will gradually shrivel as the new plant draws its stored water and nutrients — this is normal and not a sign of failure.
Stem cuttings work for etiolated or leggy plants. Cut the stem 2 to 3 cm below the rosette with a clean blade, remove the lower leaves, callus the cut for three to five days, then plant the stem in dry succulent soil. Water lightly after one week. The step-by-step Echeveria propagation guide includes timing charts and success rates by season.
Offset division is the fastest method. Simply separate a pup that has developed its own roots from the mother plant and pot it independently. Offsets establish faster than leaf or stem cuttings because they already have a functional root system. The best time to divide offsets is in early spring when the plant is entering active growth.
Common Problems: Yellow Leaves, Curling, and Stem Rot
Yellow, translucent lower leaves that detach with a light touch are the classic sign of overwatering. The fix is immediate: stop watering, remove the plant from wet soil, trim any soft or blackened roots, and repot in dry mix. Curling leaves that feel soft and thin indicate underwatering — the plant is consuming its own leaf reserves. A thorough soak-and-dry cycle will rehydrate the leaves within 48 hours.
Shriveled, crispy leaves that do not plump up after watering indicate root damage. The roots are no longer absorbing water and the plant needs to be unpotted and inspected. Stem rot appears as a dark, soft patch on the stem just above the soil line. It is caused by chronic overwatering or water pooling in the rosette center.
The plant is salvageable if the rot has not reached the rosette. Cut 1 cm above the rot line with a clean blade, callus the cutting for five to seven days, and re-root in dry soil.
Mealybugs are the most common Echeveria pest — they hide in the tight leaf joints near the stem and appear as small white cottony patches. Treat with a cotton swab dipped in 70% isopropyl alcohol, applied directly to each visible bug.
The Echeveria yellow leaves guide covers diagnosis for every common discoloration pattern. Sunburn, nutrient deficiency, pest damage, and fungal infection each produce a distinct leaf signature that is easy to read once you know what to look for.
How to Save a Dying Echeveria: Root Rot Surgery and Re-Rooting
A Echeveria that has gone soft at the base, dropped most of its leaves, or developed a blackened stem can often be saved if the rosette itself is still firm. Remove the plant from its pot, gently wash all soil from the roots, and inspect the root system. Healthy roots are white or pale tan and firm. Rotten roots are brown, black, or mushy and will fall apart when touched.
Trim every rotten root with sterile scissors until only healthy tissue remains. If the stem is rotten but the rosette is healthy, cut the stem 1 cm below the lowest healthy leaf, remove the lower three to four rows of leaves to expose a clean stem section, and let the cutting callus for five to seven days in open air.
Plant the callused stem 1 to 2 cm deep in dry succulent soil. Do not water for seven days. After day seven, water lightly around the base — not on the rosette. New roots will emerge from the buried stem within two to four weeks.
The complete rescue guide for dying Echeveria includes photo references for every stage of rot and a decision tree for when to cut vs when to wait.
Echeveria vs Haworthia: Key Differences in Care and Appearance
Echeveria and Haworthia are the two most popular rosette-forming succulent genera, and they are frequently confused by new growers. The differences matter because their care requirements diverge significantly. Echeveria needs more light — six or more hours of bright indirect light daily — while Haworthia tolerates lower light and will scorch in direct sun.
Echeveria leaves are broader, flatter, and often coated in visible farina. Haworthia leaves are narrower, thicker, and frequently have white tubercles or ridges on the outer surface. Watering frequency is higher for Echeveria during the growing season (every 7 to 10 days) compared to Haworthia (every 10 to 14 days).
Echeveria propagates most reliably from leaf cuttings. Haworthia rarely succeeds from leaf propagation and is better divided from offsets. Cold tolerance favors Haworthia — many species survive brief drops to 5°C, while Echeveria is damaged below 10°C. For a side-by-side comparison with photos, the Echeveria vs Haworthia guide covers all the distinguishing traits.
Echeveria rewards precise care with geometric perfection — a tight, symmetrical rosette that holds its form for years. The margin for error is narrower than with Haworthia or jade plants: too much water kills quickly, too little light ruins the shape within weeks, and damaged farina never heals.
But get the light, water, and soil right, and an Echeveria will outlive most houseplants. It produces offsets and flower stalks year after year with almost no intervention beyond the basics covered in this guide. For species-specific guidance on east facing vs north facing windows, gritty mix ratios, and mineral substrate options, the attribute pages in this cluster cover every variable in detail.