
Taking cuttings for propagation is the common next step once your croton is thriving. The croton plant care guide walks the full stack; this guide is the propagation-only deep-dive.
Perlite outperforms water and potting mix for croton propagation. A 4-6 inch stem cutting with 3-4 leaves, dipped in rooting hormone, planted in moist perlite, and tented for humidity produces transplant-ready roots in 3-4 weeks at 22-27°C.
The success rate with this protocol runs 70-80%.
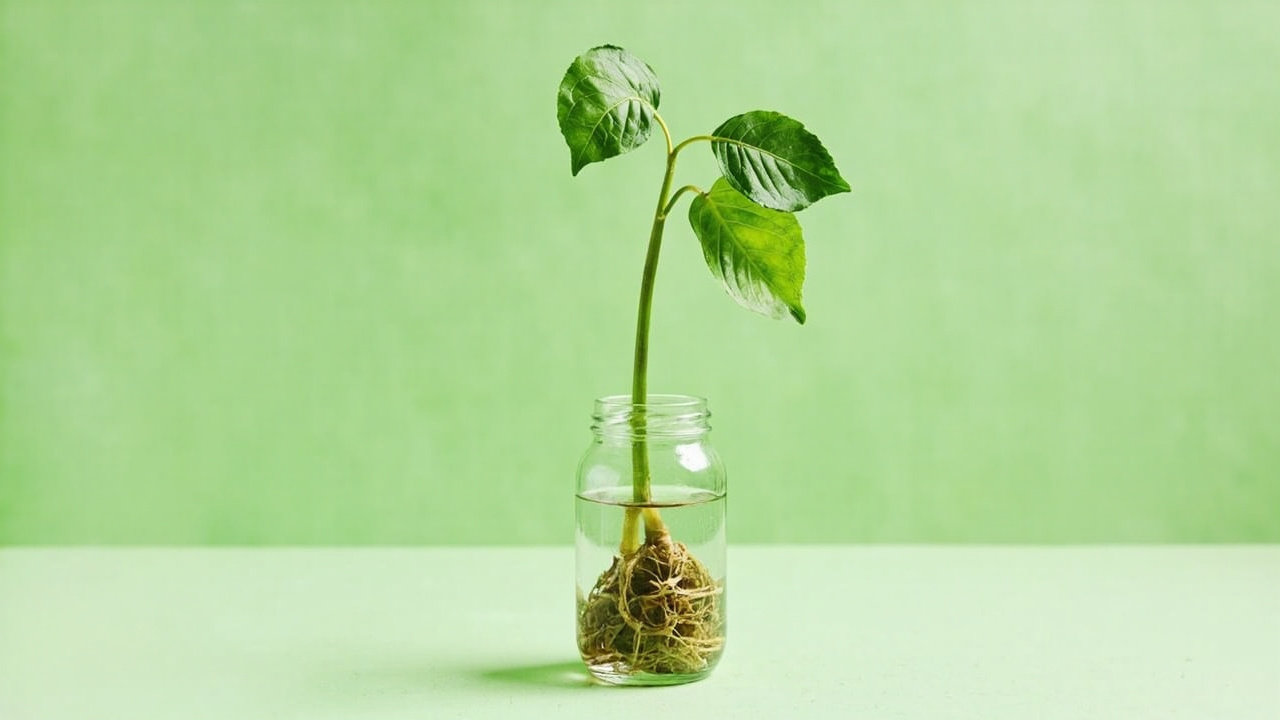
Water-only rooting works for many tropicals but fails routinely for crotons because the submerged stem section rots before root initials form. Potting mix retains too much moisture around the fresh cut and causes the same rot-node failure. Perlite threads the needle: high water-holding capacity with full gas exchange at the cut surface.
This guide walks the full seven-step sequence: locate the node, make the cut, apply hormone, plant in perlite, tent for humidity, monitor root development, and transplant at the right window.
Why Perlite Outperforms Water and Soil for Croton Cuttings
Croton stem cuttings rot in water because the submerged tissue is not aquatic — it is tropical-land-plant stems adapted to draining soil. Within 7-10 days in water, the submerged section softens, turns brown, and fails to produce roots. Perlite avoids this by holding water as a surface film on each particle while leaving air voids between particles for gas exchange at the cut.
Potting mix causes the opposite failure mode: the fine organic particles pack against the fresh cut, retain too much water locally, and trigger the same soft rot. A 2:1 perlite-to-potting-mix ratio is the minimum air ratio that works; straight moist perlite is better. Clear-cup containers let you watch root development without disturbing the cutting.
Step 1: Selecting and Cutting the Stem
Take cuttings from the current or previous season’s growth — firm green-to-brown stems that snap when bent. Avoid soft new growth (too fragile) and old woody stems (too dormant). Each cutting needs 3-4 leaves and at minimum one visible node: the slightly swollen ring on the stem where a leaf joins.
Cut 0.5 inch (1 cm) below the lowest node on the cutting using a clean, sharp blade. Sterilize the blade with rubbing alcohol between cuts if taking multiple cuttings from the same mother plant. Remove the lowest 1-2 leaves to expose the node.
Do not strip all leaves — the cutting needs 2-3 leaves for photosynthesis to drive root initiation. The best time to take croton cuttings is early-to-mid growing season (March through July in the northern hemisphere). Cuttings taken in August or later root at 30-50% higher failure rates.
Step 2: Rooting Hormone, Medium, and Planting
Dip the cut end plus the exposed node in rooting hormone powder (IBA at 0.1-0.3% concentration) or gel. Tap off excess — a thin even coating is the goal; a thick clump blocks gas exchange at the cut surface and attracts fungal growth.
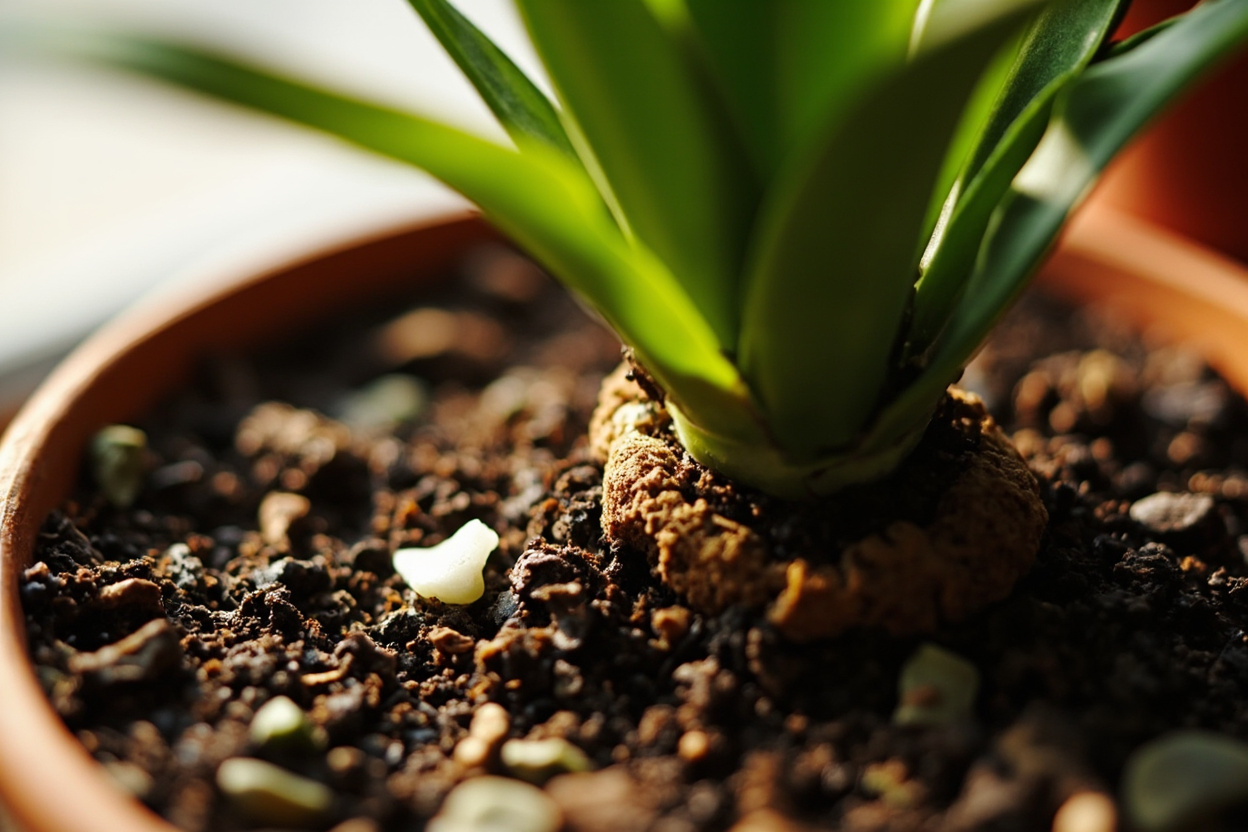
Plant the cutting in pre-moistened perlite so the node sits 1 inch (2.5 cm) below the perlite surface.
Do not water after planting. Pre-moistened perlite provides enough ambient humidity around the node. Adding water displaces air from the perlite voids and submerges the node. Place the planted cup inside a humidity tent — a clear plastic bag propped with chopsticks, a propagation dome, or an upturned glass jar.
Step 3: Humidity Tent and Environmental Control
The humidity tent eliminates transpiration stress on the unrooted cutting. Without roots to replace lost water, the cutting depends entirely on ambient humidity to prevent leaf wilt.
Target 70-85% relative humidity inside the tent. Below 60%, leaves wilt within 48 hours; above 90% without airflow, gray mold forms on cut surfaces.
Place the tented cutting in bright indirect light (1500-2000 lux) at 22-27°C (72-81°F). Bottom heat from a seedling heat mat set to 25°C cuts rooting time from 4 weeks to 2.5-3 weeks.
Open the tent for 5 minutes on day 3, then every 2 days thereafter to release accumulated ethylene and prevent fungal spores from establishing.
Step 4: Transplant Timing and First 30 Days
Transplant when visible roots from the node reach 2+ inches (5+ cm) in length — typically day 18-28 in perlite at 25°C. Earlier than 1.5 inches and the root structure is too fragile to survive the transplant shock. Later than 3 inches and the roots become brittle and break during handling.
Transplant into a 4-inch pot with well-draining croton mix: 60% peat or coco coir, 30% perlite, 10% compost. Water once at transplant, then keep the mix lightly moist (not damp) for 14 days while the new root system establishes in the coarser mix.
Place the potted cutting back inside the humidity tent for the first 7-10 days post-transplant, then wean off gradually over 3 days. The croton watering guide walks the full seasonal cadence for established plants; for cuttings, keep the mix just barely moist until the second new leaf unfurls.
The first new leaf from the apical tip typically emerges 5-7 weeks post-transplant. Until then, the cutting may drop 1-2 older leaves — this is energy reallocation to root growth, not a failure signal. Once the second new leaf unfurls, the croton is fully established and you can transition to standard croton watering cadence.
Troubleshooting: Soft Cuttings, No Roots, and Fail Modes
Soft cutting after 5 days: the stem was too young or the perlite was too wet when planted. Use only firm, semi-hardwood stems and verify perlite is moist, not wet. Rot at the node by day 7: too much rooting hormone clumping or humidity tent sealed without ventilation. Tap off excess hormone and vent every 48 hours.
No visible roots by day 14: the cutting either lacks a node or ambient temperature is below 20°C. Check the stem for the slightly swollen ring. Rest the cut end just above (not in) a small dish of rooting hormone — the visible node is non-negotiable. Cuttings taken from leafless internode sections never root.
Gray mold on leaves inside the tent: too high humidity + zero airflow. Remove affected leaves, vent the tent twice daily for 3 days, and reduce ambient humidity to 70%. Persistent gray mold after day 7 usually means the cutting has failed and should be discarded to protect neighboring propagations.

Source: the Royal Horticultural Society’s Codiaeum variegatum propagation notes, which recommend stem cuttings in a heated propagator at 21-24°C (70-75°F) with bottom heat — the rooting baseline this article builds on.
Turn any PDF statement into a clean sheet
Skip the typos and the hours of copying. Our converter handles any bank statement format and outputs Excel, CSV, or QBO for QuickBooks. No file retention, free to try.
Convert your statement