Thyme dies more often from kindness than neglect — too much water and too little sun kill more plants than drought and shade combined. The herb evolved on rocky Mediterranean slopes where rainfall is infrequent and intense sun bakes the soil dry within hours. Replicating those lean, bright conditions in a container is the entire game. Get the light and drainage right, and thyme is one of the most forgiving perennials you’ll ever grow.
The most common mistake is watering on a fixed schedule. Once a week sounds reasonable until you factor in that a terracotta pot in full sun loses moisture three times faster than a plastic pot in partial shade. Thyme’s water needs change with the season, the container, the soil mix, and the intensity of light it receives. The only reliable method is to check the soil, not the calendar.
This guide covers the specific light thresholds, watering frequencies, soil recipes, and container choices that keep English thyme and lemon thyme compact, aromatic, and alive for years. For the complete growing overview including pruning, harvesting, propagation, overwintering, and drying, see the thyme plant care guide. Note that these requirements differ from ornamental varieties like creeping thyme and ground cover cultivars — this guide focuses on culinary upright types.
How Much Sun Does Thyme Really Need
Thyme needs a minimum of six to eight hours of direct sunlight per day to maintain compact growth and high essential oil concentration. Below six hours, the plant begins to stretch — stems elongate, leaves space out, and the thymol content drops measurably. This leggy growth is the plant’s attempt to reach more light, and it’s irreversible on existing stems. The only fix is to cut back to compact growth and improve the light situation.
Full sun means direct, unfiltered light — filtered through a curtain or tinted window counts as partial shade. Thyme’s photosynthetic threshold is higher than most houseplants: insufficient light produces leggy woody stem elongation, yellowing lower leaves, and a fraction of the essential oil concentration the plant should have.
Missouri Botanical Garden’s research on container herbs confirms that light intensity is the primary driver of essential oil production in Lamiaceae family herbs. Their trials showed that thyme grown under six hours of direct sun produced 40% less thymol than plants receiving eight hours. The implication is clear: if you want thyme that actually tastes like thyme, prioritize light above everything else.
Windowsill Orientation and Grow Light Setup
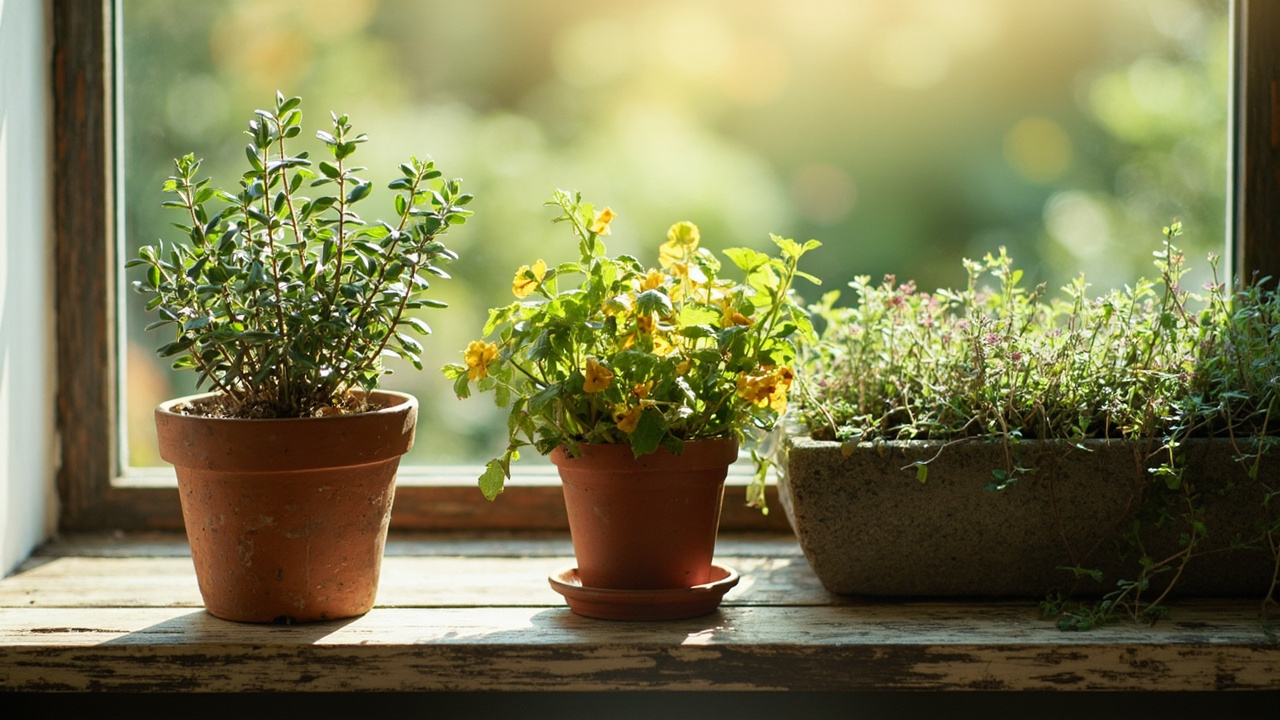
A south-facing windowsill is the gold standard for indoor thyme. It delivers direct sun for the longest duration — typically eight to ten hours in summer and four to six hours in winter. The winter drop is the challenge: below five hours of direct sun, thyme enters a slow-growth phase that it can survive but not thrive through. This is where supplemental lighting becomes necessary.
East-facing windows deliver gentle morning sun for four to six hours, which is sufficient in spring and summer but marginal in fall and winter. West-facing windows provide intense afternoon heat for four to six hours — enough for thyme, but the concentrated heat can overheat a small container on the sill. If your only option is east or west, position the pot as close to the glass as possible and rotate it every few days.
North-facing windows, even large bright ones, do not provide enough intensity for thyme. The light is diffuse and lacks the direct-beam component that drives compact growth. If a north-facing window is your only option, a grow light is not optional — it’s the primary light source. Position a full-spectrum LED panel six to eight inches above the plant and run it for fourteen hours a day. Panels in the 5000K to 6500K range deliver the blue-heavy spectrum that prevents leggy growth.
Most consumer LED grow lights in the 30W to 50W range deliver sufficient intensity at six to eight inches. Watch the plant for two weeks — compact dark green growth means the light is sufficient; stretching and paling means move it closer or upgrade.
The Soak-and-Dry Watering Method
Thyme’s watering rule is simple: soak thoroughly, then wait until the bone-dry before watering again. This mimics the natural cycle of Mediterranean rainfall — an intense downpour followed by weeks of drought. The soak part matters: when you do water, apply enough that it runs freely from the drainage holes. This ensures the entire root zone is moistened and prevents dry pockets where roots can desiccate.
The dry part matters more. Thyme’s roots are fine and shallow, evolved to absorb brief moisture and then endure. In soil that stays damp, those roots suffocate from lack of oxygen and become vulnerable to Pythium and Phytophthora fungi — the organisms responsible for root rot. Once root rot takes hold, the plant wilts despite moist soil because the damaged roots can no longer transport water. By the time you see the wilting, the root system is often beyond recovery.
The finger test is the most reliable method. Push your finger into the soil up to the first knuckle — about one inch deep. If you feel any moisture at all, wait. For most indoor containers in average home conditions, this means watering every seven to ten days in summer and every fourteen to twenty-one days in winter. Outdoor containers in full sun may need water every three to five days in peak summer. The exact frequency depends on pot size, soil mix, temperature, and air circulation — which is why a calendar schedule fails.
Seasonal adjustment is critical. In winter, water requirements drop by half or more as growth slows — many growers continue summer frequency straight into winter and wonder why root rot appears in January. Extend the interval by a week in fall, another in winter. If the plant is dormant — no new growth for two weeks — water only enough to prevent shriveling, roughly every three to four weeks. A stem cutting taken in fall roots well for division and propagation of new plants before winter.
Water quality matters too. Thyme prefers slightly alkaline water (pH 7.0-8.0) — similar to rosemary’s preferences. If your tap water is softened or chlorinated, let it sit open for 24 hours before using. Rainwater works well if you can collect it.
The Perfect Soil Mix for Thyme
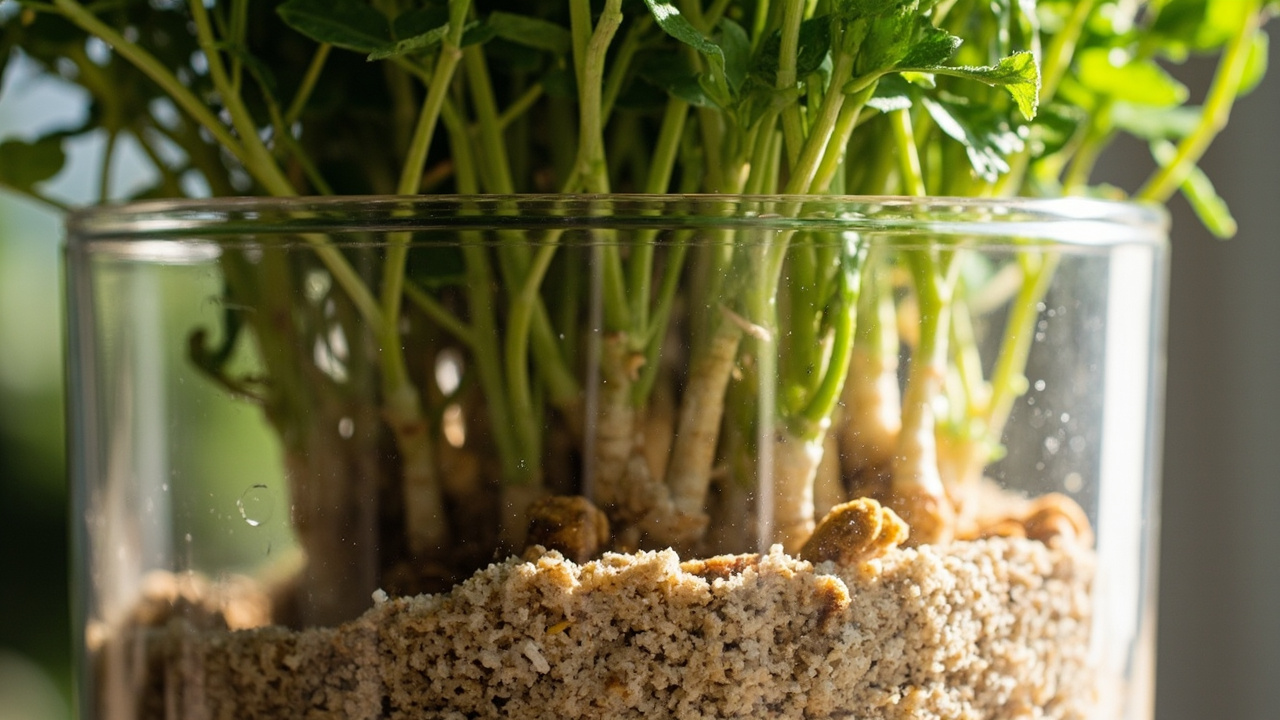
Standard potting mix is the wrong choice for thyme. Most commercial mixes are peat-based and designed to retain moisture for tropical houseplants. In a peat-heavy mix, thyme’s roots stay damp for days after watering — long enough for root rot to establish. The solution is a well-drained, mineral-heavy mix that drains within seconds and dries completely within 24 hours.
The recipe: two parts coarse sand or perlite, one part standard potting soil, one part fine gravel or pumice — this creates a sandy loam texture with excellent drainage. Mix thoroughly and test by watering a small amount into the pot — if water pools on the surface for more than a moment, add more sand or perlite. The finished mix should feel gritty, not spongy. When you squeeze a handful, it should fall apart immediately, not hold its shape.
The mineral component — sand, perlite, pumice, or gravel — serves three purposes. First, it creates air pockets in the soil that allow roots to breathe between waterings. Second, it adds weight to the pot, preventing the lightweight plant from toppling in a breeze. Third, it mimics the rocky, mineral-rich substrate of thyme’s native habitat. Cornell Cooperative Extension notes that Mediterranean herbs consistently outperform in mineral-amended soils compared to organic-heavy mixes, with better root development and higher essential oil concentration.
Do not add compost, worm castings, or other organic amendments to thyme’s soil. These hold moisture and add nitrogen — both of which produce soft, fast growth with low flavor intensity. Thyme’s flavor compounds are stress responses; a slightly stressed plant in lean soil produces more thymol than a pampered plant in rich soil. If you must feed, a single half-strength application of balanced liquid fertilizer in early spring is sufficient for the entire season.
Container Selection: Why Terracotta Wins
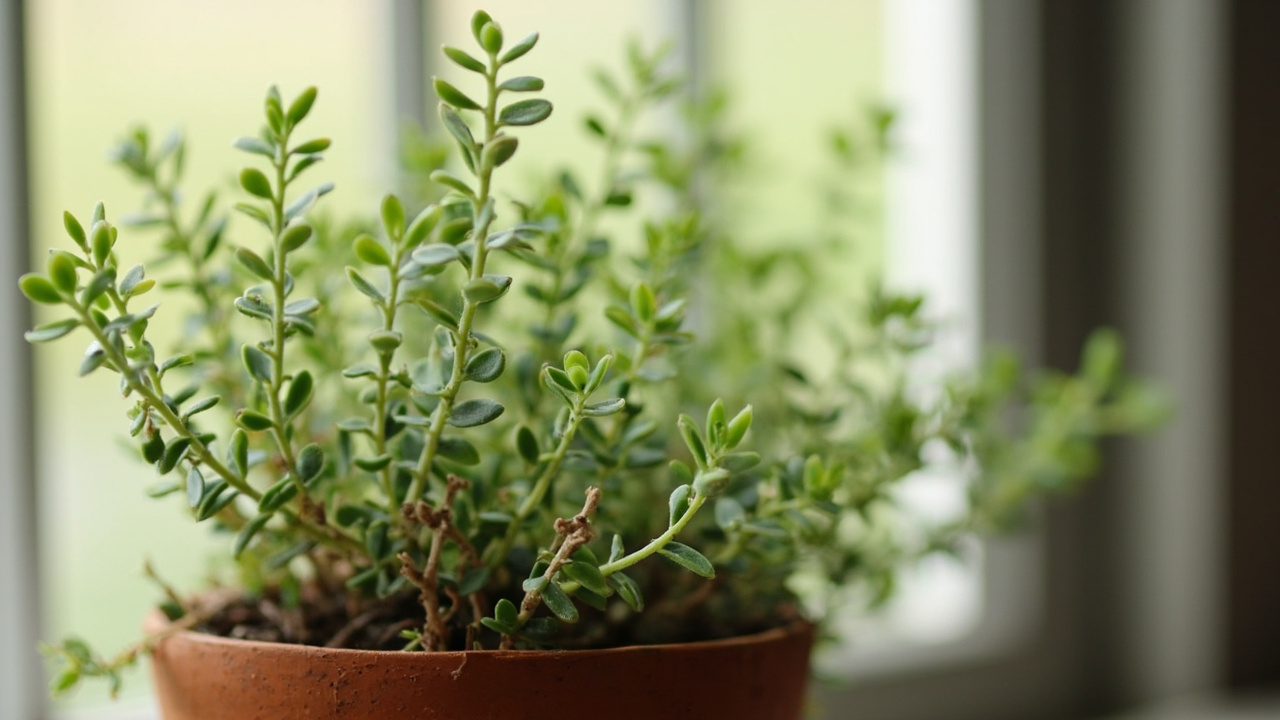
Terracotta is the ideal pot material for thyme because it breathes. The porous clay allows water vapor to escape through the pot walls, actively wicking moisture away from the root zone. This passive evaporation reduces the risk of waterlogging by roughly 30% compared to glazed ceramic or plastic pots of the same size. In practical terms, a thyme plant in terracotta can tolerate slightly more frequent watering because the pot itself helps dry the soil.
Pot size matters more than most growers realize. A pot that’s too large holds more soil than the root system can access, and that excess soil stays damp long after the roots have absorbed what they need. For a single thyme plant, choose a pot six to eight inches in diameter and at least six inches deep. This gives the roots enough room to spread without leaving large zones of perpetually wet soil. Ensure the pot has at least one drainage hole — multiple holes are better.
Glazed ceramic and plastic pots can work if you adjust your watering to compensate for the reduced evaporation. Water less frequently — roughly half as often as you would with terracotta — and be even more diligent about the finger test. Metal pots are not recommended: they conduct heat rapidly, which can cook the roots on a hot windowsill, and they offer zero breathability. For overwintering, terracotta’s porosity helps prevent freeze-thaw root damage when paired with a protective mulch layer. If aesthetics matter more than function, use a plastic pot inside a decorative cachepot and remove it from the cachepot for watering so excess water can drain freely.
Signs of Light and Water Stress: A Diagnostic Guide
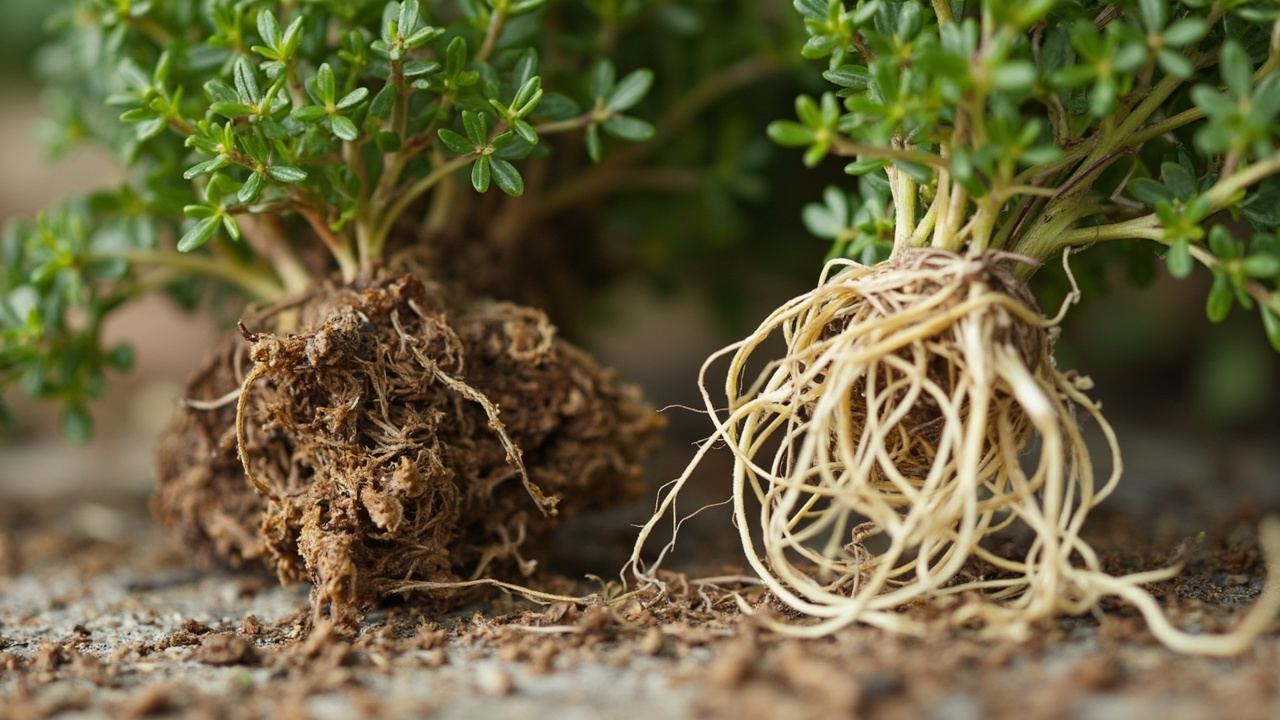
Yellow lower leaves with green upper growth almost always means too much water. The roots are suffocating, and the plant is shedding older leaves to reduce demand. Stop watering immediately, let the soil dry completely, and check for root rot by gently removing the plant from its pot. Healthy roots are white or light tan; rotted roots are dark brown, mushy, and smell sour. If you find rot, trim all affected roots, repot into fresh lean mix, and water sparingly for the next month.
Brown, crispy leaf tips and wilting despite dry soil usually means underwatering — or, paradoxically, root rot that has destroyed enough roots that the remaining ones can’t absorb water even when it’s available. The diagnostic test: if the soil is dry and the plant wilts, water it. If it perks up within a few hours, it was underwatering. If it stays wilted, the roots are damaged and you need to unpot and inspect.
Leggy growth — long, thin stems with widely spaced leaves — is a light problem, not a water problem. The drought-tolerant perennial is stretching toward the nearest light source. Move it to a sunnier location or add a grow light. The existing leggy stems won’t revert to compact growth, but new growth will be compact once light levels improve. Prune back to the last set of healthy leaves to redirect energy. Carvacrol and thymol production recovers within two weeks of correcting the light.
Gray or white powdery coating on the leaves is powdery mildew, caused by high humidity and poor air circulation — not a watering problem directly, but often associated with overhead watering or crowded placement. Improve air spacing around the plant, water at the soil level only, and remove affected leaves. For other common indoor herb problems, see the indoor herb yellow leaves guide. Unlike many fungi, powdery mildew on thyme is manageable if caught early and doesn’t require fungicide in most home growing situations. Outdoor thyme in flower is strongly bee-friendly and attracts pollinator species — a valuable addition to any garden. English thyme needs approximately 800 chill hours over winter to flower vigorously the following spring, and the optimal harvest window is just before flowering begins.
From Bank Statement to QuickBooks-Ready File
That manual cleanup you just read about? This tool skips it. Turn your PDF into QBO for QuickBooks without storing your data anywhere.
Start Converting